Welcome to this step-by-step tutorial on drawing a seed! Whether you are a beginner or an experienced artist, this guide will walk you through the process of creating a realistic and detailed representation of a seed. So grab your art supplies, and let’s get started!
Materials Required
Before we dive into the drawing process, let’s gather the materials you’ll need:
- Pencil
- Eraser
- Drawing paper
- Fine-tipped pens or markers (optional)
- Colored pencils or paints (optional)
Now that you have your materials ready, let’s begin the artistic journey of drawing a seed!
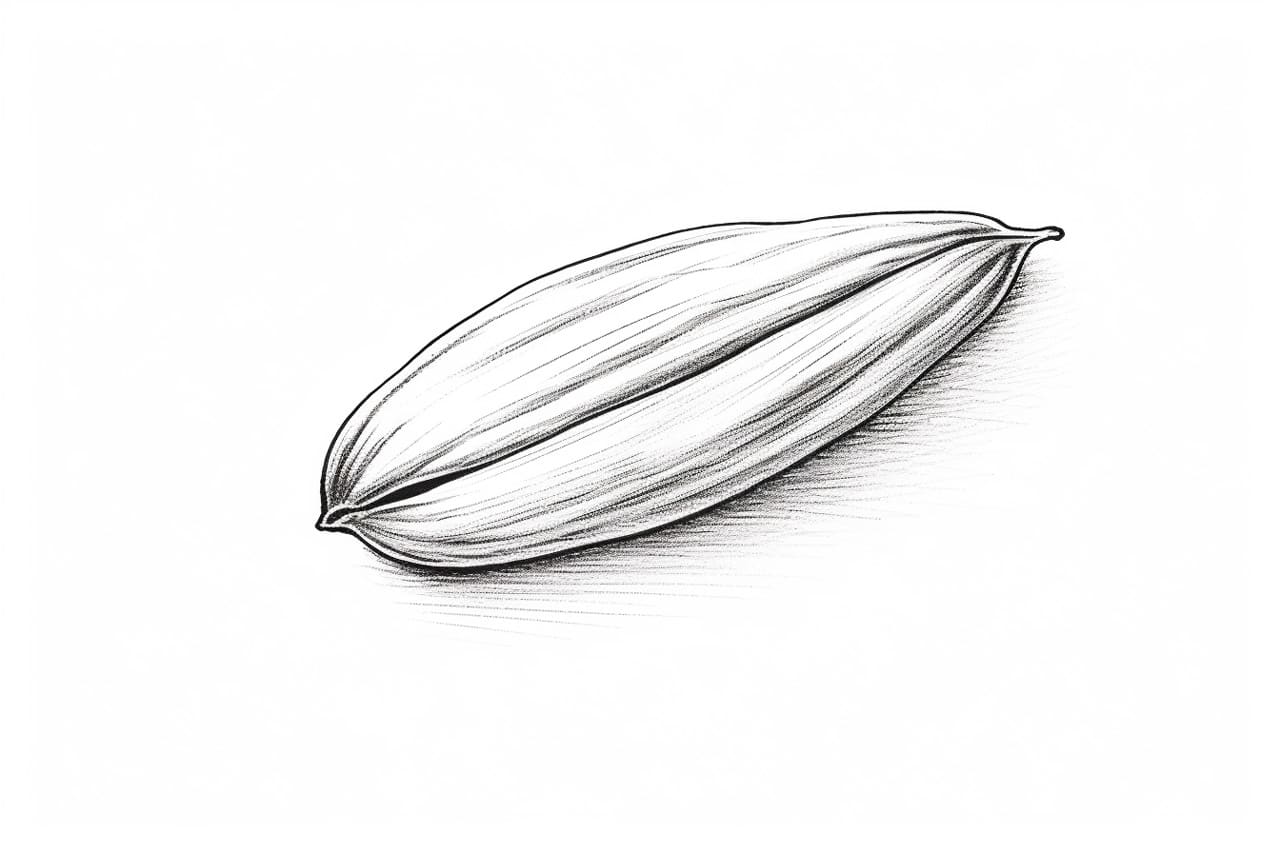
Step 1: Outline the Shape
Start by lightly sketching a small oval shape in the center of your drawing paper. This oval will serve as the basic outline of the seed. Keep the lines faint and loose for now, as we will refine the shape later on.
Step 2: Add Details
Next, observe the seed you wish to draw and add any details that stand out. Some seeds have ridges, grooves, or unique patterns. Use your pencil to lightly sketch these elements onto the seed’s outline. Remember to keep your lines light and loose throughout this process, as we will refine them later.
Step 3: Refine the Shape
Now that you have sketched the basic outline and added some details, it’s time to refine the shape of the seed. Carefully go over your initial sketch, adjusting any proportions or curves as necessary. Gradually darken the lines to make them more defined. Pay attention to the overall shape and ensure that it accurately represents the seed you are drawing.
Step 4: Shade the Seed
To give your drawing a three-dimensional appearance, it’s important to add shading. Observe the lighting conditions and imagine where the light is coming from. Begin by shading one side of the seed, using your pencil to create smooth and gradual transitions from light to dark. Remember to keep your strokes in the direction of the seed’s form. This shading technique will help create a sense of depth in your drawing.
Step 5: Add Texture
Seeds often have textured surfaces, which add interest and realism to your drawing. Study the seed you are drawing and observe its texture. Use your pencil to lightly sketch these textures onto your seed, paying attention to the direction and placement of the lines. It’s best to start with lighter lines and gradually build up the intensity as needed.
Step 6: Refine the Details
With the basic shape, shading, and texture in place, it’s time to refine the details of your seed drawing. Take a closer look at the seed and add any additional lines or marks that bring out its unique characteristics. These details can include tiny imperfections or irregularities found on the surface of the seed. Be patient and take your time during this step, as it will greatly contribute to the realism of your drawing.
Step 7: Ink the Lines (Optional)
If you want to give your seed drawing a more polished and finished look, you can use fine-tipped pens or markers to ink over the pencil lines. This will create bold and defined lines that stand out. Start by outlining the seed’s shape, and then gradually work your way through the details. Once the ink is dry, erase any remaining pencil lines to reveal a clean and professional-looking drawing.
Step 8: Add Color (Optional)
To bring your seed drawing to life, you can add color using colored pencils or paints. Study the colors of the seed you are drawing, and try to replicate them as accurately as possible. Use light and subtle layers of color, gradually building up the intensity until you achieve the desired effect. Remember to blend the colors smoothly for a realistic appearance.
Conclusion
Congratulations on completing your seed drawing! By following these step-by-step instructions, you have learned how to create a detailed and realistic representation of a seed. Whether you choose to keep it as a black and white illustration or add color, your drawing reflects your artistic skills and attention to detail. Keep practicing and exploring new subjects, and you’ll continue to improve your drawing abilities. Happy sketching!