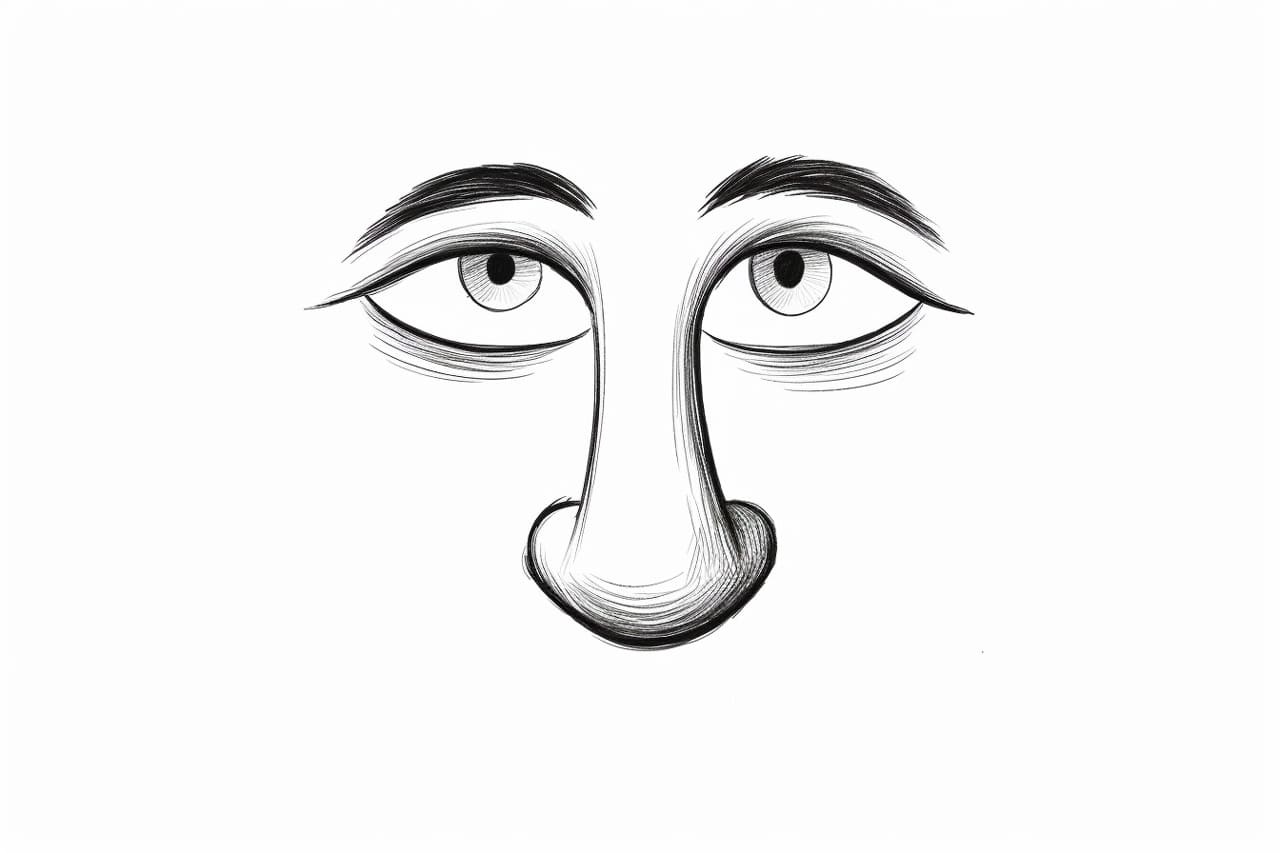
Are you interested in cartoon drawing and want to learn how to draw a cartoon nose? One of the fun and challenging aspects of creating cartoon characters is giving them unique facial features, and the nose plays a significant role in defining a character’s personality. In this step-by-step guide, we will explore the process of drawing a cartoon nose, providing you with clear and concise instructions to help you bring your characters to life. So, grab your drawing materials and let’s get started!
Materials Required
To begin drawing a cartoon nose, you will need the following materials:
- Drawing Paper: Start with a clean sheet of paper on which to sketch your cartoon nose.
- Pencil: Use a pencil to create your initial sketch, as it allows for easy corrections and adjustments.
- Eraser: Keep an eraser handy to remove any unwanted lines or mistakes during the drawing process.
- Fine-tip Pen: Once you are satisfied with your sketch, you can use a fine-tip pen to outline and refine your cartoon nose.
- Markers or Colored Pencils: If you wish to add color to your cartoon nose, have markers or colored pencils ready.
Now that you have your materials ready, let’s dive into the step-by-step process of drawing a cartoon nose!
Step 1: Basic Guidelines
Start by drawing a simple circle or an oval shape to serve as a guideline for the general shape of the nose. This shape will act as the foundation for your cartoon nose.
Step 2: Placement of the Nose
Decide where you want the nose to be positioned on the face. Typically, the nose is located between the eyes, slightly below the centerline. Use light, curved lines to indicate the placement of the nose within the guideline shape.
Step 3: Outline the Nostrils
Draw two small, curved shapes on either side of the guideline shape to represent the nostrils of the nose. These shapes can be simple crescents or ovals, depending on the style of your cartoon. Remember to keep the lines light and subtle.
Step 4: Define the Nasal Bridge
Add a curved line above the nostrils to represent the nasal bridge. This line connects the nostrils and gives the nose more definition. Experiment with different shapes and sizes to achieve the desired look for your cartoon nose.
Step 5: Add Details to the Nostrils
Within each nostril shape, draw smaller curved lines to indicate depth and detail. These lines can vary in size and placement to add character to your cartoon nose.
Step 6: Shape the Tip of the Nose
Now, focus on shaping the tip of the nose. Draw a small triangular shape at the bottom of the guideline circle or oval. This triangle will define the tip of the nose and give it a distinct appearance.
Step 7: Refine and Adjust
Take a moment to refine your cartoon nose by erasing any unnecessary guidelines and making any adjustments needed. This is the perfect time to ensure that the proportions and shape of the nose are aligned with your desired cartoon style.
Step 8: Outline the Nose
Using a fine-tip pen, carefully outline the final shape of your cartoon nose. Pay attention to the contour lines and details you have created, ensuring they are bold and defined.
Step 9: Color your Cartoon Nose (Optional)
If you want to add color to your cartoon nose, use markers or colored pencils to bring it to life. Consider the skin tone of your character and the surrounding colors to create a well-integrated and vibrant nose.
Conclusion
Drawing a cartoon nose can be a fun and enjoyable part of creating your own cartoon characters. By following these step-by-step instructions, you can develop your skills as an artist and bring your characters to life with unique and appealing noses. Remember to experiment with different shapes, sizes, and styles to find what works best for your character’s personality. So, grab your materials and start sketching! With practice, your cartoon noses will become more dynamic and expressive.


