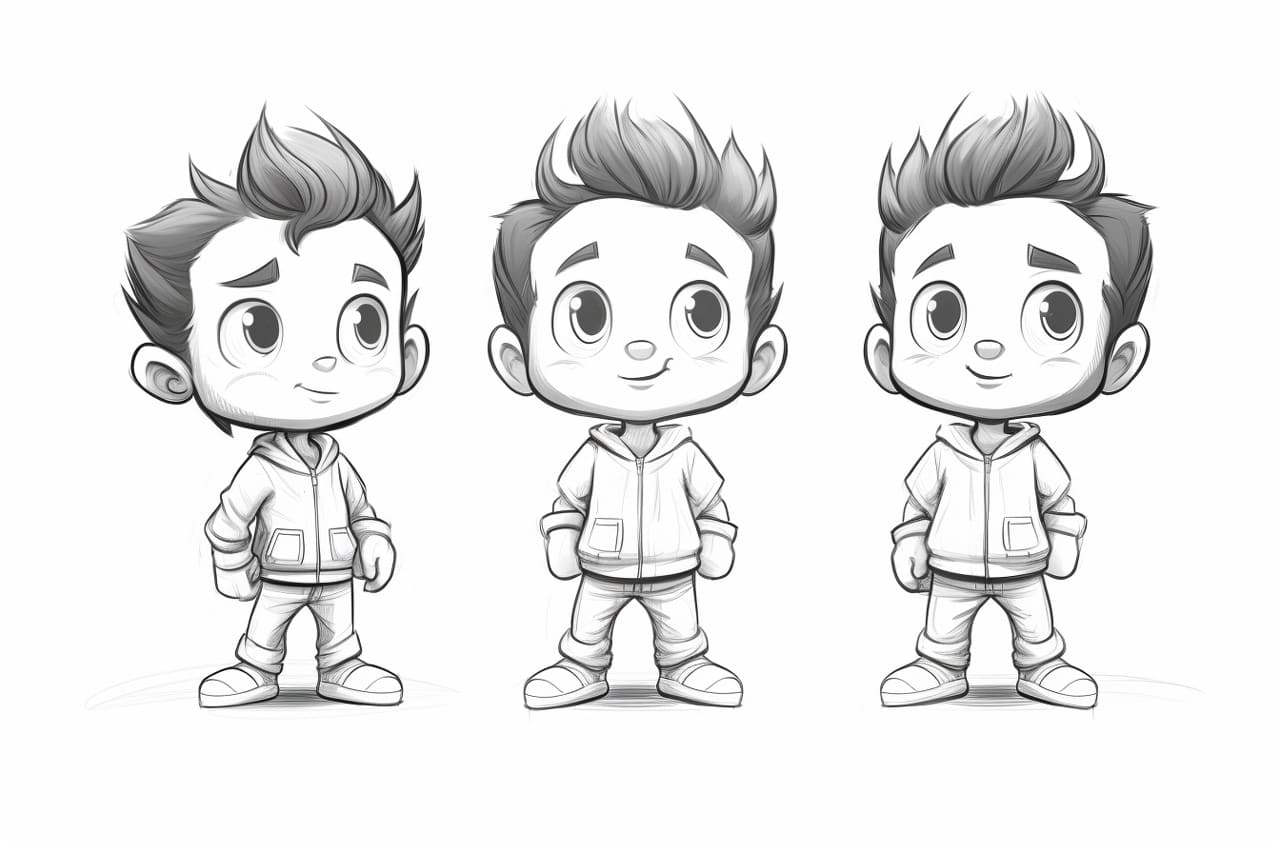
Have you ever wondered how artists create those adorable and expressive cartoon characters? Well, wonder no more! In this step-by-step guide, I’ll walk you through the process of how to draw a cartoon character from start to finish. Whether you’re an aspiring artist or simply looking for a fun and creative activity, this tutorial is for you.
Materials Required
Before we dive into the drawing process, let’s make sure you have all the necessary materials. Here’s what you’ll need:
- Drawing paper: Choose a smooth, heavyweight paper that can withstand erasing and shading.
- Pencils: Invest in a set of artist-grade pencils with a range of lead hardness, such as HB, 2B, 4B, and 6B.
- Eraser: Opt for a kneaded eraser, as it’s pliable and won’t leave behind eraser residue.
- Fine-tip pen: A black pen with a fine tip will come in handy for outlining your cartoon character.
- Markers or colored pencils (optional): If you’re feeling adventurous, you can add color to your cartoon character using markers or colored pencils.
Now that you have all your materials ready, let’s jump right into the step-by-step process!
Step 1: Start with Basic Shapes
Begin by sketching out the basic shapes that form the foundation of your cartoon character. Circles, ovals, and squares are excellent starting points. For instance, if you’re drawing a human-like character, you can start with a circle for the head and ovals for the body and limbs. Don’t worry about perfection at this stage; these shapes will act as a guide for your final drawing.
Step 2: Refine the Shape
Using the basic shapes as a guide, start refining the form of your cartoon character. Add more curves and details to create a more accurate representation of the character you have in mind. For example, if your character has a round face, you can add cheekbones and a chin to give it more definition. Keep your lines light and easily erasable until you’re happy with the overall shape.
Step 3: Add Facial Features
Now it’s time to give your cartoon character some personality by adding facial features. Start with the eyes, which are usually the focal point of any character. Experiment with different shapes and sizes to see what works best for your character. Then, move on to the nose, mouth, and eyebrows. Remember to keep the expressions and features in line with the personality and style you want to convey.
Step 4: Sketch the Hair and Accessories
If your cartoon character has hair or accessories, this is the step where you’ll sketch them out. Hair can be drawn using a combination of simple shapes and flowing lines. Don’t be afraid to play around and experiment with different hairstyles until you find the perfect fit. If your character wears accessories like glasses or hats, add those in with attention to detail.
Step 5: Outline the Character
Once you’re satisfied with the overall look of your cartoon character, it’s time to outline it with a pen. Use a fine-tip pen to trace over the pencil lines, making sure to refine any areas that need more precision. Take your time with this step and be patient. Slow, confident strokes will result in a cleaner and more professional-looking outline.
Step 6: Erase the Guidelines
Carefully erase the pencil guidelines, taking care not to smudge the inked lines. Use a kneaded eraser to gently lift the pencil marks off the paper. If needed, you can use a clean, soft brush to remove any eraser crumbs. This step is crucial as it will give your cartoon character a clean and polished appearance.
Step 7: Add Details and Shading
Now that you have the main outline of your cartoon character, it’s time to add details and shading to bring it to life. Pay attention to light and shadow, and use your penciled leads of varying hardness to create depth and dimension. Add highlights to make certain areas pop and give your character a more three-dimensional look. In this stage, you can decide whether to add color or stick with black and white.
Step 8: Finalize Your Cartoon Character
In the final step, take a step back and evaluate your cartoon character. Make any necessary adjustments and refinements to ensure that it accurately represents what you had in mind. Once you’re satisfied with the overall result, you can choose to keep it as a black and white illustration or add color using markers or colored pencils.
With these step-by-step instructions, you’re well on your way to creating a captivating and lovable cartoon character. Remember, practice makes perfect, so don’t be discouraged if your first attempt doesn’t turn out exactly as planned. The more you draw, the better you’ll become. So grab your pencils, paper, and imagination, and let your creativity soar!
Conclusion
In this comprehensive guide, we’ve explored the step-by-step process of drawing a cartoon character. By starting with basic shapes, adding details, refining the form, and finally outlining and shading, you can create a unique and expressive character of your own. Remember to have fun throughout the process and embrace the joy of creation. So go ahead, give it a try, and see the magic unfold on your paper!


