Welcome to an exhilarating journey into the cosmos with this step-by-step guide on how to draw a black hole! The allure of black holes captivates both artists and scientists, each drawn to their enigmatic nature and the immense power they wield within the universe. These fascinating celestial phenomena challenge our understanding of space and time, making them an ideal subject for artistic exploration.
In this guide, we’ll delve into the process of creating a visually stunning representation of a black hole. From understanding its structure to implementing various artistic techniques, you’ll learn how to translate the mysteries of these cosmic giants onto paper. Whether you’re an experienced artist or a novice looking to expand your skills, this tutorial will provide you with the tools and confidence to bring your vision of a black hole to life.
So, ready your imagination and gather your materials as we embark on this cosmic artistic adventure. Let’s dive into the depths of the universe and create a compelling portrayal of one of its most intriguing phenomena!
Materials Required
Before we begin, let’s gather the materials you will need to create your black hole drawing:
- Drawing paper or sketchbook
- Pencil
- Eraser
- Black ink pen or fine liner
- Charcoal or graphite pencils (optional)
- White gel pen or white charcoal (optional)
- Blending stump or cotton swabs (optional)
Now that we have everything we need, let’s dive into the steps of drawing a black hole.
Step 1: Sketch the Outline
Start by lightly sketching the outline of your black hole on your drawing paper. The shape of a black hole can vary, but a common representation is a circular or oval shape with a dark center. Keep the sketch loose and don’t worry about perfection at this stage.
Step 2: Add Dimension
To create the illusion of depth, add shading to your black hole sketch. Begin by focusing on the outer edges of the black hole and gradually darken the tones as you move towards the center. Use your pencil or charcoal to create soft gradients and shadows. Experiment with different techniques to achieve the desired effect.
Step 3: Enhance the Center
To make the center of the black hole appear even darker and more intense, use your pencil or charcoal to darken the tones further. Apply more pressure to create a solid black center. This will create a strong contrast between the outer edges and the center, adding to the dramatic effect of the black hole.
Step 4: Refine the Outline
Now that you have established the basic shape and shading of your black hole, it’s time to refine the outline. Use your pencil or fine liner to carefully trace over the initial sketch, making the lines more defined and precise. Pay attention to the curves and contours of the black hole, ensuring that it looks visually appealing.
Step 5: Add Details
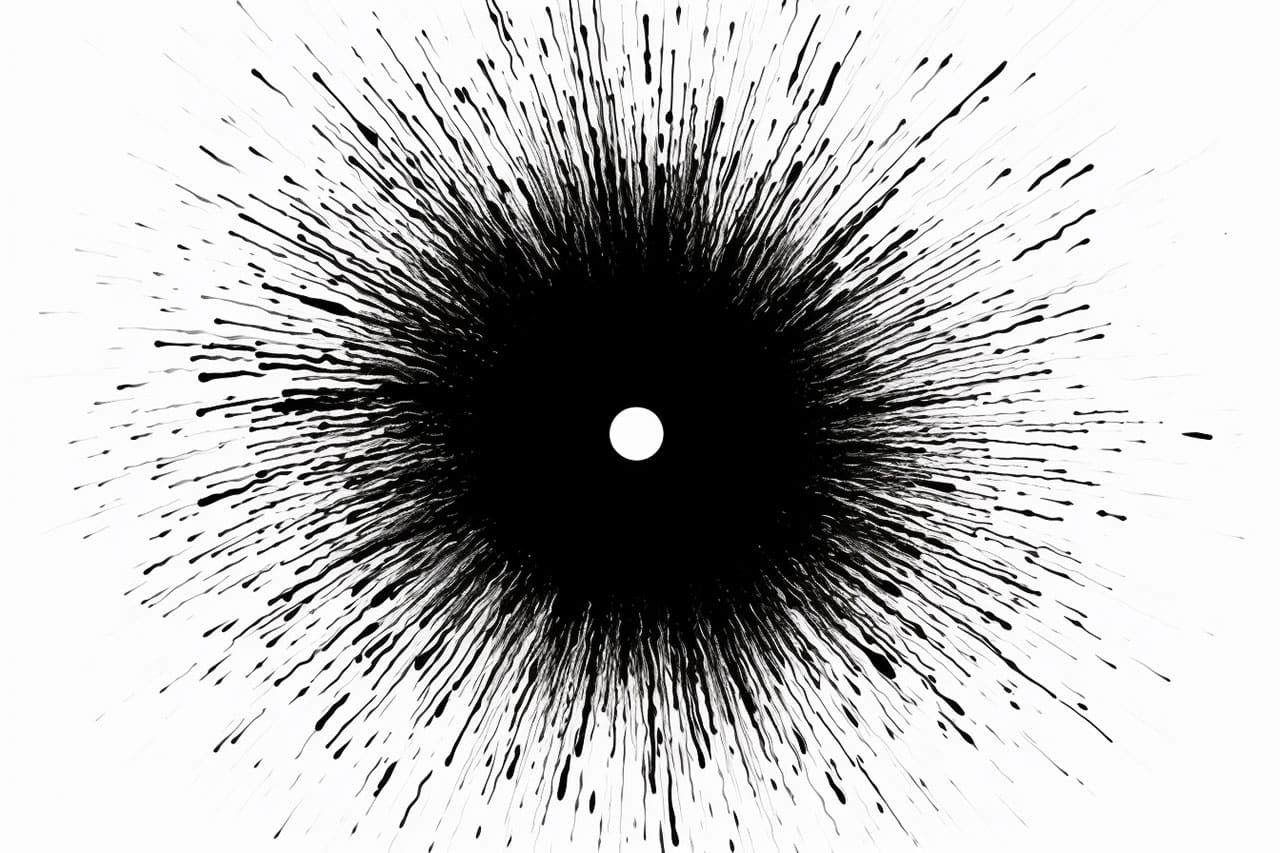
To make your black hole drawing more visually interesting, you can add some unique details. These details can include swirling lines or spirals around the black hole’s edges, which represent the powerful gravitational forces at work. Use your ink pen or fine liner to add these intricate patterns, ensuring that they flow naturally and complement the overall composition.
Step 6: Create Highlights
To add a touch of realism to your black hole drawing, create highlights on the surface. Using a white gel pen or white charcoal, carefully apply small dots or lines of white along the edges and contours of the black hole. This will enhance the three-dimensional quality of the drawing and make it more captivating.
Conclusion
Congratulations! You have successfully learned how to draw a black hole. By following these step-by-step instructions, you have created a visually striking representation of one of the most mysterious phenomena in the universe. Remember to experiment with different techniques and add your personal touch to make your black hole drawing unique. Enjoy the process and let your imagination soar!
Fun Facts About Black Holes
- Black holes have such strong gravitational forces that not even light can escape their pull, which is why they appear “black.”
- The idea of a black hole was first considered by natural philosopher John Michell in 1783, long before the term “black hole” was coined in the 1960s.
- There are three types of black holes: stellar, supermassive, and intermediate. Stellar black holes are formed by collapsing stars, while supermassive ones reside at galaxy centers.
- The closest known black hole to Earth is V616 Monocerotis, located about 3,000 light-years away in the constellation Monoceros.
- Black holes can grow by absorbing matter from their surroundings or merging with other black holes.
- Supermassive black holes can have masses millions to billions of times greater than our Sun and are found at the centers of nearly all large galaxies, including the Milky Way.
- Black holes can have powerful gravitational waves, ripples in spacetime that can be detected by observatories like LIGO and Virgo.
- In 2019, the Event Horizon Telescope produced the first-ever image of a black hole, located in the galaxy M87, stunning astronomers and the public alike.
- Time behaves differently near a black hole due to the theory of general relativity—black holes can theoretically slow down time compared to the rest of the universe.
- “Spaghettification” is the term used to describe how objects are stretched and elongated as they approach a black hole due to intense tidal forces.
Suggestions for Scenes and Settings for Black Hole Drawings
- Galactic Center: Illustrate a supermassive black hole surrounded by a swirling accretion disk of gas and stars, with jets of particles shooting out into space.
- Black Hole Collision: Show the dramatic moment of two black holes merging, with ripples of gravitational waves radiating outward across the cosmos.
- Spaghettification Zone: Depict an object getting stretched as it approaches the event horizon of a black hole, emphasizing the intense tidal forces at play.
- Event Horizon Drama: Visualize the last moment of a spacecraft before it crosses the event horizon, with a backdrop of distorted starlight and gravitational lensing.
- Wormhole Hypothesis: Draw a theoretical wormhole connection between two points in spacetime, imagined as tunnels linked by black holes.
- Intergalactic Portal: Create a scene where a black hole acts as a mysterious gateway to a parallel universe, with exotic landscapes peeking through.
- Stellar Remnants: Illustrate a stellar black hole consuming a nearby star, with stellar material being pulled into the black hole’s accretion disk.
- Time Dilation Experience: Picture an astronaut experiencing time dilation near a black hole, with Earth aging rapidly in the background.
- Virtual Particle Showdown: Depict virtual particles popping in and out of existence at the event horizon, with one particle escaping into space.
- Black Hole vs. Neutron Star: Capture the epic encounter between a black hole and a neutron star, with gravitational waves rippling from the interaction.