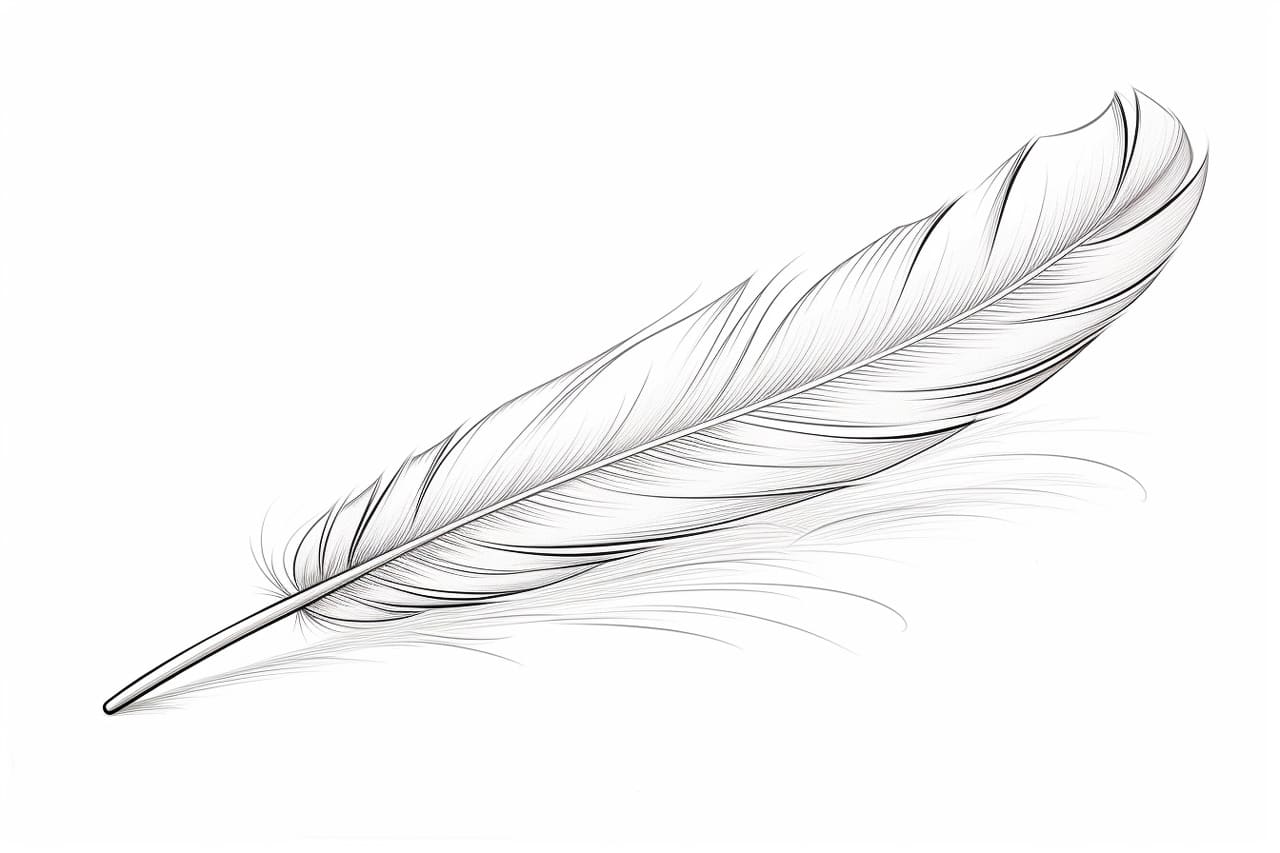
Feathers are fascinating and beautiful elements of nature that can add depth and realism to any drawing. Whether you are an aspiring artist or simply looking to explore your creative side, learning how to draw a bird feather can be a rewarding and enjoyable experience. In this step-by-step guide, we will walk you through the process of drawing a bird feather in a clear and concise manner. So, let’s get started!
Materials Required
To draw a bird feather, you will only need a few essential materials:
- Pencil: Choose a pencil that suits your comfort and preference. A mechanical pencil with various lead sizes can be particularly handy for creating different types of strokes.
- Paper: Opt for a smooth and sturdy paper that can withstand erasing and shading. A sketchbook or drawing pad is a perfect choice.
- Eraser: Keep a good quality eraser handy to correct any mistakes or smudges.
- Fine-tipped pen or marker (optional): You can also use a fine-tipped pen or marker to outline or add details to your feather drawing.
Now that you have gathered your materials, let’s dive into the step-by-step process of drawing a bird feather!
Step 1: Outline the Feather
Start by lightly sketching the outline of the feather using your pencil. Feathers come in various shapes and sizes, so you have the freedom to choose the type of feather you want to draw. Observe the feather carefully and pay attention to its overall shape and any unique characteristics it may have.
Step 2: Add the Shaft and Barbs
Next, draw the shaft of the feather. The shaft is the central part of the feather from which the barbs extend on either side. Extend the lines from the outline of the feather to create the shaft. Keep in mind that the shaft is not perfectly straight but has a slight curve to it.
Once the shaft is complete, add the barbs. Barbs are the smaller branches that attach to the shaft. Draw short, parallel lines extending from both sides of the shaft. The barbs should be evenly spaced and symmetrically arranged along the length of the shaft.
Step 3: Create the Barbs and Barbules
Now it’s time to add more detail to the feather by drawing the barbs and barbules. Barbs are the individual strands that make up the barbules. Draw small, slanted lines along each barb, starting from the shaft and extending outward. The length and angle of the barbules can vary, giving the feather a realistic texture.
Step 4: Shade the Feather
To create depth and dimension, it’s important to add shading to your feather drawing. Study the lighting conditions and determine the direction of the light source. Use your pencil to add light shading on one side of the feather and gradually darken the shading as you move away from the light source.
Blend the shading with a blending stump or your finger to achieve a smooth transition between light and dark areas. Take your time and build up the shading gradually, paying attention to the contours of the feather.
Step 5: Refine and Add Details
Now that you have the basic structure and shading of the feather, take a closer look and refine any areas that need improvement. Use your eraser to erase any stray lines or smudges. Add additional details such as smaller barbules, ligules, or any patterns or colors that may be present on the feather.
Conclusion
Drawing a bird feather can be a wonderful way to explore your artistic skills and appreciate the intricate beauty of nature. By following these step-by-step instructions, you can create a realistic and detailed feather drawing that will impress your friends and family. Remember to be patient and practice regularly to improve your drawing skills. So grab your pencil and paper, and let your creativity take flight!

