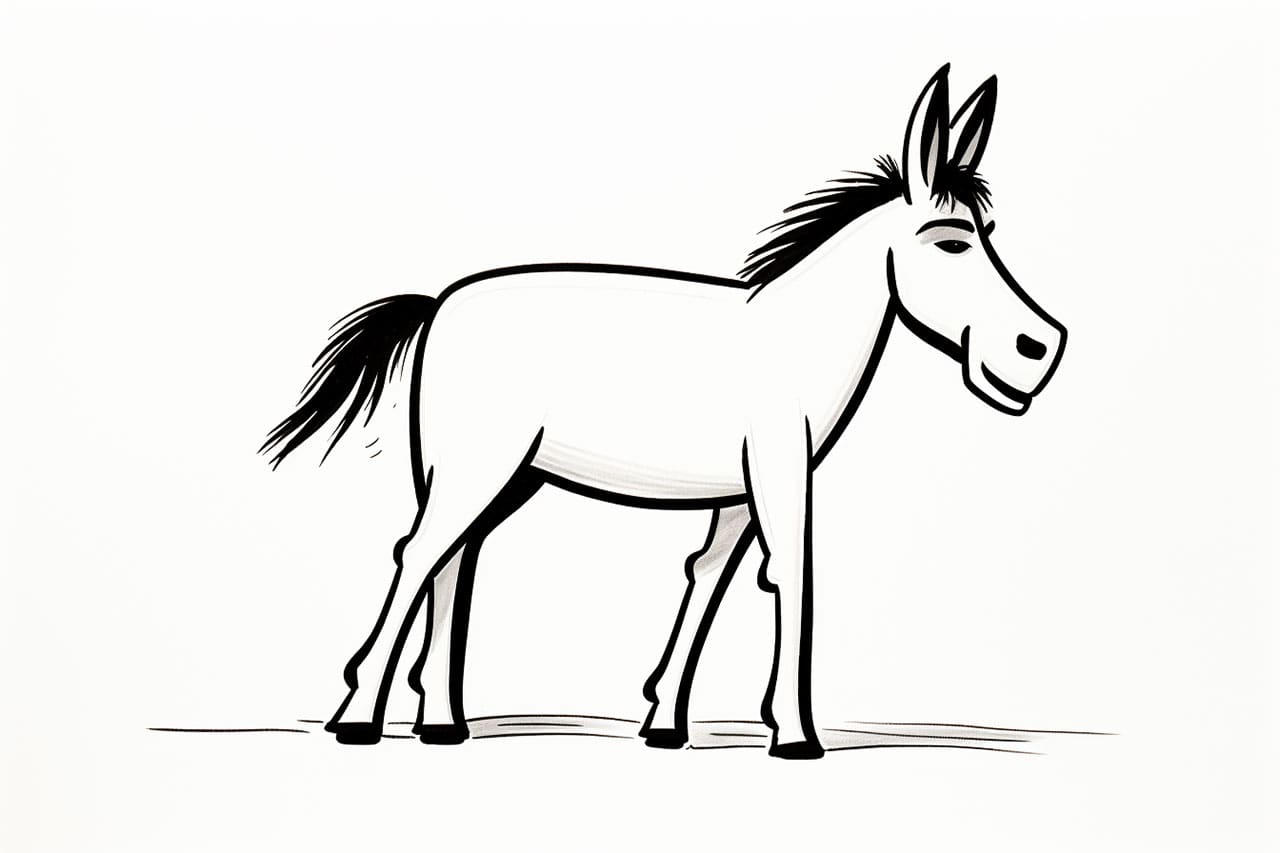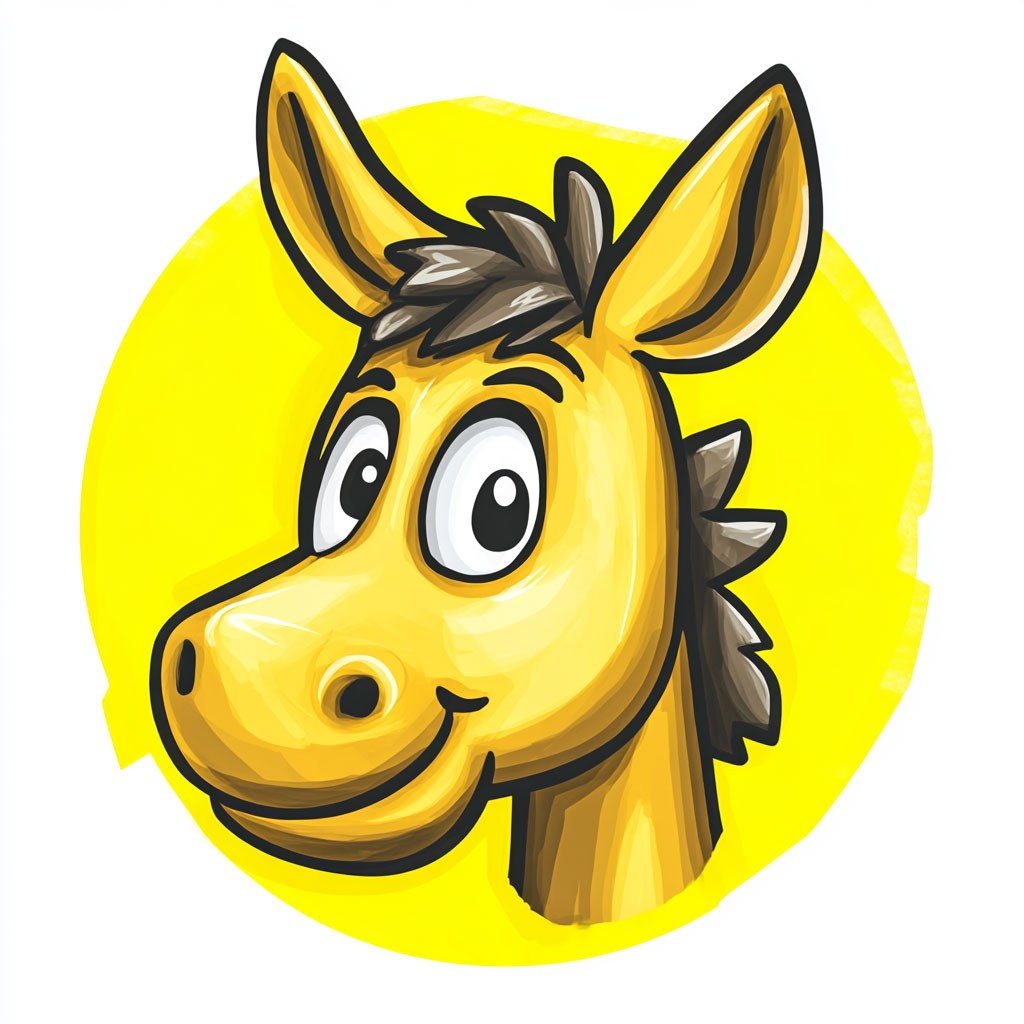
Are you ready to explore the art of drawing one of the most endearing animals in the world—the donkey? Known for their gentle demeanor, expressive faces, and iconic long ears, donkeys possess a charm that makes them a delightful subject for artists. Whether you’re looking to create a donkey-themed masterpiece, enhance your skills in animal drawing, or simply enjoy a relaxing and creative activity, this tutorial is here to guide you every step of the way.
In this step-by-step guide, we’ll break down the process of how to draw a donkey into simple, easy-to-follow stages. From sketching the donkey’s strong, sturdy frame to adding fine details like its soft fur and distinctive facial features, you’ll learn how to bring this lovable creature to life on paper. Whether you’re a beginner taking your first steps into animal art or an experienced artist refining your techniques, this guide will help you capture the essence of a donkey with confidence.
So grab your pencils, paper, and a touch of creativity, and let’s get started on drawing a donkey that’s full of character and personality!
Materials Required
Before we begin, gather the following materials:
- Pencil
- Eraser
- Paper
- Colored pencils or markers (optional)
- Reference picture of a donkey
Now that we have everything we need, let’s dive into the step-by-step process of how to draw a donkey.
How to Draw a Donkey Step-by-Step
Step 1: Start with the Basic Shapes
To begin your donkey drawing, lightly sketch the foundational shapes. Draw an oval shape for the donkey’s head, tilting it slightly to give a natural posture. Next, draw a smaller oval shape positioned at an angle just below the head for the muzzle. Connect these shapes with two curved lines to form the neck and create a smooth transition between the head and muzzle. Keep your lines light, as they’ll serve as guides for refining the drawing later.
Step 2: Add the Ears and Eyes
Now, let’s give your donkey its characteristic long ears. On top of the head, draw two elongated leaf-like shapes, slightly curved to add personality. Position them symmetrically but with a touch of variation to make the pose more dynamic.
Move on to the eyes, placing two almond-shaped ovals between the head and muzzle. Inside each eye, draw a smaller circle for the pupils and leave a tiny white spot to create a lively sparkle. This detail adds a sense of life to your donkey’s expression.
Step 3: Add Facial Features
Refine the face by adding key details. Draw a small circle on the muzzle to represent the nose, positioning it near the bottom. Add a curved line extending from the top of the head to the nose to define the division between the forehead and snout. Below the muzzle, draw two gently curved lines to form the donkey’s mouth. This will give the face a friendly, approachable appearance.
Step 4: Outline the Mane and Neck
Extend two smooth, curved lines from the back of the head to create the donkey’s neck. Use short, quick strokes along the top of the neck to draw the mane. Donkeys have thick, slightly coarse manes, so vary the length and direction of your strokes for a realistic texture. Keep the mane irregular to capture its natural look.
Step 5: Sketch the Body and Front Legs
Using the neck as a guide, extend two curved lines to create the donkey’s back and belly. Donkeys have a sturdy, compact body shape, so ensure the lines are proportional and not overly elongated.
For the front legs, extend two lines downward from the body. Add a slight curve to give the legs a natural, weight-bearing stance. At the bottom, draw a small curved line for the hoof. Repeat this step for the other front leg, ensuring both legs are consistent in size and shape.
Step 6: Draw the Hind Legs and Tail
To complete the lower body, sketch the hind legs by extending two curved lines from the back of the body. Donkeys’ hind legs are slightly longer and more angular than the front legs, so adjust the proportions accordingly. Add a curved line at the bottom to form the hooves, and repeat for the second hind leg.
For the tail, draw a long, flowing line extending from the rear of the body. Donkey tails have a tuft of hair at the end, so use quick, wavy strokes to add texture and volume to the tail.
Step 7: Add Details and Begin Shading
Now it’s time to bring your donkey to life with details. Add thin, curved lines above the eyes for expressive eyebrows, and draw small lines on the muzzle for nostrils. You can also add a gentle mouth line to give your donkey a friendly expression.
For shading, identify the light source in your drawing. Lightly shade under the neck, along the belly, and beneath the legs to create depth. Use cross-hatching or soft, gradual strokes to add dimension without overloading the drawing. Donkeys have short fur, so keep your shading light and textured to mimic their coat.
Step 8: Add Color (Optional)
If you’d like to add color, now is the time to bring out your colored pencils or markers. Donkeys typically have gray or brown coats, but they can also have patches of white or black. Use soft, layered strokes to blend different shades and create a natural, textured appearance. Add pink tones to the nose and inner ears for a realistic touch, and consider using a darker gray or brown for the mane and tail.
Wrapping Up Your Donkey Drawing
Congratulations! You’ve successfully drawn a charming and lifelike donkey. From its expressive face to its sturdy body, your artwork captures the essence of this gentle and hardworking animal.
Drawing a donkey is a wonderful way to explore anatomy, texture, and expression. With practice, you can refine your technique, experiment with poses, and even add backgrounds like farm scenes or rolling hills to enhance your composition.
Remember, art is all about enjoying the process and expressing your creativity. So keep practicing, stay curious, and let your imagination bring even more animals and subjects to life on paper. Happy drawing!
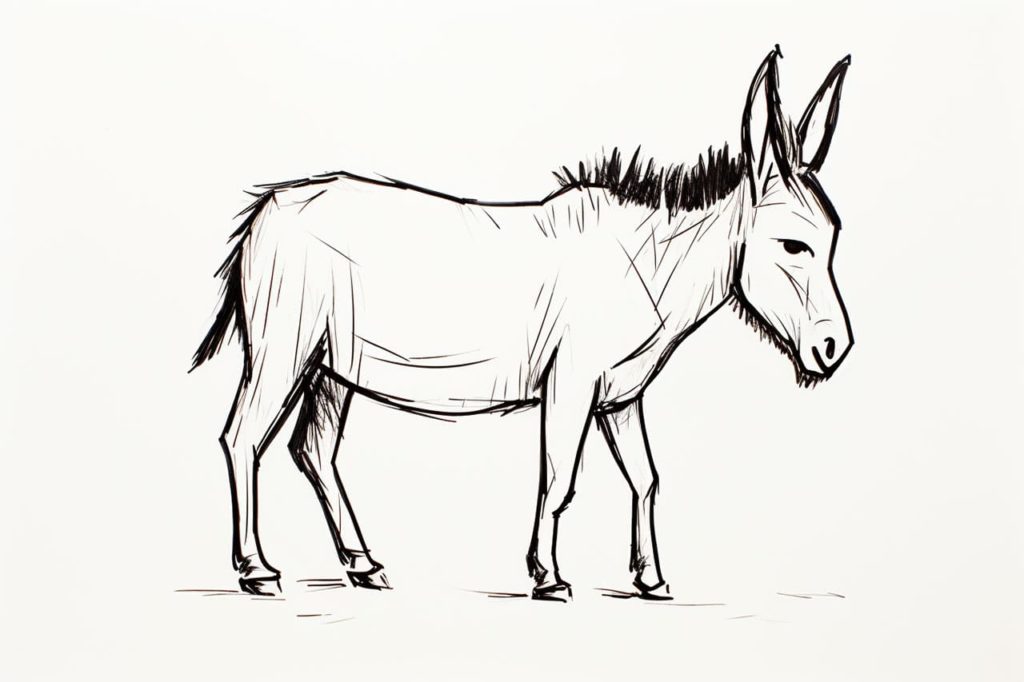
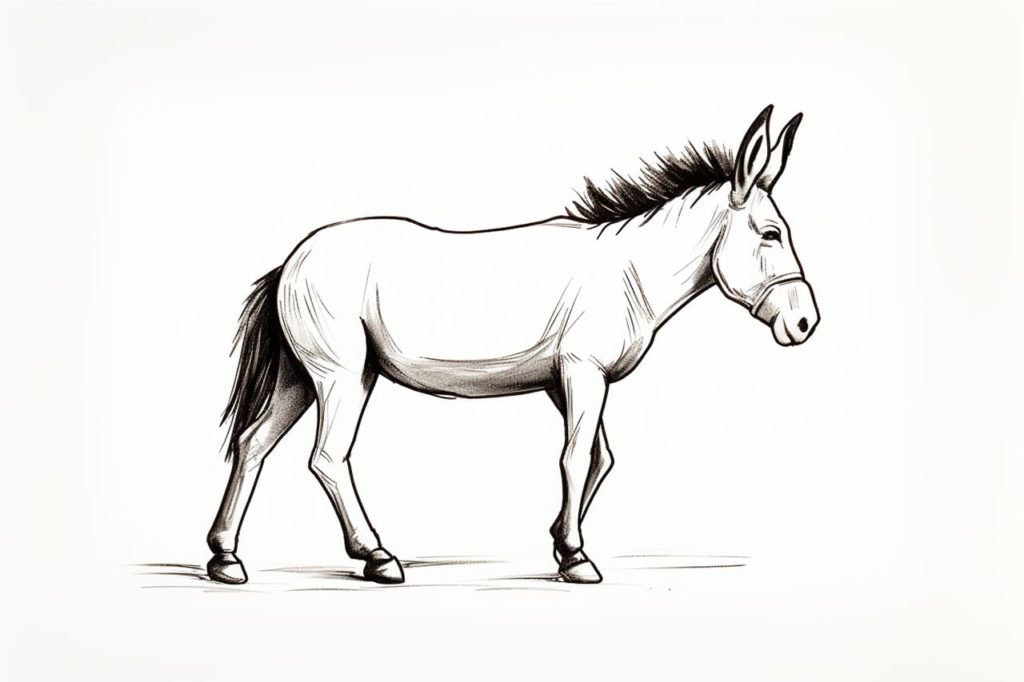
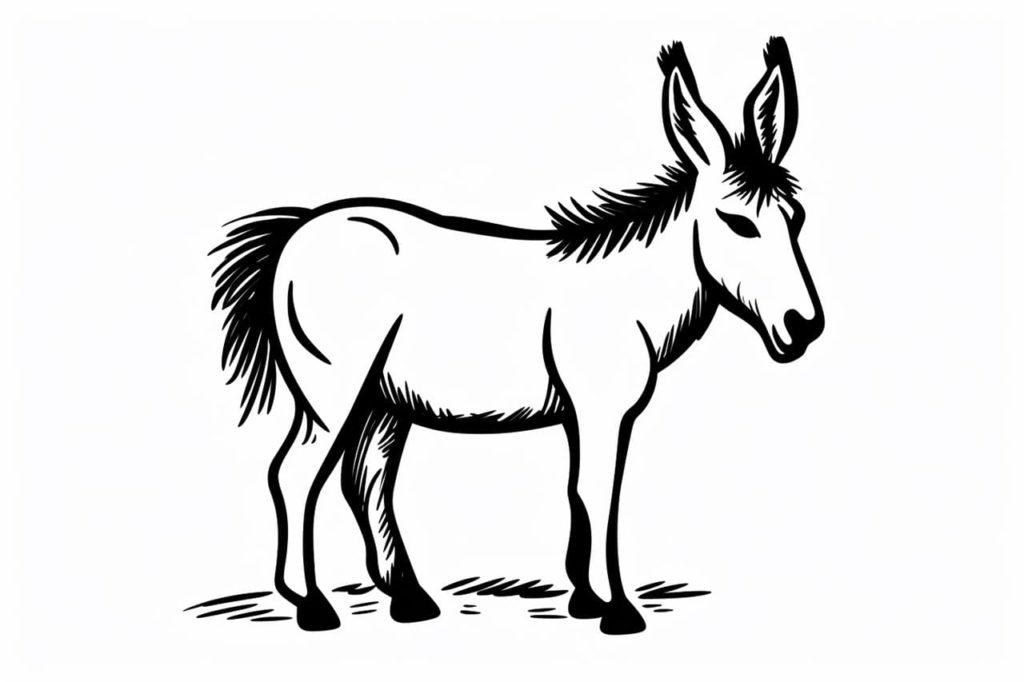
Gallery of Donkey Drawings
Fun Facts About Donkeys
- Donkeys have been used as working animals for over 5,000 years and are known for their strength and endurance.
- They are much more of a desert animal than horses, adapted to survive in harsh, dry conditions with minimal food and water.
- Donkeys can run up to 40 to 50 kilometers per hour, but are more known for their stamina than speed.
- Each donkey has a unique set of vocalizations, with brays that can be heard up to 3 kilometers away.
- There are over 100 different breeds of donkeys worldwide, varying greatly in size and color.
- Donkeys have a reputation for being stubborn, but they are actually highly intelligent and cautious, characteristics that help them survive.
- Short, upright manes and long ears are distinctive features of donkeys, aiding in temperature regulation and hearing.
- Donkeys form strong attachments to their peers and are known to be social animals, often forming close bonds with other donkeys.
- Unlike horses, a group of donkeys is referred to as a “drove” or “herd.”
- The world’s smallest donkey, the Miniature Mediterranean, stands just 76 centimeters tall at the shoulder.
Tip: When drawing your donkey, pay special attention to its unique proportions, particularly the shape of its head and ears. Start with light pencil strokes to outline the basic forms—use circles for the head and body, and elongated shapes for the ears and legs. This will help you visualize the donkey’s sturdy frame without committing to dark lines too early. Once you’re satisfied with the overall composition, gradually add details like the texture of the fur and the expression on its face, using shorter strokes for the fur to give it a soft appearance. Remember to step back periodically to assess your work from a distance; this will help you maintain proper proportions and ensure the character of your donkey shines through.
Suggestions for Scenes and Settings for Donkey Drawings
- Desert Caravan: Draw a scene of a line of donkeys wandering through sandy dunes, each laden with colorful woven baskets.
- Mountain Path: Illustrate a herd of donkeys traversing a rugged mountain trail, set against a dramatic sunrise background.
- Donkey Farm: Create a peaceful farm setting with donkeys grazing happily in a lush green pasture with a red barn in the backdrop.
- Market Day: Depict donkeys at a bustling market, standing patiently as vendors unload fresh produce from their packs.
- Medieval Castle: Imagine a castle courtyard scene where donkeys are carrying barrels of supplies, knights watching nearby.
- Storybook Adventure: Design a whimsical scene of donkeys embarking on an epic journey through enchanted forests and magical landscapes.
- Donkey Race: Showcase an action-packed race with donkeys galloping across a dusty track, spectators cheering them on.
- Winter Wonderland: Picture donkeys trotting through a snowy village, their breaths visible in the crisp winter air, with festive decorations around.
- Seaside Retreat: Draw a relaxed vibe at the beach, with donkeys resting on the sand as seagulls soar overhead.
- Festival Parade: Illustrate a lively scene with donkeys adorned in colorful ribbons and bells, parading down a street lined with applauding crowds.

