Welcome to this detailed step-by-step guide on how to draw a hawk! Hawks are one of the most powerful and majestic birds of prey, known for their sharp talons, piercing eyes, and impressive wingspan. Capturing the beauty and strength of a hawk on paper requires a keen eye for detail and an understanding of avian anatomy, but don’t worry—whether you’re a beginner or a seasoned artist, this guide will break the process down into simple, manageable steps to help you bring this fierce raptor to life.
Throughout this tutorial, we’ll cover the key elements of a hawk’s anatomy, from its strong, hooked beak and intense gaze to its intricate feather patterns and powerful wings. You’ll also learn how to add depth and realism through shading and texture, making your drawing stand out.
So, grab your pencils, sketchbook, and patience, and let’s embark on this artistic journey into the skies, where we’ll learn how to create a stunning and lifelike hawk drawing! 


Materials Required
Before we begin, make sure you have the following materials:
- Drawing paper or sketchbook
- Pencils (preferably graphite pencils of varying hardness, such as 2H, HB, 2B, and 4B)
- Eraser (a kneaded eraser is recommended for clean and easy erasing)
- Pencil sharpener
- Reference image of a hawk (you can find high-quality images online)
Now that you have your materials ready, let’s dive into the step-by-step process of drawing a hawk.
How to Draw a Hawk Step-by-Step
Step 1: Sketch the Basic Shapes
Begin by lightly sketching a circle for the head and an oval for the body of your hawk. These simple shapes will serve as the foundation of your drawing, helping you establish correct proportions and ensuring a balanced composition.
- The head should be slightly smaller compared to the body, positioned slightly above and to the front of the oval.
- The oval for the body should be elongated, reflecting the hawk’s sleek and aerodynamic shape.
- Sketch a curved line extending from the body to serve as the base of the tail.
Use light pencil strokes, as you will refine these shapes in later steps.
Step 2: Outline the Body and Wings
Now that you have your basic framework, begin shaping the hawk’s body and wings.
- Using your initial oval as a guide, refine the contours of the chest and back, making sure the body tapers slightly towards the tail.
- Sketch two curved lines extending outward from the upper part of the body to outline the wings. Hawks have broad, powerful wings, so ensure they are large but not too exaggerated.
- Draw a long, slightly fanned-out tail, as hawks use their tails for stability and maneuvering during flight.
Remember to keep your lines light and flowing, as you will refine the details in later steps.
Step 3: Drawing the Head and Facial Features
Now, focus on shaping the hawk’s head, beak, and eyes, which are essential for capturing its intense, predatory expression.
- Beak: Draw a curved, sharp beak that hooks downward. Hawks have powerful, hooked beaks designed for tearing prey, so make sure to exaggerate the curvature slightly.
- Eyes: Sketch a small circle for the eye, placing it towards the front of the head. Hawks have piercing, intense eyes, so shade the area around the eye slightly to enhance its focus.
- Facial details: Add a few short, curved lines above the eye to suggest the hawk’s brow ridge, which gives it a fierce and determined look.
Step 4: Add Feathers and Wing Details
To create a realistic texture, start adding feather details across the hawk’s body.
- Head and Neck Feathers: Use short, curved strokes to create soft, layered feathers around the neck and chest. These feathers should be slightly fluffy and ruffled, as hawks have a dense layer of plumage.
- Wing Feathers: Break the wings down into three main sections:
- Primary feathers (longest, at the tips of the wings) – These should be long, slightly pointed, and curved outward.
- Secondary feathers (middle part of the wings) – Shorter, slightly overlapping feathers that flow naturally from the primary feathers.
- Covert feathers (smallest, near the body) – These should be short and rounded, forming the transition between the wings and body.
Use a combination of smooth curved strokes and short jagged lines to give the feathers a natural appearance.
Step 5: Refine the Legs and Talons
Hawks have strong, sharp talons that help them catch and hold prey. Draw the legs extending downward, keeping them relatively short but thick and muscular.
- At the base of each leg, sketch three forward-facing toes and one rear-facing toe.
- Each toe should have a long, curved talon, slightly hooked at the tip.
- Add small ridges and texture to the legs, as hawks have scaly skin on their lower limbs.
Step 6: Add Depth with Shading and Texture
Now, bring your hawk to life by adding shading and texture.
- Identify the light source in your drawing and shade accordingly. The undersides of the wings, chest, and tail should be darker, while the upper parts remain lighter.
- Use hatching and cross-hatching techniques to create depth in the feathers.
- Add shadows under the beak and eyes to enhance the hawk’s intense gaze.
- Darken the talons and feet slightly to emphasize their sharpness and strength.
Take your time with this step, as shading is crucial for making your drawing more dynamic and realistic.
Step 7: Final Touches and Refinements
At this stage, step back and evaluate your drawing. Make any final adjustments to proportions, details, and shading.
- Darken the outlines where necessary, particularly around the eyes, beak, and talons, to make them stand out.
- Use an eraser to lighten some areas and create subtle highlights on the top of the head, wings, and tail.
- Add any final feather textures or details that might enhance the realism of the drawing.
Once you’re satisfied with your hawk, you can choose to ink the final outlines using a fine-tip pen or marker for a bold, clean finish.
Conclusion: Mastering the Art of Drawing a Hawk
Congratulations! You’ve successfully completed your hawk drawing, capturing the power, grace, and intensity of this incredible bird of prey. By following these step-by-step techniques, you’ve learned how to sketch its anatomy, define its fierce facial features, and add texture and depth to its feathers.
Drawing hawks is an excellent way to practice shading, detail work, and animal anatomy. Keep honing your skills by experimenting with different poses, wing positions, and perspectives. With patience and practice, you’ll be able to create even more dynamic and realistic hawk drawings.
So keep drawing, stay inspired, and let your creativity soar as high as a hawk in the sky!
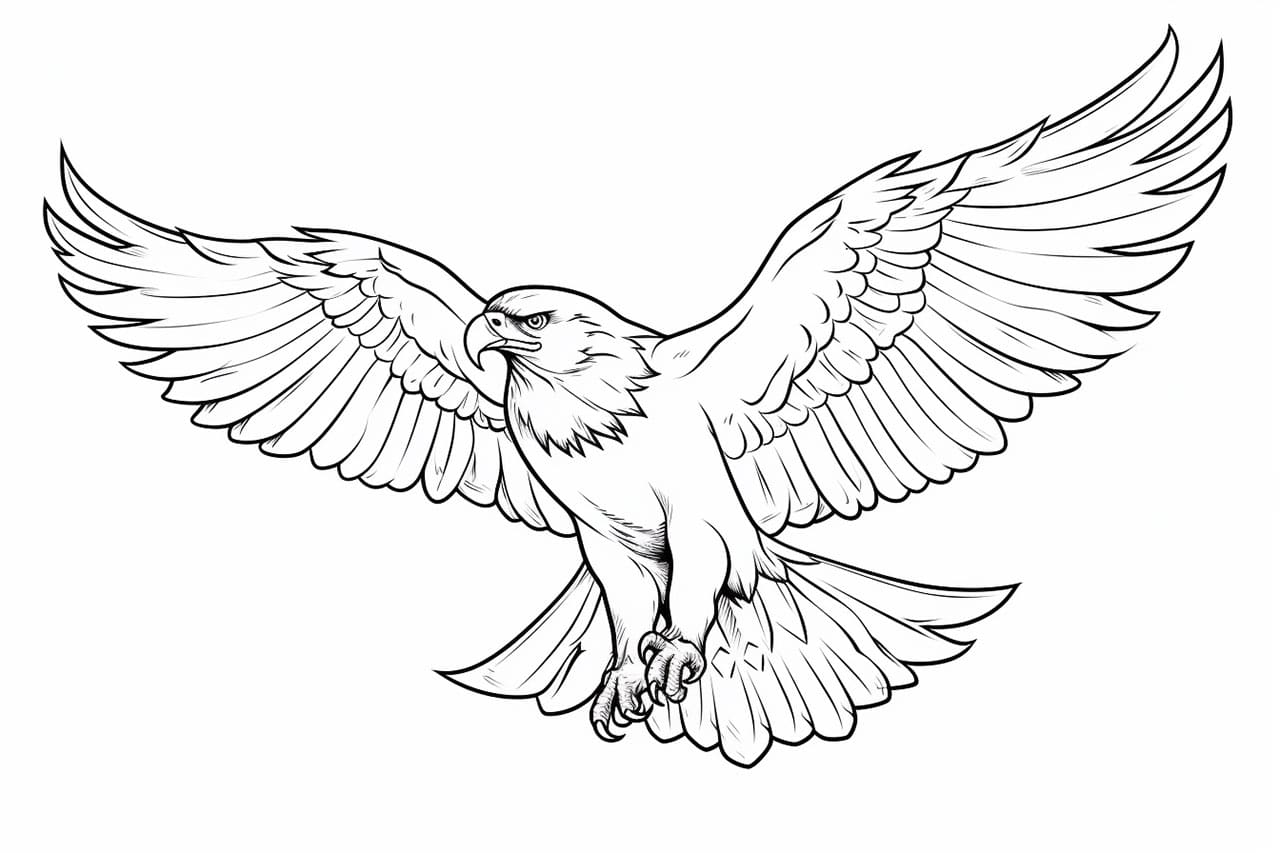
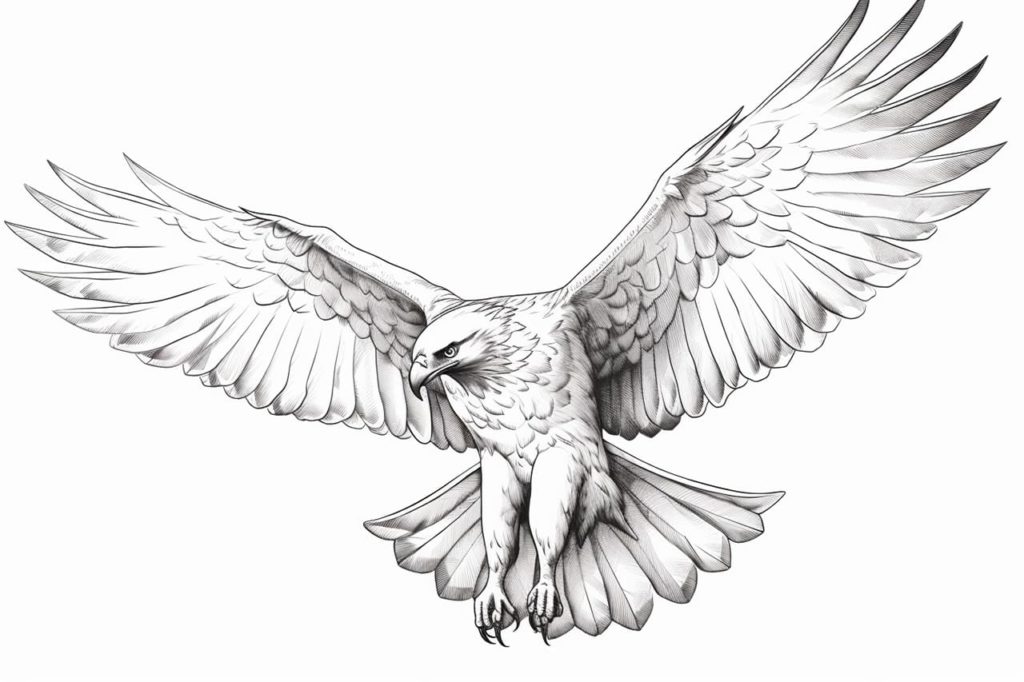
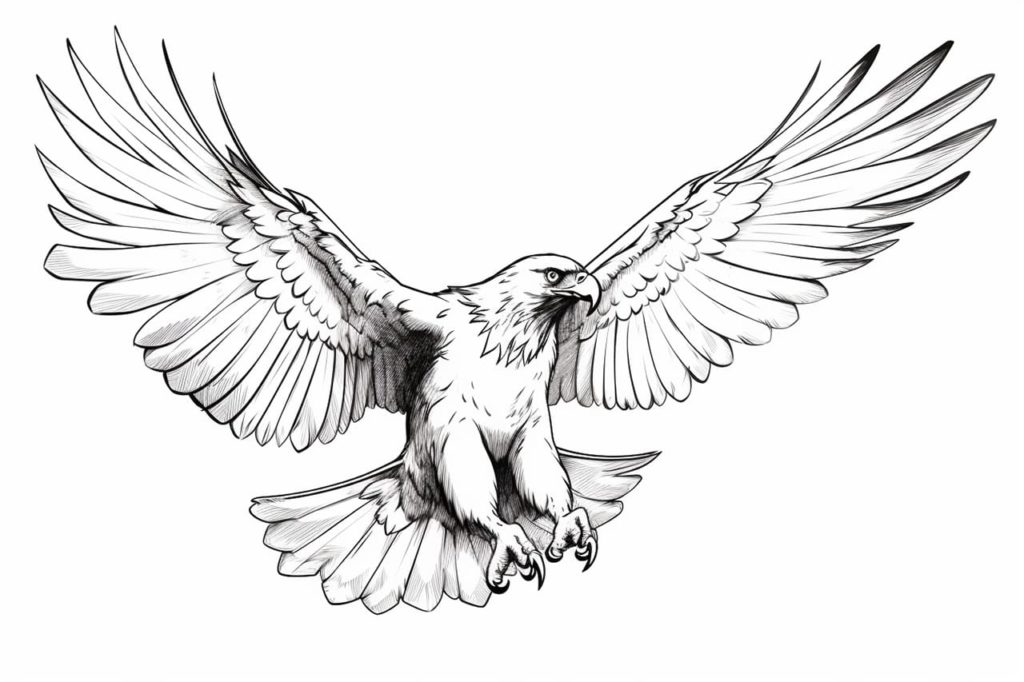
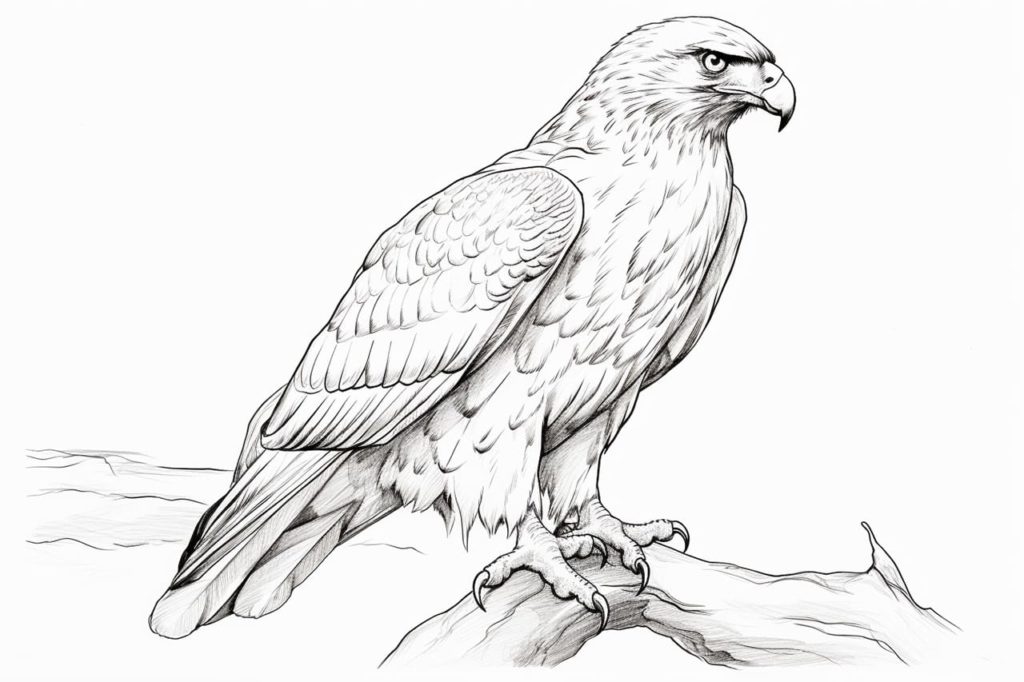
Gallery of Hawk Drawings
Related posts:
 How to Draw a Tree Frog in 6 Simple Steps
 How to Draw a Fairy in 8 Simple Steps
 How to Draw a Tulip in 7 Simple Steps
 How to Draw a Duck in 10 Easy Steps
 How to Draw a Halloween Witch in 7 Simple Steps
 How to Draw an Anime Girl in 8 Simple Steps
 How to Draw a Sunflower in 10 Simple Steps
 How to Draw Christmas Carolers in 9 Simple Steps