Water is one of the most dynamic and mesmerizing elements in nature, and mastering its movement in your artwork can take your drawings to the next level. Whether you’re depicting a serene pond, a gentle ripple from a falling raindrop, or the rhythmic waves of an ocean shore, understanding how to draw ripples in the water realistically will add depth, movement, and tranquility to your composition.
But how do you capture the subtle distortions and reflections that make water so captivating? How do you translate its fluidity and transparency onto paper? Don’t worry—this step-by-step guide will break it down into simple, easy-to-follow techniques that will help you learn how to draw ripples in the water.
Materials Required
To get started, you will need the following materials:
- Pencil or pen: Choose a pencil or pen with varying degrees of hardness for shading and outlining.
- Drawing paper: Opt for a smooth, heavyweight paper that can withstand watercolor or ink if you plan to add colors or additional details to your drawing.
- Eraser: Have a soft eraser handy to correct any mistakes or lighten areas of your drawing.
- Ruler: Use a ruler to create straight lines and maintain symmetry in your ripples.
- Blending tool: A blending stump or a cotton swab can be used for creating smooth transitions in your shading.
Now that you have your materials ready, let’s begin the process of drawing ripples in the water.
Step 1: Sketch the Basic Shape
Start by lightly sketching the basic shape of the water surface where you want to create the ripples. Use light, loose strokes to indicate the direction and flow of the water. It’s important to establish the overall shape and position of the ripples before adding any details.
Step 2: Determine Light Source
Identify the direction of the light source in your artwork. This will help you determine where the shadows and highlights will fall on the ripples. Consistency in lighting throughout your drawing will create a more realistic depiction of water.
Step 3: Add the First Ripple
Begin by drawing a slightly curved line across the water surface. This line will serve as the center of your first ripple. Keep in mind that ripples are not perfectly symmetrical, so avoid making the line too uniform. Start with a gentle curve and gradually increase the amplitude towards the center.
Step 4: Expand the Ripples
From the centerline, draw additional curved lines on both sides to create the outward expansion of the ripple. These lines should gradually decrease in size and amplitude as they move away from the center.
Step 5: Define the Curvature
To make the ripples look more three-dimensional, add a gentle curve to each individual line. This will create the illusion of the water’s surface bending and folding as the ripples propagate.
Step 6: Refine the Shape
Using your ruler as a guide, refine the shape of the ripples by drawing straight lines that intersect the curved lines. These lines will give structure to the ripples and help create a more realistic appearance. Adjust the length and angle of these lines to match the desired level of detail and depth in your drawing.
Step 7: Shade the Ripples
To bring your ripples to life, add shading to create dimension and contrast. Start by identifying the areas of the ripples that would be in shadow, typically on the side opposite to the light source. Use light, hatching or cross-hatching strokes to create a gradation of shadows, gradually building up the darkness for a realistic effect.
Step 8: Add Highlights
Next, identify the areas of the ripples that catch the most light. Lightly shade these areas with a softer pencil or pen to add highlights. Vary the pressure of your strokes to create a sense of depth and reflection on the water’s surface. Be careful not to overdo it; subtle highlights are often more effective.
Step 9: Blend and Soften
Use a blending stump or a cotton swab to gently blend and soften the shading and highlights. This will help create smooth transitions and a more realistic appearance. Take your time and blend in the direction of the ripples to maintain their shape and flow.
Step 10: Details and Finishing Touches
Finally, add any additional details or finishing touches to enhance your drawing. You may want to add surrounding elements like rocks or vegetation to provide context and further emphasize the water’s movement. Experiment with different textures and techniques to achieve the desired effect.
Conclusion
Drawing ripples in the water is a skill that can greatly enhance the realism and visual impact of your artwork. Ripples can be added to almost any body of water, like an ocean or a pool. By following the step-by-step instructions outlined in this guide, you will gain the knowledge and confidence to create lifelike ripples that capture the essence of water. Remember to practice regularly, experiment with different techniques, and have fun exploring the beauty of water in your drawings.
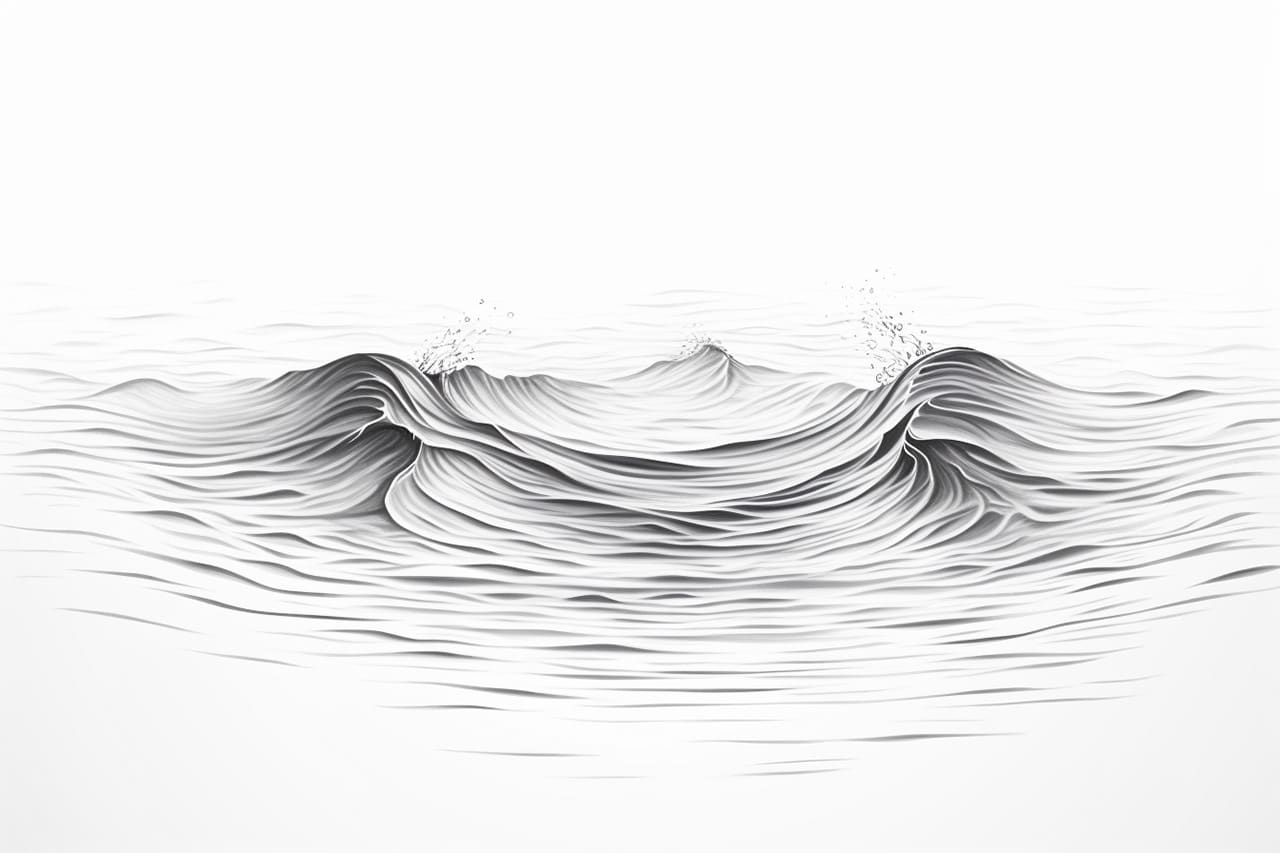
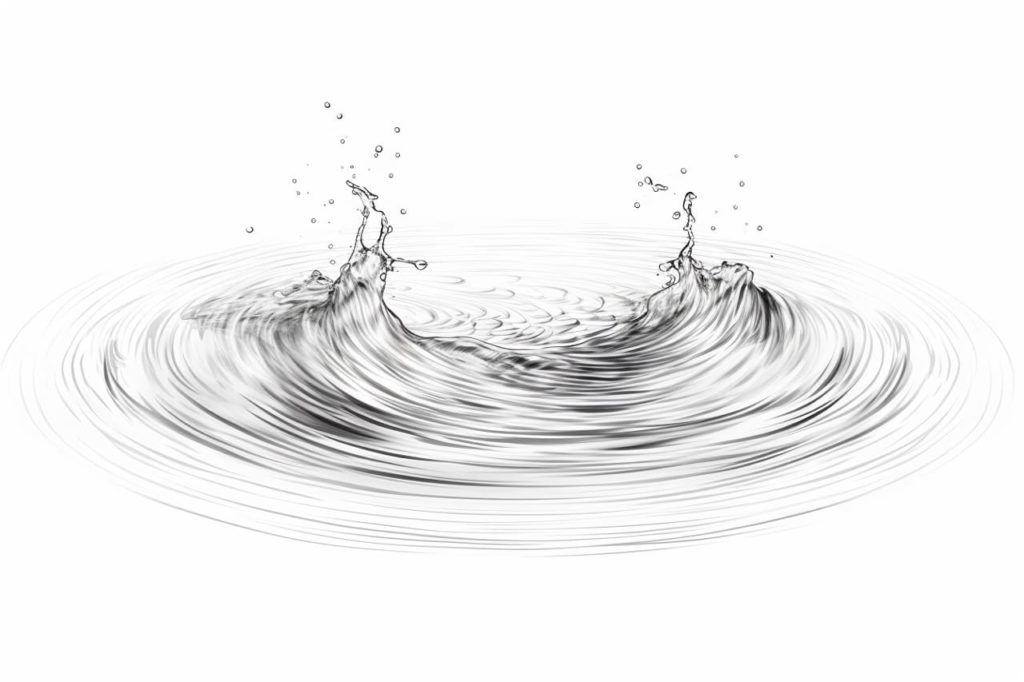
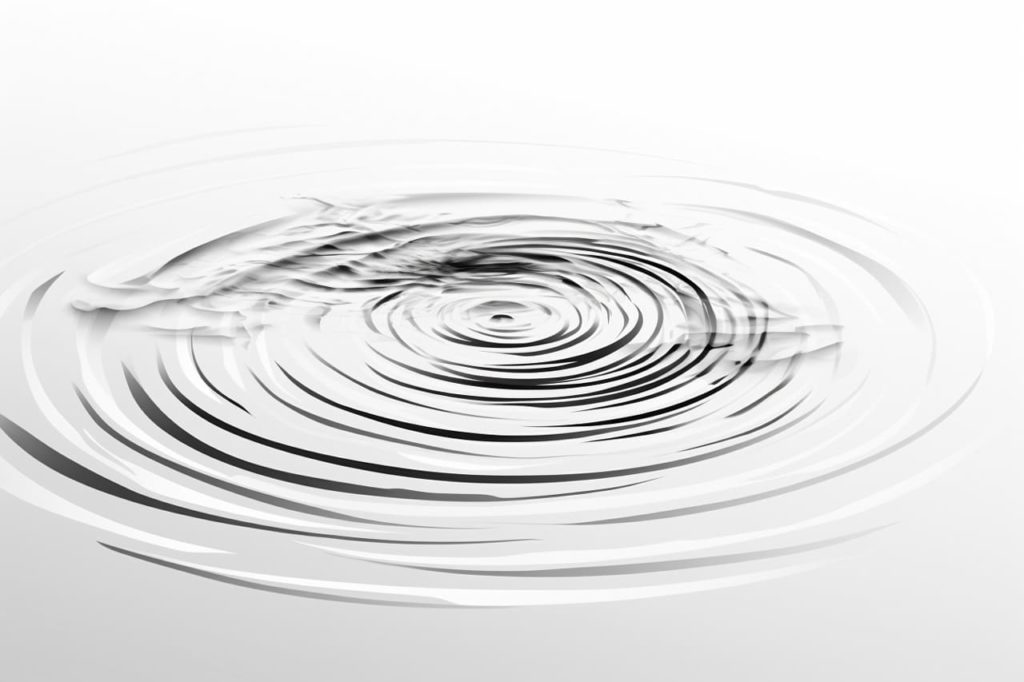
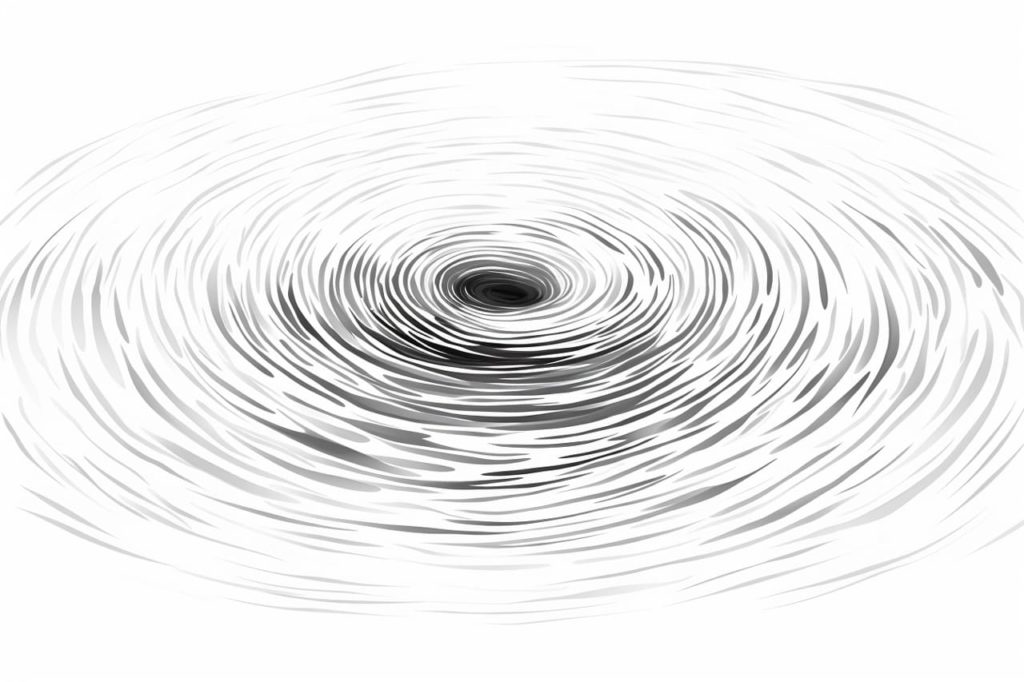
Gallery of Ripples in Water Drawings
A gallery of further inspiration when learning how to draw water ripples.
Related posts:
 How to Draw Christmas Lights in 9 Simple Steps
 How to Draw a Plant in 6 Easy Steps
 How to Draw Valentines
 How to Draw a Lotus Flower in 10 Easy Steps
 How to Draw a Mushroom in 7 Simple Steps
 How to Draw a Pumpkin Easy – A Guide for Beginners
 How to Draw a Halloween House in 7 Spooky Steps
 How to Draw a Mountain in 6 Simple Steps