Have you ever gazed at a fresh loaf of bread and wished you could capture its beauty on paper? Drawing a realistic loaf of bread is more than just replicating shapes; it’s about embodying the rich textures, the golden crust, and the inviting aroma that makes bread such a beloved staple around the world. In this detailed step-by-step guide, we’ll explore the art of drawing bread, breaking it down into manageable steps that cater to both beginners and seasoned artists alike.
Whether you’re hoping to create mouth-watering illustrations for a cookbook, practice your still-life skills, or simply indulge in the joy of drawing, this tutorial provides the tools you need to succeed. We’ll cover everything from the basic structure to intricate details that breathe life into your artwork. So, gather your materials, find a comfortable spot, and let’s embark on this creative journey to bring a loaf of bread to life through your drawings!
Materials Required
To draw bread, you will need the following materials:
- Pencil (preferably HB or 2B)
- Eraser
- Paper (thick or heavyweight paper is recommended for better results)
- Blending stump or cotton swabs (optional, for blending and shading)
- Reference image of bread (you can find images online or use a loaf of bread as a reference)
Now that you have all the necessary materials, let’s dive into the step-by-step process of drawing bread.
Step 1: Outline the Basic Shape
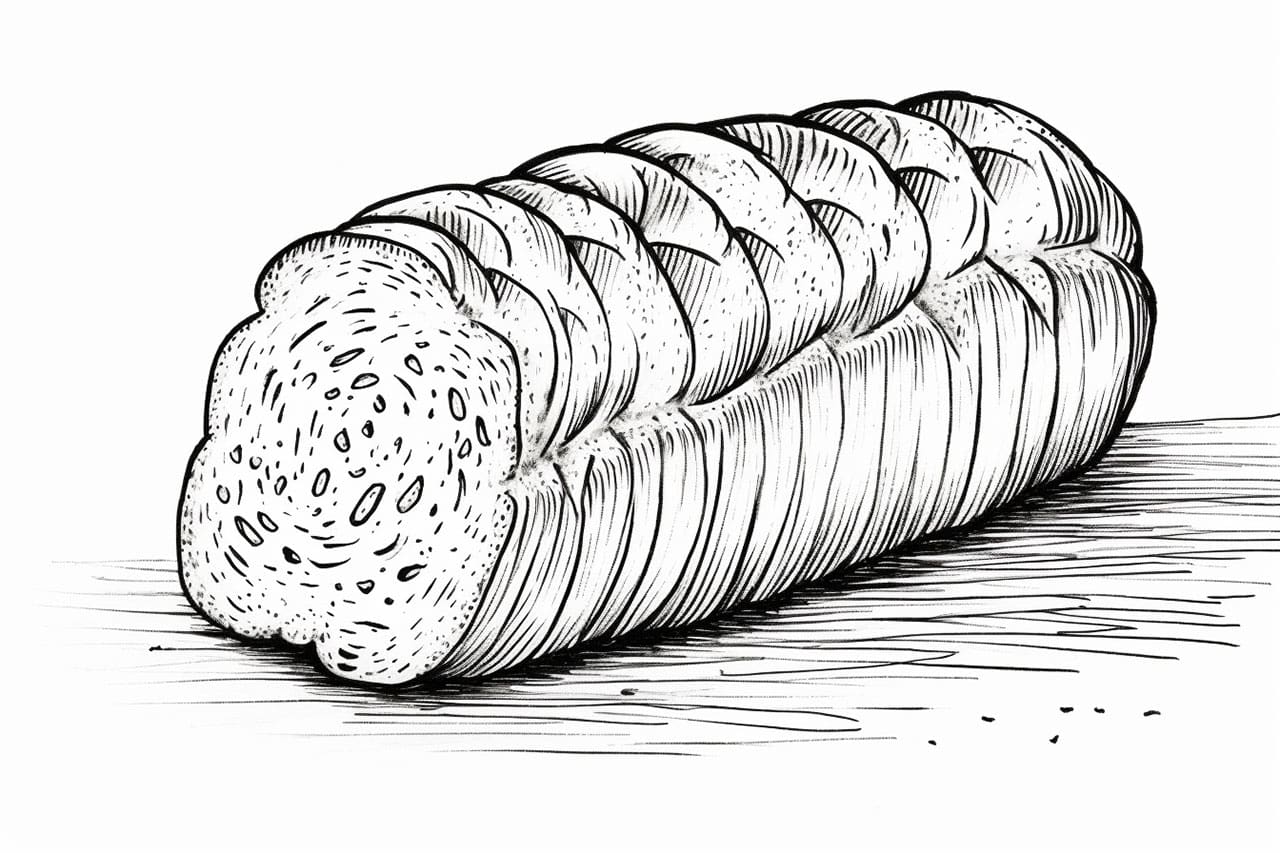
Start by lightly sketching the basic shape of the bread using your pencil. Bread can come in various shapes, so choose the one you prefer or use your reference image as a guide. Keep your lines loose and don’t worry about making them perfect at this stage. Focus on capturing the overall shape and proportions of the bread.
Step 2: Add Texture and Crust Lines
Next, add texture to the bread by lightly sketching lines across its surface. Bread often has a slightly rough texture, so use short, curved lines to depict this. Pay attention to the direction of the lines, as they should follow the shape of the bread. Additionally, add some irregular lines to represent the crust, which is usually darker and harder than the rest of the bread.
Step 3: Define the Slices
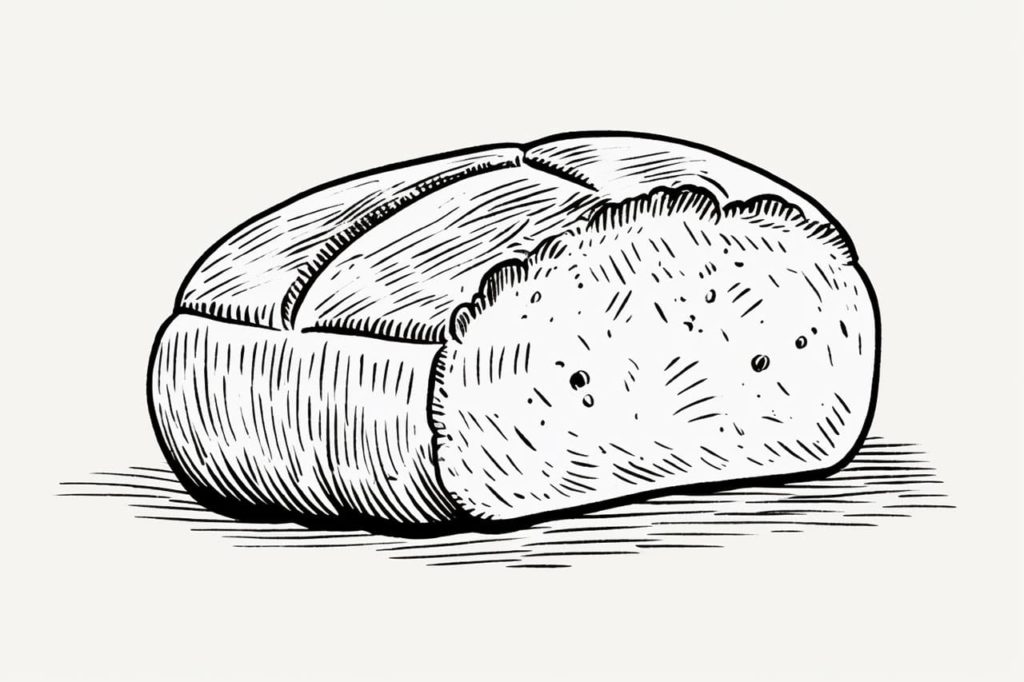
If you want to draw a sliced loaf, sketch the cuts or slices on the top of the bread. These lines should be slightly curved and go through the surface of the bread. Remember to make the slices uneven and slightly jagged to give them a realistic appearance.
Step 4: Shade the Bread
Start shading the bread to give it depth and form. Begin by identifying the areas of the bread that are in shadow. Typically, the underside and sides of the bread will be darker than the top. Use your pencil to apply light shading to these areas, gradually building up the darkness as needed. Remember to observe your reference image or a real loaf of bread for accurate shading.
Step 5: Add Highlights and Details
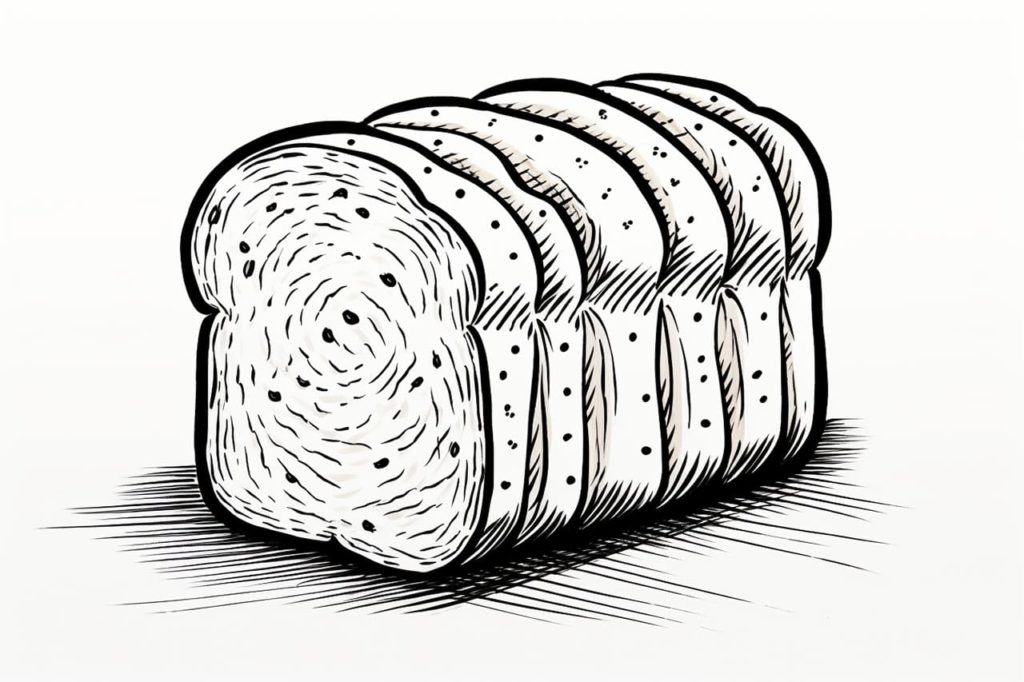
To make the bread appear more realistic, add highlights and details. Use an eraser to carefully lighten certain areas of the bread where light would hit it directly. This will create the illusion of shine and highlight the texture. Pay attention to the curves and crevices of the bread, adding subtle shadows and highlights to enhance its three-dimensional appearance.
Step 6: Refine and Blend
Take a step back and assess your drawing. Look for any areas that need refinement or adjustment. Use your pencil or eraser to make any necessary changes. If you want a smoother and more blended look, you can use a blending stump or cotton swabs to gently blend the shading and texture lines. This will create a more seamless and realistic representation of the bread.
Step 7: Finalize the Drawing
Once you are satisfied with your drawing, make any final touches or adjustments as needed. Pay attention to the overall composition and balance of the drawing. If desired, you can also add additional elements such as a plate or a knife beside the bread to enhance the visual storytelling. Take your time and enjoy the process of bringing your bread drawing to life.
Conclusion
Drawing bread may seem challenging at first, but with the right techniques and practice, you can create a deliciously realistic representation. By following the step-by-step instructions in this tutorial, you have learned how to capture the texture, shape, and details of bread in your drawings. You can also use your new-found knowledge of drawing bread to practice how to draw a sandwich. Remember to be patient, observe your reference image, and have fun with the process. So grab your pencils and start drawing some mouth-watering loaves of bread!
Gallery of Bread Drawings
Fun Facts About Bread
- Bread is one of the oldest prepared foods, with evidence of its production dating back over 30,000 years.
- The French baguette is said to have originated in Paris, and is regulated by strict laws that dictate its size and ingredients.
- Sourdough bread is made with a naturally fermented starter, which can live for years, passed down from baker to baker.
- In ancient Egypt, bakers played a critical role, producing bread that was essential to Egyptian culture and economy.
- Challah, a traditional Jewish bread, is often braided and served on special occasions like Shabbat and Jewish holidays.
- Bread was so vital in Medieval Europe that laws were enacted to regulate its price and weight to prevent cheating customers.
- Pita bread, primarily found in Middle Eastern cuisine, is known for its pocket, created by steam during baking.
- Many cultures include bread-breaking rituals that symbolize unity and hospitality.
- Some breads contain added vitamins and minerals, important for nutrition in many societies historically lacking in other resources.
- The crust of bread used to be considered armor against pests and spoilage, preserving the softer interior for longer periods.
Suggestions for Scenes and Settings for Bread Drawings
- Bread Bakery: Draw an inviting scene of a cozy bakery with baskets of assorted bread loaves and baguettes on display.
- Picnic Spread: Illustrate a picnic blanket spread with a variety of breads, cheese, fruits, and a scenic meadow in the background.
- Vintage Bread Mill: Create a historical setting with a rustic mill, showing how grains are turned into flour for bread-making.
- Bread in Space: Imagine a whimsical scene where different types of bread orbit planets, showing bread as astronauts’ snacks.
- Bread People Village: Draw a village where the inhabitants are anthropomorphic loaves of bread, living in bread-shaped houses.
- Cheese Fondue Gathering: Picture an Alpine scene with people gathered around a pot of cheese fondue, dipping various breads.
- Bread Festival: Design a lively festival setting with stalls selling global bread varieties and people sampling them.
- Bread Market Boogie: Show animated breads dancing in a bustling market scene with lively music and smiling faces.
- Bread and Classic Literature: Paint a library setting where books tell the stories of famous breads around the world.
- Ancient Bread Oasis: Conceptualize a mythical world where explorations lead travelers to an oasis of endless bread varieties.