Welcome to our delightful journey of artistic expression, where we’ll explore the vibrant world of the blue jay! Known for their striking blue feathers and engaging personalities, blue jays captivate bird watchers and art enthusiasts alike. These birds, which belong to the Corvid family, not only boast aesthetic beauty but also possess remarkable intelligence and social behaviors. In this step-by-step guide, you will learn how to translate the essence of a blue jay onto your canvas, enabling you to capture one of nature’s stunning avian wonders.
Drawing a blue jay might appear daunting at first glance, but fear not! With the right techniques and a bit of practice, you can learn how to draw a blue jay. This guide will break down the drawing process into manageable steps, making it easy for beginners and seasoned artists alike to follow along. By gathering some basic materials and dedicating a little time, you’ll soon find yourself immersed in the joy of creating art.
So, get ready to unleash your creativity! We’ll walk through each phase of the drawing process together, ensuring you capture the detailed features and brilliant colors that make blue jays so special. Let’s spread our wings and dive into the world of sketching these vibrant birds!
Materials Required
Before we begin, let’s gather the materials we will need for this drawing:
- Drawing paper or sketchbook
- Pencils (HB, 2B, and 4B)
- Eraser
- Fine-tip black marker or pen
- Colored pencils or markers (optional)
Make sure to set up a comfortable and well-lit workspace before you begin. Once you have everything ready, let’s proceed with the first step.
Step 1: Basic Structure
To start, we will establish the basic structure of the blue jay. Begin by drawing a circle for the head and a slightly elongated oval shape for the body. Position them in a way that the head slightly overlaps the body. This will give a realistic appearance to our bird.
Step 2: Adding Guidelines
Next, we will add some guidelines to help us with the placement of facial features and feathers. Draw a vertical line down the center of the head, and then draw a horizontal line across the middle. These lines will serve as a reference for the eyes, beak, and other details.
Step 3: Eye and Beak
Now, let’s focus on the eye and beak of the blue jay. Start by drawing the eye along the horizontal guideline, towards the left side of the head. Blue jays have a distinctive black band across their eyes, so make sure to include that detail. Next, draw a small triangle-shaped beak below the eye, pointing slightly downwards.
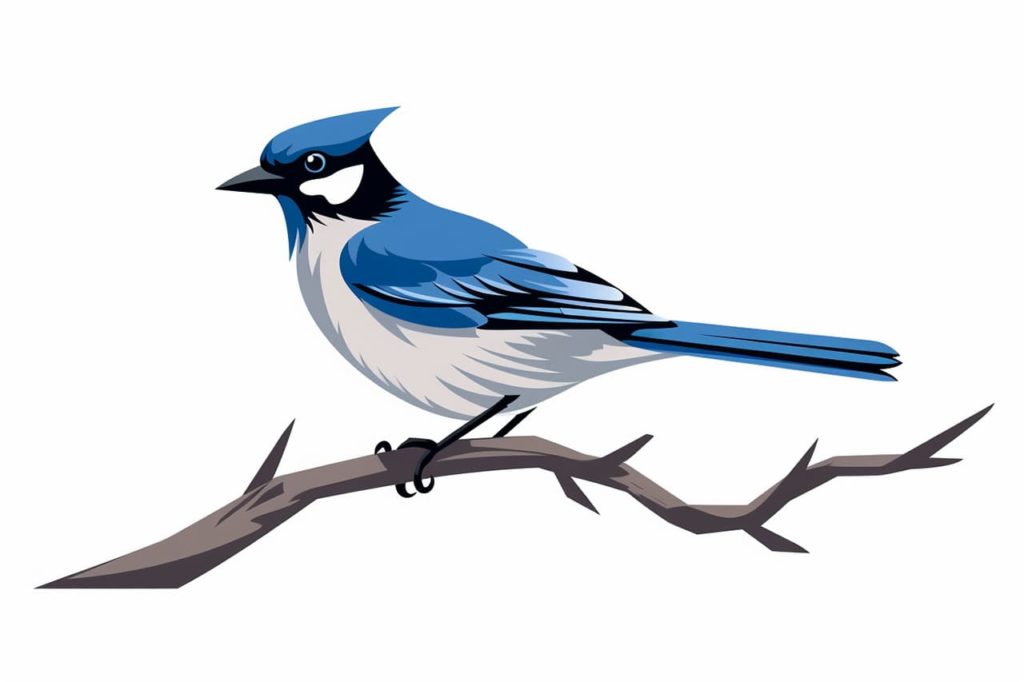
Step 4: Head and Crest
It’s time to bring the head and crest of the blue jay to life. Draw a curved line from the top of the head, going slightly towards the back, to create the crest. Blue jays have a unique feather pattern on their crest, so add some feather-like lines to depict this feature. Don’t forget to give the head a rounded shape by adding curves around the eye.
Step 5: Body and Wings
Let’s move on to the body and wings of our blue jay. Starting from the back of the head, draw a smooth curved line to connect it with the oval shape we drew earlier for the body. This will be the upper outline of the bird’s body. Extend the line further towards the right side, curving it upwards slightly to create the shape of the tail. Next, draw the wing on the left side of the body, using curved lines to indicate the feathers.
Step 6: Feathers and Details
Now that we have the basic structure in place, it’s time to add some feather details and markings to make our blue jay drawing more realistic. Blue jays have distinct black and white markings on their wings and tail. Use your fine-tip black marker or pen to outline and define these markings. Make sure to follow the reference image or your own observation to get the pattern right.
Step 7: Face and Color
Let’s bring the face of our blue jay to life. Add some details to the eye, such as the pupil and a small highlight to give it a lively appearance. Use your pencils to lightly shade the eye area, gradually darkening it towards the upper side. Blue jays have a beautiful blue color, so use your colored pencils or markers to carefully fill in the feathers with shades of blue and white. Blend the colors smoothly to create a realistic texture.
Step 8: Final Touches
To complete your blue jay drawing, add some final touches. Use your pencils to shade and add depth to the feathers, especially around the wings and tail. Don’t forget to erase any unnecessary guidelines and pencil marks. You can also add a background to your drawing, such as a tree branch or some leaves, to enhance the overall composition.
Congratulations! You have successfully drawn a blue jay. With practice, you will become even more proficient in capturing the unique features and characteristics of this stunning bird.
Conclusion
Drawing a blue jay may seem challenging at first, but with the step-by-step instructions outlined in this guide, you can create a beautiful representation of this incredible bird. Remember to be patient, practice regularly, and have fun with your artwork.
So grab your pencils, follow the steps, and let your creativity soar as you bring the vibrant blue jay to life on paper. Happy drawing!
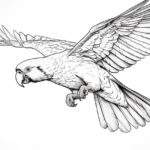
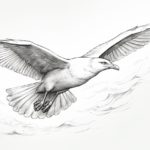
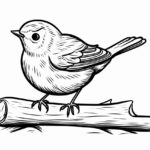
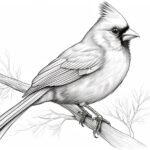
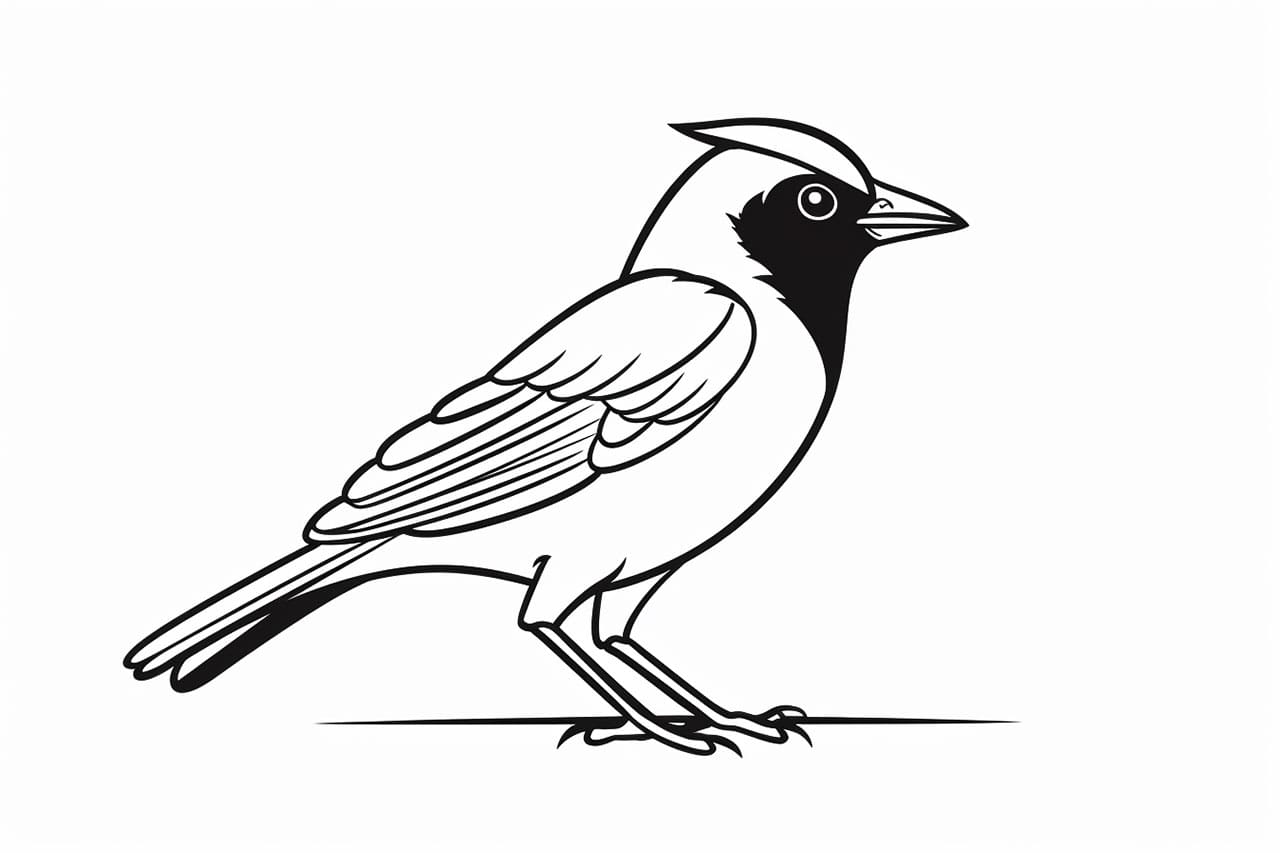
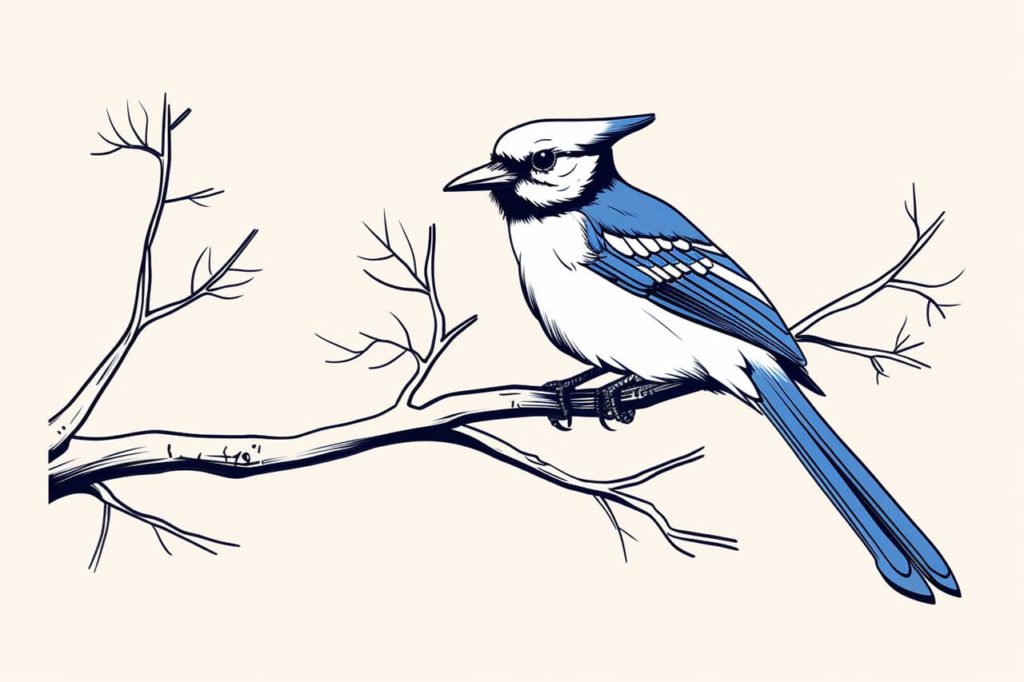
Gallery of Bluejay Drawings


Fun Facts About Blue Jays
- Blue Jays are known for their striking blue, white, and black plumage, but their feathers are actually brown; the blue appearance is due to light scattering.
- They are members of the Corvid family, which makes them relatives of crows and ravens, known for high intelligence and complex social behaviors.
- Blue Jays have a wide variety of calls and are excellent mimics, sometimes imitating hawks to scare away other birds or predators.
- These birds are native to North America and are commonly found in eastern and central United States, as well as southern Canada.
- Blue Jays are omnivores; their diet consists of nuts, seeds, fruit, insects, and occasionally small vertebrates like frogs or bird eggs.
- They are known for their curious and bold nature, often seen stealing shiny objects or exploring human environments.
- Blue Jays are monogamous and form strong pair bonds, often staying with the same mate throughout their lives.
- Their name is thought to have originated from the French word “gai,” meaning cheerful or merry, reflecting their vibrant appearance and lively behavior.
- Blue Jays are helpful to the environment as they are known to plant seeds and acorns, inadvertently aiding in forest growth and regeneration.
- Despite their noisy and aggressive reputation, Blue Jays can be surprisingly affectionate and nurturing parents to their young.
Suggestions for Scenes and Settings for Blue Jay Drawings
- Forest Canopy: Illustrate a vibrant woodland scene with Blue Jays flitting from branch to branch, their blue feathers contrasting against the lush green leaves.
- Winter Wonderland: Draw a group of Blue Jays against a backdrop of snow-covered trees, their brilliant plumage adding a splash of color to the frosty landscape.
- Urban Explorer: Create a scene of adventurous Blue Jays perched on city architecture, curious about the bustling world below them.
- Garden Gathering: Imagine Blue Jays joining a peaceful garden party, hopping around birdbaths and flower beds in search of snacks.
- Autumn Harvest: Depict a fall setting with Blue Jays busily collecting acorns and seeds, leaves swirling around in a colorful dance.
- Lake Reflection: Capture the tranquil moment of Blue Jays resting by a still lake, their reflections rippling in the water as they watch for insects.
- Nighttime Roost: Draw a serene evening scene where Blue Jays settle down in a tree hollow, under the soft glow of moonlight filtering through branches.
- Family Nest: Visualize a Blue Jay family tending to their nest, with eager chicks peeking over the edge and parents bringing food.
- Spring Awakening: Show Blue Jays welcoming the renewal of spring with joyous calls, surrounded by blooming flowers and new foliage.
- Treetop Silhouettes: Imagine Blue Jays silhouetted against a fiery sunset sky, their graceful forms highlighted by the fading light.