Welcome to a delightful journey in art as we explore how to draw sushi! This step-by-step guide is perfect for anyone looking to blend creativity with delicious imagery. Whether you are a seasoned artist or a beginner looking for a fun project, drawing sushi offers a unique opportunity to express your skills while indulging in an iconic culinary favorite.
In this tutorial, you’ll learn how to create a realistic and mouth-watering sushi drawing, tailored for all experience levels. We’ll break the process down into easy-to-follow steps, ensuring that you feel confident and inspired every step of the way. So, gather your drawing materials and prepare to bring the colorful world of sushi to life on your paper!
Are you ready to dive into the art of sushi drawing? Grab your pencil, get comfortable, and let’s get started on this creative adventure!
Materials Required
To begin drawing sushi, you will need a few basic materials:
- Pencil: A graphite pencil of medium hardness (HB) will work well for sketching the initial outlines.
- Eraser: A soft eraser is essential for removing any mistakes or unwanted lines.
- Paper: Use a clean, white sheet of paper that is of appropriate size for your drawing.
- Colored Pencils: Optional, but if you want to add color to your drawing, colored pencils will be handy.
Now that you have your materials ready, let’s dive into the step-by-step process of drawing sushi!
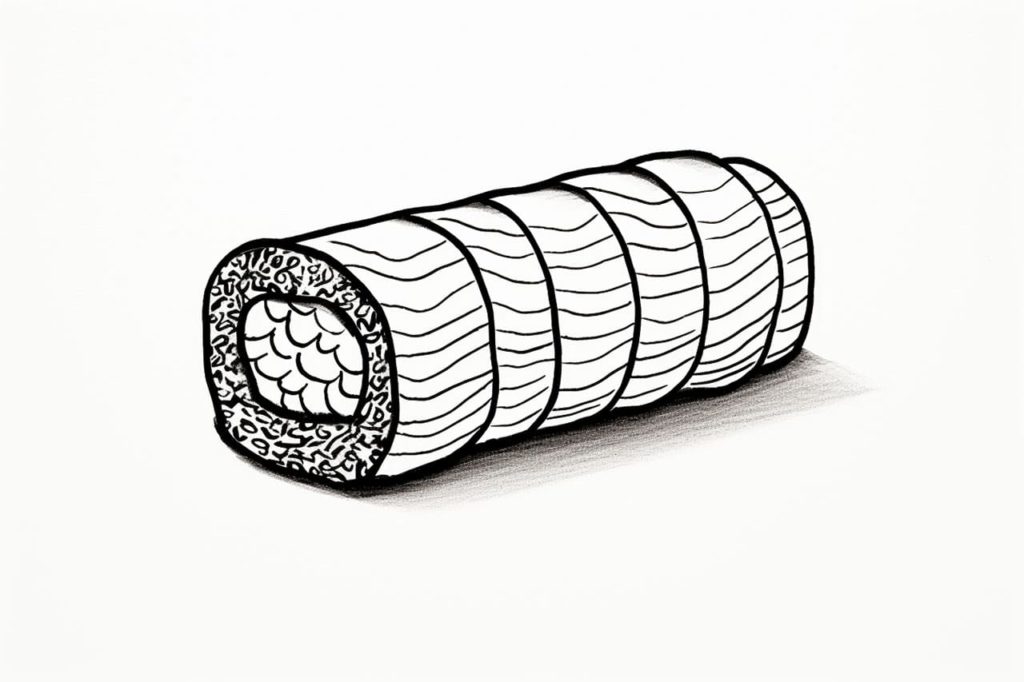
Step 1: Outline the Shape
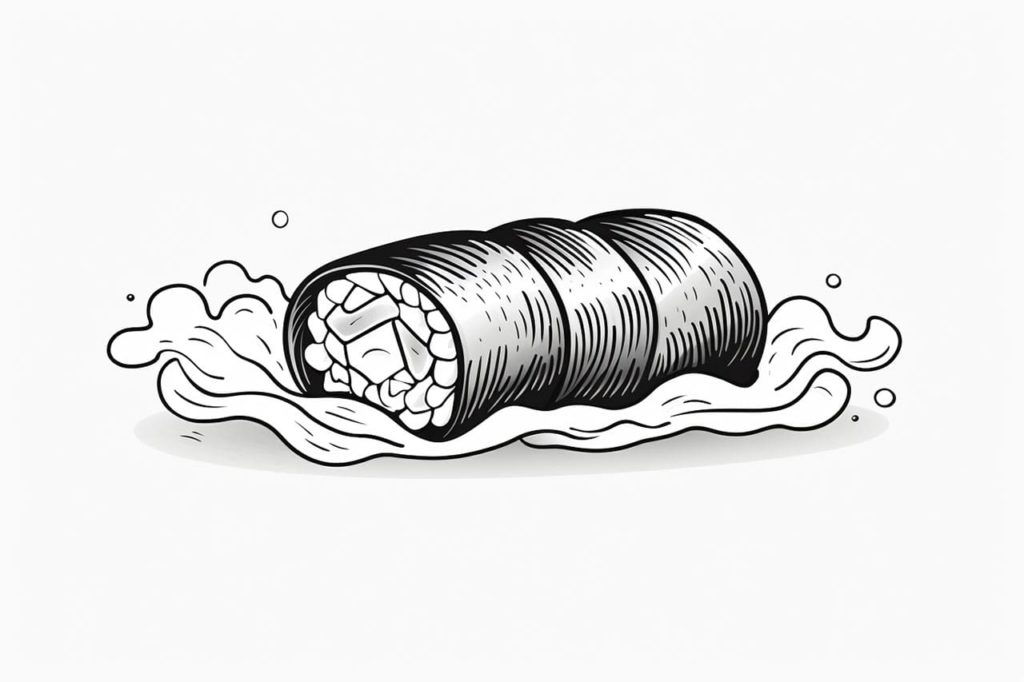
Begin by lightly sketching the outline of the sushi roll on your paper. Sushi rolls are typically cylindrical in shape, so start by drawing a slightly curved vertical line to represent the roll’s body. Then, sketch two circles on both ends of the line to represent the cross-sections of the roll.
Step 2: Add Detail to the Roll
Now it’s time to add more detail to the sushi roll. Draw a series of curved lines on the body of the roll to represent the layers of rice and filling. These lines should follow the curve of the initial outline you drew in the previous step. Leave some space between the lines to differentiate the layers.
Step 3: Draw the Seaweed Wrap
Sushi rolls are usually wrapped in a sheet of seaweed called nori. To draw the seaweed wrap, sketch a wavy line around the edges of the cylinder shape you created earlier. This wavy line will add texture and make your roll look more realistic.
Step 4: Add Texture to the Rice
Sushi rice has a unique texture that can be represented by drawing small, irregular shapes on the rice layers. These shapes can be dots, lines, or small circles. Place them randomly over the rice layers to create a realistic texture.
Step 5: Detail the Filling
Sushi rolls can have a variety of fillings, such as fish, vegetables, or even tofu. Choose a filling for your roll and add details accordingly. If you decide to draw fish, use curved lines to represent the slices of fish on top of the rice. For vegetables, draw small, irregular shapes to resemble chopped vegetables.
Step 6: Enhance the Seaweed Wrap
To make the seaweed wrap look more realistic, add shading and texture. Shade the areas where the seaweed overlaps or curves, as these areas will be slightly darker. Use short, horizontal lines to mimic the texture of the nori.
Step 7: Add Color (Optional)
If you want to add color to your sushi drawing, now is the time to do so. Use colored pencils or any other coloring medium of your choice to bring your drawing to life. Select appropriate colors for the rice, filling, and seaweed wrap. Remember to blend the colors smoothly for a more realistic appearance.
Conclusion
Congratulations! You have successfully learned how to draw sushi. By following the step-by-step instructions in this tutorial, you were able to create a mouth-watering sushi drawing. Remember, practice makes perfect, so keep honing your drawing skills and experimenting with different fillings and variations of sushi. Enjoy the process of creating art and have fun!
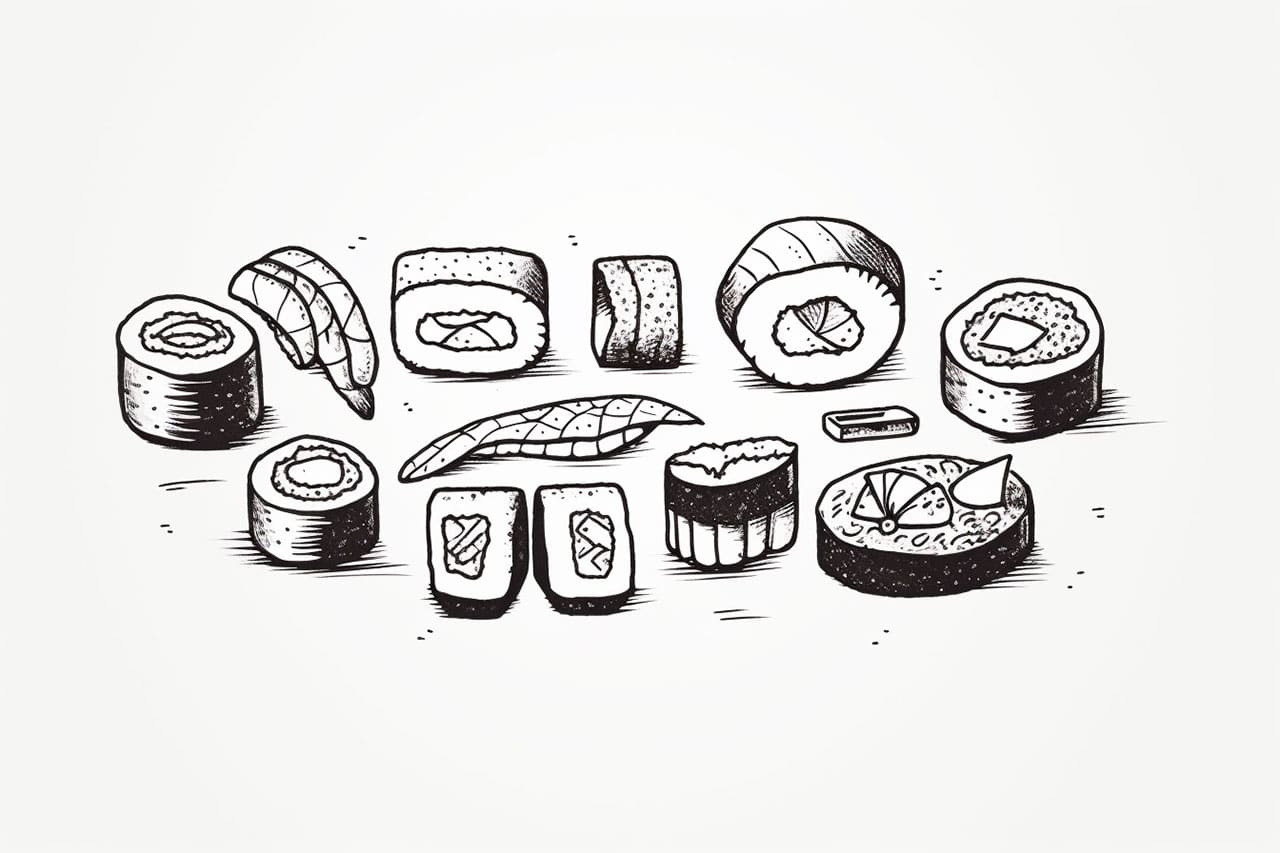
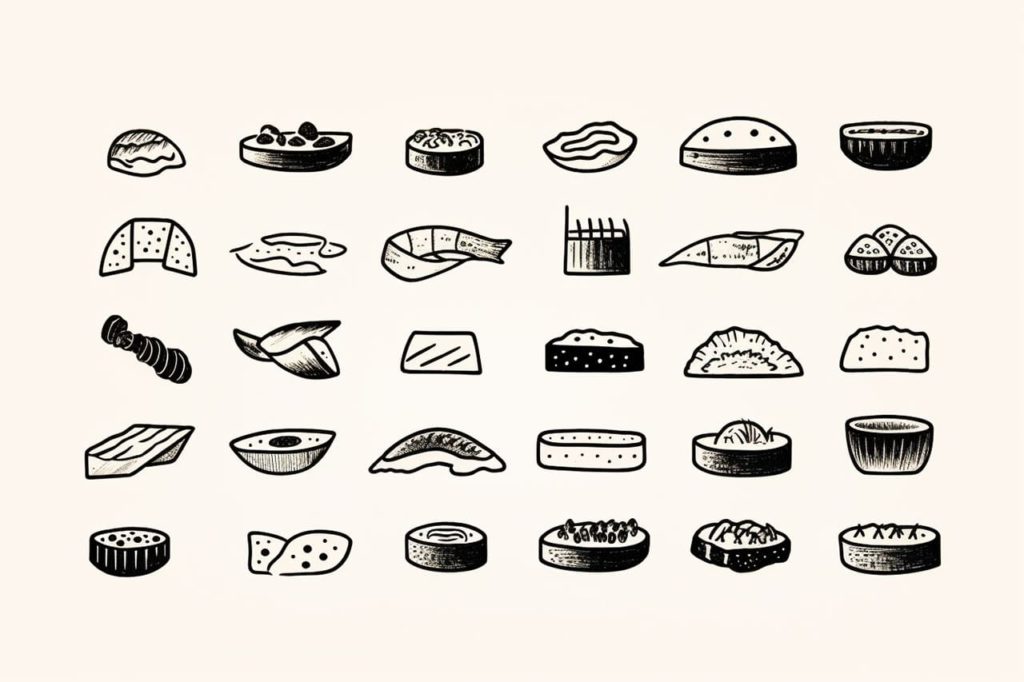
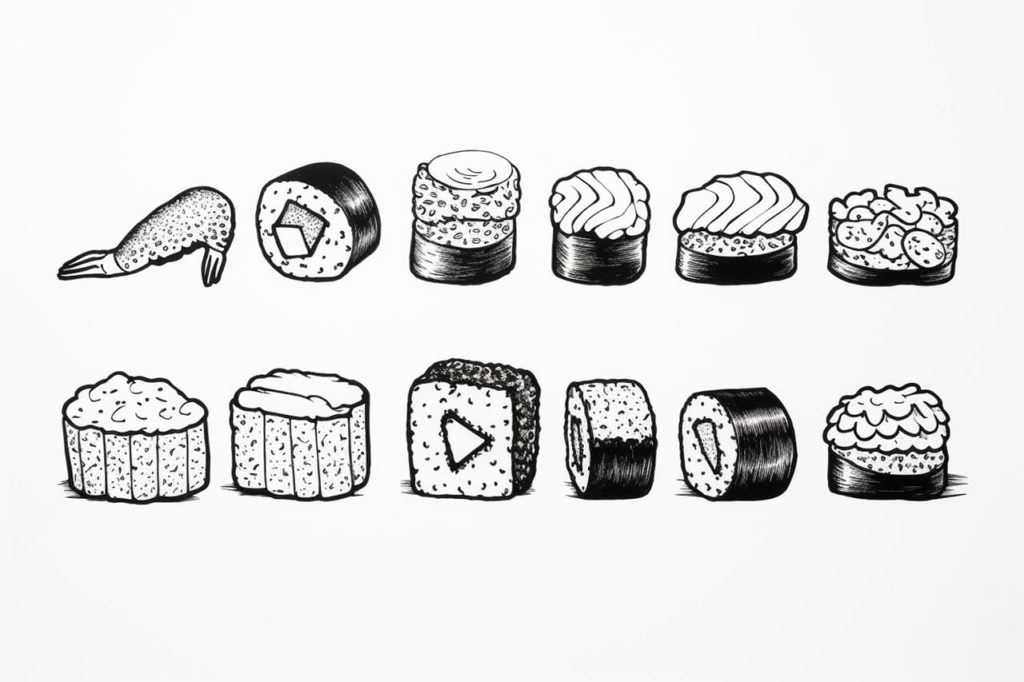
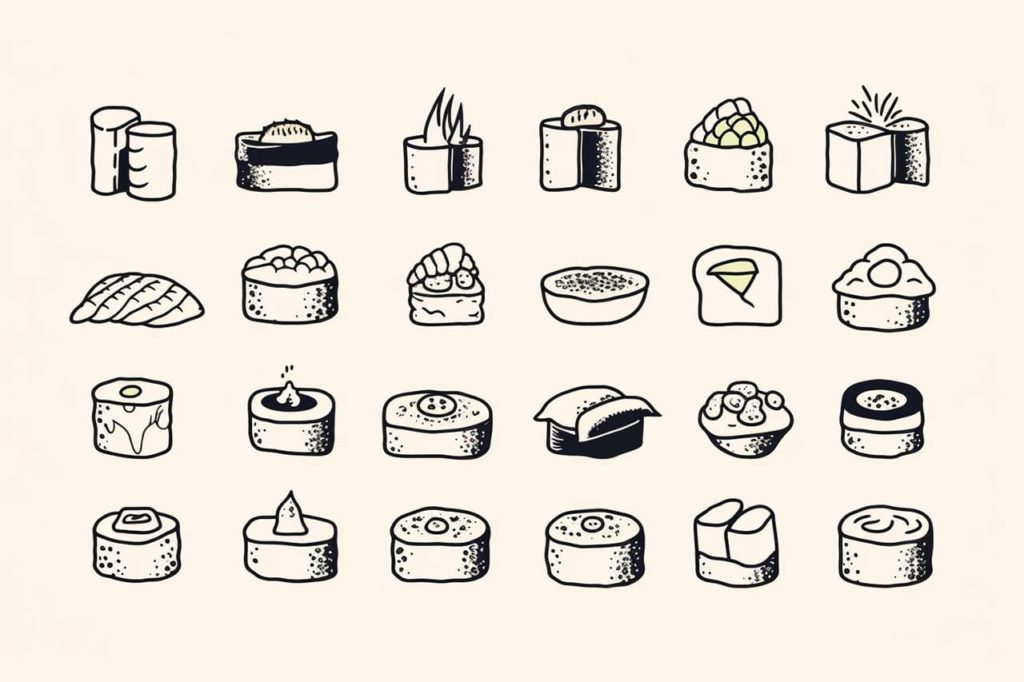
Gallery of Sushi Drawings
Fun Facts About Sushis
- The word “sushi” actually refers to the vinegared rice, not the fish, which means you can have sushi without seafood!
- Sushi is traditionally enjoyed as a finger food, though many people use chopsticks to eat it today.
- The earliest form of sushi originated in Southeast Asia, not Japan, and involved fermenting fish with rice for preservation.
- Sushi chefs, or “itamae,” undergo rigorous training that can last up to ten years before they are allowed to prepare sushi in Japan.
- In Japan, eating sushi with the rice facing up is considered more polite and enhances the flavor experience.
- The famous California Roll was created in Los Angeles in the 1960s, providing a new gateway to sushi for many Americans.
- Some of the world’s most expensive sushi can cost upwards of $1,000 for a single roll, often due to the rarity of the ingredients.
- The longest sushi roll ever created was over 2,800 meters long and was made in Japan in 2016!
- In Japan, sushi is often served with pickled ginger, wasabi, and soy sauce to enhance its flavors and cleanse the palate between different pieces.
- Sushi became popular worldwide in the late 20th century and continues to evolve with fusion and creative styles of preparation.
Suggestions for Scenes and Settings for Sushi Drawings
- Sushi Bar Interior: Capture the bustling scene at a traditional sushi bar, with chefs skillfully preparing sushis behind a polished counter.
- Under the Sea Sushi: Illustrate an imaginative underwater sushi buffet, with fish swimming by and seaweed rolls floating on coral plates.
- Samurai Sushi Battle: Design a whimsical battle scene where pieces of sushi don armor for a humorous showdown on a wooden board.
- Japanese Garden Picnic: Draw a serene picnic in a traditional Japanese garden, complete with elaborately prepared sushi sets and blooming cherry blossoms.
- Sushi Train: Depict a lively conveyor belt sushi restaurant, with colorful plates of sushi zooming past eager diners.
- Culinary Sushi School: Show a scene of budding chefs attending sushi-making classes, learning the art of rolling and slicing delicate sushis.
- Futuristic Sushi City: Imagine a sci-fi cityscape where sushis hover on trays beside robotic servers distributing soy sauce packets.
- Mini Sushi Wildlife: Create a charming scene with mini sushi pieces living among tiny plants, as if they were native critters in a micro ecosystem.
- Sushi Space Adventure: Envision a spaceship-themed sushi restaurant, with space explorers enjoying floating sushi in zero gravity.
- Sushi Festival: Illustrate a lively street festival, with various sushi vendors offering vibrant sushi assortments alongside festive decorations.