Drawing ropes can be an exciting and rewarding endeavor, as they’re a common yet intricate element in various artistic scenes. Whether you’re depicting a maritime adventure, capturing the spirit of the Wild West, or simply enhancing the texture and depth of your artwork, mastering the representation of rope is essential for many artists. However, while they may seem straightforward at first glance, ropes possess unique characteristics that can present challenges in achieving realism.
In this tutorial, we will unravel the process of how to draw rope step-by-step, making it accessible even if you’re just starting out. You’ll learn various techniques to convey the texture, depth, and dynamics of rope, transforming simple sketches into impressive illustrations. Grab your drawing tools and allow your creativity to flow—it’s time to bring your rope drawings to life!
With patience and practice, you’ll discover how to weave the essence of rope into your art, giving it a sense of realism and complexity. So, without further ado, let’s embark on this artistic journey together!
Materials Required
Before we dive into the tutorial, let’s make sure you have all the necessary materials:
- Drawing paper or sketchbook
- Pencil (preferably an HB or 2B)
- Eraser
- Fine-tipped pen or marker (optional)
Now that you have your materials ready, let’s begin the tutorial!
Step 1: Outline the Basic Shape
Start by lightly sketching the outline of the rope’s basic shape. Think about how you want the rope to curve and twist. You can draw a straight line, a loop, or any other shape you prefer. Remember, ropes are rarely perfectly straight, so adding curves and bends will make your drawing look more realistic.
Step 2: Add Depth with Shadows
To give your rope drawing depth and dimension, we will add shadows. Imagine a light source coming from one direction and use hatching or crosshatching to shade one side of the rope. Start with light pressure and gradually darken the shadows as you move towards the center of the rope. This will create a sense of volume and make the rope appear more three-dimensional.
Step 3: Create Texture with Wraps
Ropes are made up of multiple strands wrapped around each other. To capture this texture, draw small curved lines along the length of the rope. These lines should flow in the same direction as the rope’s curves and twists. Make sure to vary the length and thickness of the lines to mimic the irregularity of real rope.
Step 4: Refine the Outline
Once you’ve added texture, go back to the initial outline and refine it. Clean up any stray lines or areas that don’t align with the shape you envisioned. Pay attention to the curves and make sure they flow smoothly. You can use an eraser to gently lighten the initial sketch, or simply sketch over it with a darker pencil or pen.
Step 5: Enhance Details
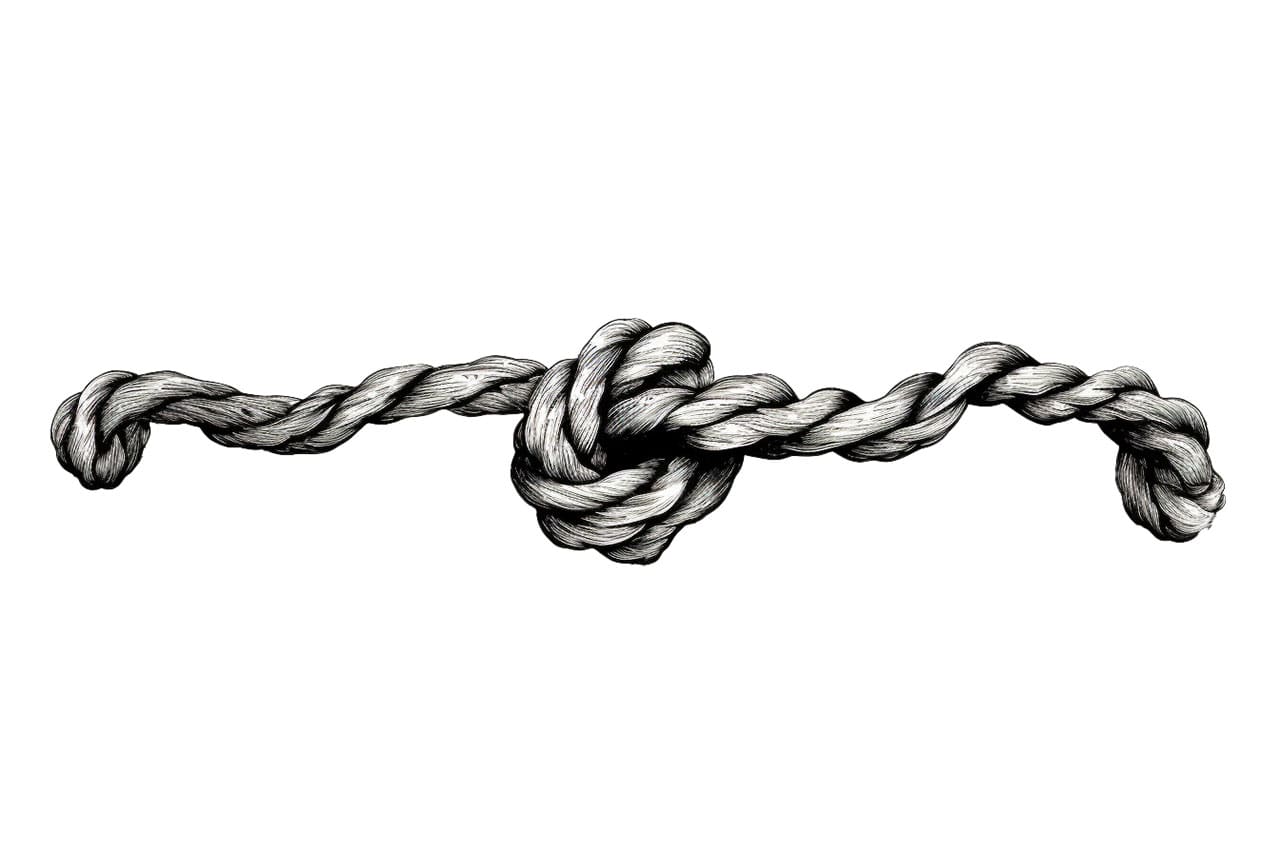
To make your rope drawing more realistic, add some additional details. Ropes often have knots or loops, so feel free to incorporate them into your drawing. You can also add frayed ends or loose strands for extra authenticity. Remember to keep your lines light and delicate when adding these details, as ropes are usually made of thin fibers.
Step 6: Darken Shadows
Now it’s time to go back to the shadows and darken them further. This will intensify the contrast and make your rope stand out. Be mindful of the light source and continue shading one side of the rope, gradually darkening the shadows as you move towards the center. Take your time and build up the darkness gradually to achieve a smooth transition.
Step 7: Finalize the Texture
To complete the rope drawing, refine the texture even further. Add more curved lines and emphasize the twists and turns of the rope. Don’t be afraid to experiment with different line lengths and thicknesses to create a realistic effect. Remember to keep the lines flowing in the same direction as the rope’s curves for consistency.
Step 8: Ink or Finalize
If you prefer a clean and finished look, you can outline your drawing with a fine-tipped pen or marker. This step is optional but can add a polished touch to your artwork. Take your time and carefully trace over the pencil lines, paying attention to the curves and details. Once the ink is dry, erase any remaining pencil marks to complete your rope drawing.
Conclusion
Drawing rope may seem challenging at first, but with the right techniques, practice, and attention to detail, you can create stunning rope illustrations. In this step-by-step tutorial, we covered the process of drawing rope, from outlining the basic shape to adding depth, texture, and details. Remember to take your time, observe real-life ropes for inspiration, and don’t be afraid to experiment. With patience and practice, you’ll be able to master the art of drawing rope and incorporate it into your future artworks.
We hope you found this tutorial helpful in improving your drawing skills. Happy creating!
Fun Facts About Ropes
- Ropes have been used by humans for thousands of years, with some ancient ropes found that date back to 28,000 years ago!
- The strongest natural rope material is made from the fibers of the abaca plant, known as Manila hemp.
- Ropes can be constructed from a variety of materials including hemp, cotton, coir, and synthetic fibers like nylon and polyester.
- Nautical ropes on ships are often called “lines,” and each has a specific function, like mooring or hoisting sails.
- There’s a special kind of mathematical theory involving knots, known as knot theory, that’s used to study how rope-like structures behave.
- In rock climbing, there’s a types of rope called “dynamic rope” which can stretch to absorb the impact of a fall.
- Some cultures traditionally use ropes in wedding ceremonies, symbolizing the unity and tying of two lives together.
- Making rope is an ancient craft—twisting fibers together dates back to prehistoric times and has evolved with technology.
- Rope bridges were used by the ancient Incas and are still maintained in parts of Peru using traditional methods.
- In Japan, ropes made of intertwined straw, called “shimenawa,” are used in Shinto rituals to ward off evil spirits.
Suggestions for Scenes and Settings for Rope Drawings
- Nautical Harbor: Draw a busy dock scene with various ropes used to tie ships, draped over bollards, and coiled on the deck.
- Mountain Climbers: Illustrate a team climbing a rugged cliff, dynamic ropes stretching taut as the climbers ascend.
- Rope-Making Workshop: Create a detailed scene inside an old workshop with artisans spinning large coils of traditional natural rope.
- Circus Acrobatics: Capture performers on a tightrope, with colorful costumes and a dramatic audience watching in awe.
- Rope Bridge Adventure: Design a landscape scene with travelers crossing an ancient rope bridge high above a forested gorge.
- Sailing Voyage: Depict a classic sailing ship with ropes securing sails, with crew members climbing the rigging against a sunset backdrop.
- Rodeo Arena: Sketch a cowboy in action, expertly twirling a lasso rope above their head as they prepare to wrangle a steer.
- Medieval Drawbridge: Envision a castle with a grand rope-operated drawbridge, complete with guards and a welcoming party.
- Zen Garden: Comine ropes into a peaceful scene, interwoven amongst the rocks and plants of a tranquil Japanese garden.
- Escape Room Drama: Set the stage in a thrilling escape room, where ropes are used as part of puzzles and to unlock secret passages.