Welcome to the world of artistic expression, where each stroke of your pencil brings life to the canvas. In this step-by-step guide, we’ll explore the captivating process of drawing a cliff. This natural wonder, with its towering presence and rugged textures, presents an exciting challenge for artists of all skill levels. Whether you are just starting your artistic journey or have years of experience under your belt, this tutorial is designed to help you capture the grandeur and intricacies of a cliff in your artwork.
As you embark on this creative endeavor, you’ll find comprehensive instructions that will break down the drawing process into manageable steps. We will explore the essential materials you’ll need, tips for sketching the basic shape, adding details and textures, and finally, refining your piece to perfection. With patience and practice, you can create a stunning representation that resonates with the raw beauty of nature.
So, grab your drawing tools and let’s set out on this artistic adventure together! By the end of this guide, you’ll be equipped with the skills to visualize and draw a cliff that not only showcases your talent but also deepens your appreciation for these awe-inspiring landscapes.
Materials
To begin drawing a cliff, you will need the following materials:
- Paper: Use a high-quality drawing paper that can handle various drawing techniques and erasing.
- Pencil: Choose a range of pencils with different graphite grades, such as 2H, HB, 2B, 4B, and 6B. These will allow you to create subtle shading and detailing.
- Eraser: Have a kneaded eraser for removing and lightening pencil marks, and a regular eraser for precise erasing.
- Blending tools: Use a blending stump or tortillon to smudge and blend graphite, creating smooth transitions and textures.
- Reference image: Find a high-resolution photograph or picture of a cliff that inspires you. This will serve as your visual guide throughout the drawing process.
- Optional: Colored pencils or pastels for adding color to your artwork.
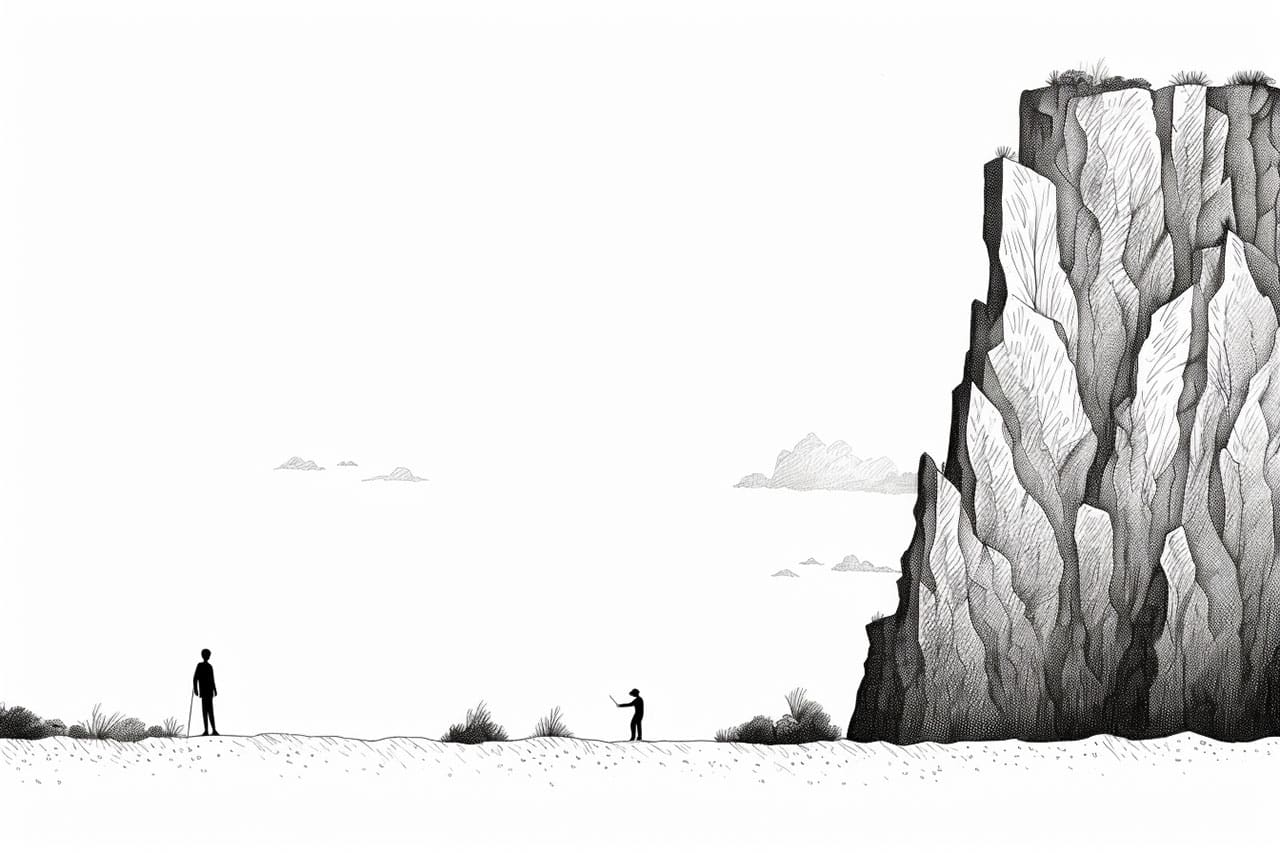
Step 1: Sketch the Basic Shape of the Cliff
Start by lightly sketching the basic shape of the cliff using a 2H or HB pencil. Pay attention to the angles, curves, and overall structure of the cliff. Use light, loose lines to avoid making mistakes that are difficult to erase later. Remember, this is just the initial framework of your drawing.
Step 2: Add Details and Texture
Now, carefully observe your reference image and start adding details to your sketch. Focus on the different layers, cracks, crevices, and the texture of the cliff. Use a combination of different pencils with varying graphite grades to create depth and contrast. For darker areas, use soft pencils like 4B or 6B, and for lighter areas, use harder pencils like 2H or HB.
Step 3: Shade and Create Shadows
To make your cliff look three-dimensional, you need to add shading and shadows. Identify the main light source in your reference image and imagine where the shadows would fall on the cliff. Use cross-hatching or shading techniques to create the illusion of depth and volume. Remember to blend the shading using a blending stump or tortillon for a smooth and realistic effect.
Step 4: Refine the Details
Take a closer look at your reference image and refine the details of the cliff. Pay attention to smaller cracks, rocks, vegetation, and any other distinctive features. Use a sharp pencil or a mechanical pencil for precise detailing. Take your time and work patiently, adding these details will bring your cliff to life.
Step 5: Add Color (Optional)
If you want to add color to your drawing, now is the time to do so. Use colored pencils or pastels to enhance the natural hues and tones of the cliff. Refer to your reference image for color guidance and layer the colors gradually for a realistic effect. Blend the colors smoothly using a blending stump or your fingertips. Remember to work from light to dark and maintain the overall balance of colors.
Step 6: Final Touches and Highlights
To finish your drawing, evaluate your artwork as a whole and make any necessary adjustments. Add highlights to the cliff by carefully erasing small areas or using a white colored pencil or pastel. This will create a sense of light reflecting off the surfaces. Use your eraser to lighten certain areas and enhance the contrast if needed. Take a step back and observe your drawing from a distance to ensure its overall balance and harmony.
Conclusion
Congratulations! You have successfully learned how to draw a cliff. By following these step-by-step instructions and using the right materials, you have created a realistic and visually striking representation of this majestic natural feature. Keep practicing, experimenting, and exploring different techniques to further develop your artistic skills. With time and dedication, you will continue to improve and create even more impressive artwork.
Fun Facts About Cliffs
- Cliffs are formed by processes such as erosion and weathering, making them appear as steep, vertical, or near-vertical rock faces.
- The world’s highest sea cliff is the Kalaupapa Cliffs in Hawaii, rising over 3,300 feet (1,000 meters) above the Pacific Ocean.
- Cliffs often serve as nesting sites for seabirds due to their inaccessible heights, providing protection from predators.
- Famous cliffs like the White Cliffs of Dover in England are composed of chalk, giving them their distinctive bright appearance.
- The Grand Canyon in the United States is home to many impressive cliffs formed by the Colorado River’s erosion over millions of years.
- Cliffs can form underwater, too, as in the case of oceanic cliffs or steep underwater seamounts.
- The rugged beauty of cliffs often makes them sought-after locations for photography, hiking, and geological studies.
- Wave-cut cliffs are created by the erosive action of waves crashing against the shoreline, gradually carving out steep faces.
- Inspiration Point in Bryce Canyon National Park offers spectacular views of brilliantly colored cliffs and hoodoos.
- Thanks to UV rays and lichens, many cliffs have vibrant colors, with hues ranging from deep reds and purples to bright yellows and greens.
Suggestions for Scenes and Settings for Cliff Drawings
- Seaside Lookout: Depict a cliff overlooking the ocean with waves crashing below and seabirds circling above.
- Hiker’s Paradise: Create a serene scene of a lone hiker standing on a cliff edge, taking in a breathtaking mountain vista.
- Stormy Skies: Illustrate a dramatic landscape with dark clouds forming above a cliff, lightning striking the horizon.
- Sunrise Spectacle: Capture the early morning sun casting golden rays on a row of cliffs, painting them in warm hues.
- Cliffside Village: Imagine a small village perched on a cliff, with narrow paths winding down to the sea.
- Fantasy Island Cliff: Design an enchanted cliff on a floating island, complete with waterfalls cascading into an endless sky.
- Cliff Diving Adventure: Show a fearless diver mid-air leaping from a cliff into a crystalline lake far below.
- Winter Wonderland Cliff: Picture snow-dusted cliffs with icicles hanging perilously from the edges against a clear blue sky.
- Thunderous Waterfall: Visualize a powerful waterfall streaming over the edge of a cliff, surrounded by lush greenery.
- Ancient Ruins on a Cliff: Portray the remnants of an old fortress or castle teetering on the edge of a steep cliff, shrouded in mist.