Welcome to this step-by-step guide on how to draw a tennis ball. Whether you are an aspiring artist, a tennis enthusiast, or simply looking to improve your drawing skills, this tutorial will teach you the techniques needed to create a realistic and vibrant representation of this iconic sports item. So, let’s grab our pencils and get started!
Materials Required
Before we begin, it’s essential to gather the necessary materials. Here’s a list of what you’ll need:
- Drawing paper or sketchbook
- Pencil (preferably HB or 2B)
- Eraser
- Black pen or fine-tipped marker (optional, for outline and details)
- Colored pencils or markers (optional, for adding color)
Ensure you have all these materials handy before we dive into the drawing process.
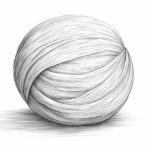
Step 1: Draw a Circle
To start, draw a medium-sized circle in the center of your paper. You can use a compass for a precise circle or try drawing it freehand. Don’t worry about making it perfect; slight imperfections can add character to the final artwork.
Step 2: Add Dividing Lines
Next, draw two perpendicular lines that intersect at the center of the circle. These lines will help us establish the position of the ball’s seams later on. Make sure the lines extend beyond the circumference of the circle.
Step 3: Outline the Seams
Using the intersecting lines as a reference, draw two curved lines on opposite sides of the circle. These lines should start at the top of the circle and extend slightly beyond the bottom. Repeat this process on the other side, creating a mirrored set of curved lines. These lines represent the ball’s seams and will add depth and realism to your drawing.
Step 4: Draw the Additional Seams
To add more detail to the tennis ball, draw two additional sets of curved lines, each set positioned between the existing seams. These lines should be shorter in length compared to the main seams but follow a similar curved pattern. Including these additional seams will make your tennis ball drawing more accurate and lifelike.
Step 5: Shade the Ball’s Base Color
Now it’s time to add some shading to our tennis ball. Begin by lightly shading the entire circle using your pencil. Keep in mind that the ball is not entirely white; it has a slightly yellowish or off-white color. So, avoid pure white and opt for a light shade of cream or off-white. Apply the shading evenly, leaving the highlighted areas, particularly along the seams and the top portion of the ball.
Step 6: Add Contrast and Shadows
To create depth and realism, we need to add contrast and shadows to our drawing. Observe the light source in your reference or imagine one if you don’t have a specific reference. Generally, a top-left light source is a good starting point.
Using a darker shade of pencil, start adding shadows to the areas that are away from the light source. Concentrate on the lower portions of the ball, near the seams, and the parts that are not directly hit by the light. Gradually build up the shading, adding more layers to achieve a realistic effect. Remember to blend the shadows with the base color to create a smooth transition.
Step 7: Refine the Seams and Details
Now, let’s work on enhancing the seams and adding more intricate details to our tennis ball drawing. Using a fine-tipped pen or marker, carefully trace over the main seams and the additional curved lines. Make these lines more defined, thicker, and slightly darker than the ball’s shading.
You can also add some subtle texture to the ball by lightly shading tiny, irregular dots or lines within the shaded areas. This mimics the texture of a real tennis ball and adds an extra touch of realism to your artwork.
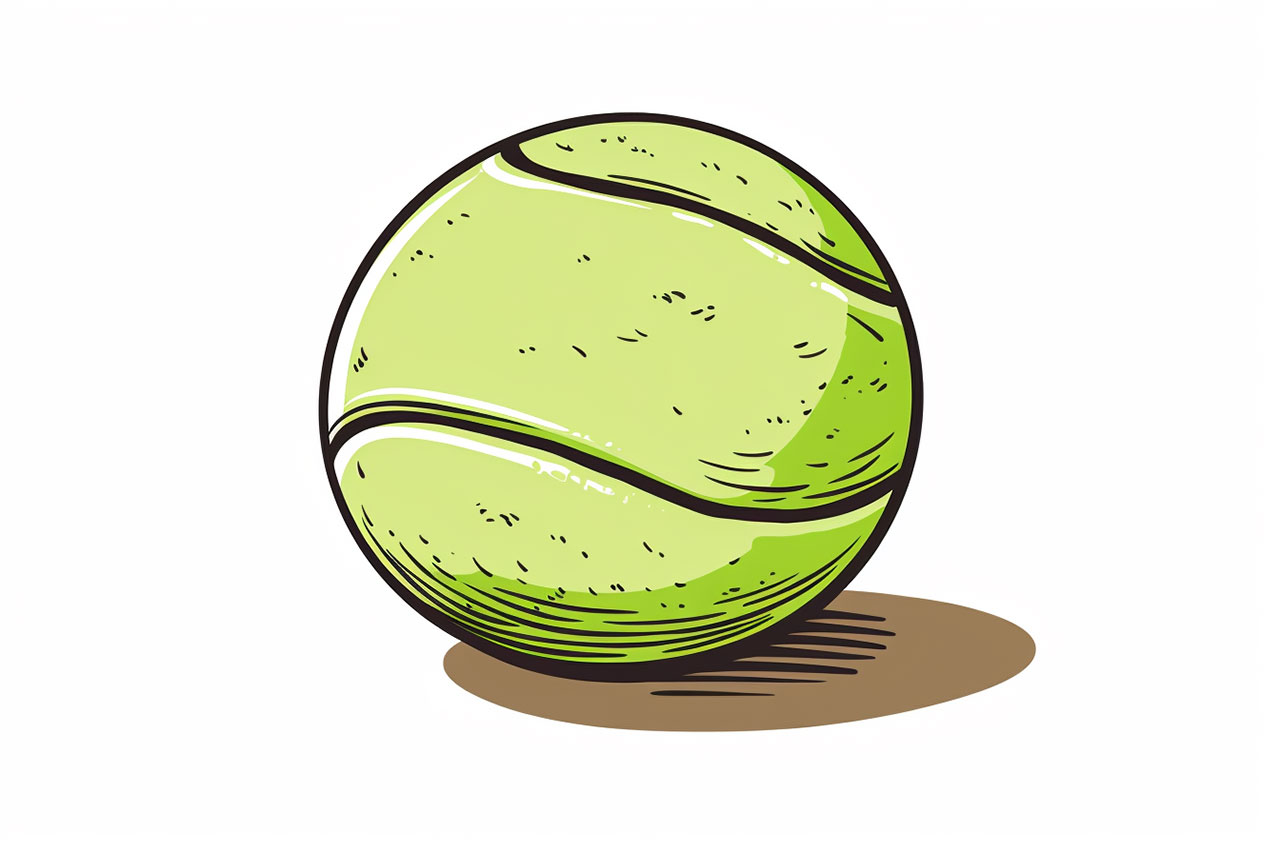
Step 8: Optional – Color the Ball
If you prefer to add some color to your drawing, this is the step for you. Choose a light shade of green for the ball’s felt covering and carefully color the entire surface. Leave the areas along the seams and the highlighted areas untouched, allowing the base color to show through. Layer the color gradually, building up the intensity until you achieve the desired effect.
Conclusion
Congratulations! You have successfully drawn a realistic tennis ball. Whether you choose to leave it black and white or add a touch of color, your artwork is a testament to your artistic skills. Keep practicing and experimenting with different techniques, and soon you’ll be able to tackle more complex subjects with confidence. Remember, drawing is a journey, and every stroke brings you closer to becoming the artist you aspire to be.
Thank you for following along with this tutorial on how to draw a tennis ball. We hope you found it helpful and enjoyable. Keep creating, and until next time, happy drawing!