Horns are a popular element in various forms of artwork, from fantasy illustrations to animal sketches. Drawing horns may seem challenging at first, but with the right techniques and a bit of practice, you can create realistic and captivating horn designs. In this article, I will guide you through the step-by-step process of drawing horns, providing clear and concise instructions along the way.
Materials Required
Before we begin, gather the following materials:
- Pencil
- Sketchbook or drawing paper
- Eraser
- Ruler (optional)
Now that you have your drawing materials ready, let’s get started on the exciting journey of drawing horns!
Step 1: Understand Horn Anatomy
Before attempting to draw horns, it’s essential to understand their basic anatomy. Horns typically consist of a base, curve, and tip. The base is the part that attaches to the creature’s head, while the curve represents the horn’s shape. Finally, the tip is the endpoint of the horn.
Step 2: Start with Basic Shapes
To create a solid foundation for your horn drawing, begin by sketching the basic shapes. You can start with a simple triangle or cone shape for the base of the horn. Then, draw a curved line above the base to outline the horn’s distinctive shape. Take your time to ensure that the proportions and curves of the horn align with your desired design.
Step 3: Refine the Shape
Once you have the basic form in place, it’s time to refine the shape of the horn. Use your pencil to add more depth and detail, gradually shaping the curves to create a realistic appearance. Pay attention to the flow and direction of the lines, as this will greatly impact the overall look of the horn.
Step 4: Add Texture
To give your horn drawing a more organic and textured feel, add some texture lines. These lines can follow the curved shape of the horn, indicating ridges or rough areas. Be mindful not to overdo the texture, as a balance between smooth and textured areas will result in a more visually appealing horn.
Step 5: Enhance the Details
Now that the base structure and texture are complete, it’s time to focus on the finer details of the horn. Pay close attention to the tip, adding any unique patterns, curves, or sharp edges that may be present. You can also create variations in thickness along the horn’s length, giving it a more realistic and dynamic appearance.
Step 6: Shading and Highlights
To add depth and dimension to your horn drawing, it’s crucial to master shading and highlighting techniques. Determine the light source in your artwork and shade the opposite side of the horn accordingly. Use gentle strokes and gradual shading to create smooth transitions between light and shadow areas. Additionally, add highlights to the areas where light hits the horn, creating a realistic sheen or reflection effect.
Step 7: Refine and Erase Guidelines
At this point, you may still have some faint sketch lines or guidelines visible on your drawing. Take a moment to refine the horn’s shape and erase any unnecessary lines. Use an eraser to gently remove any visible guidelines, making sure not to smudge or damage the surrounding sketch.
Step 8: Experiment with Different Horn Types
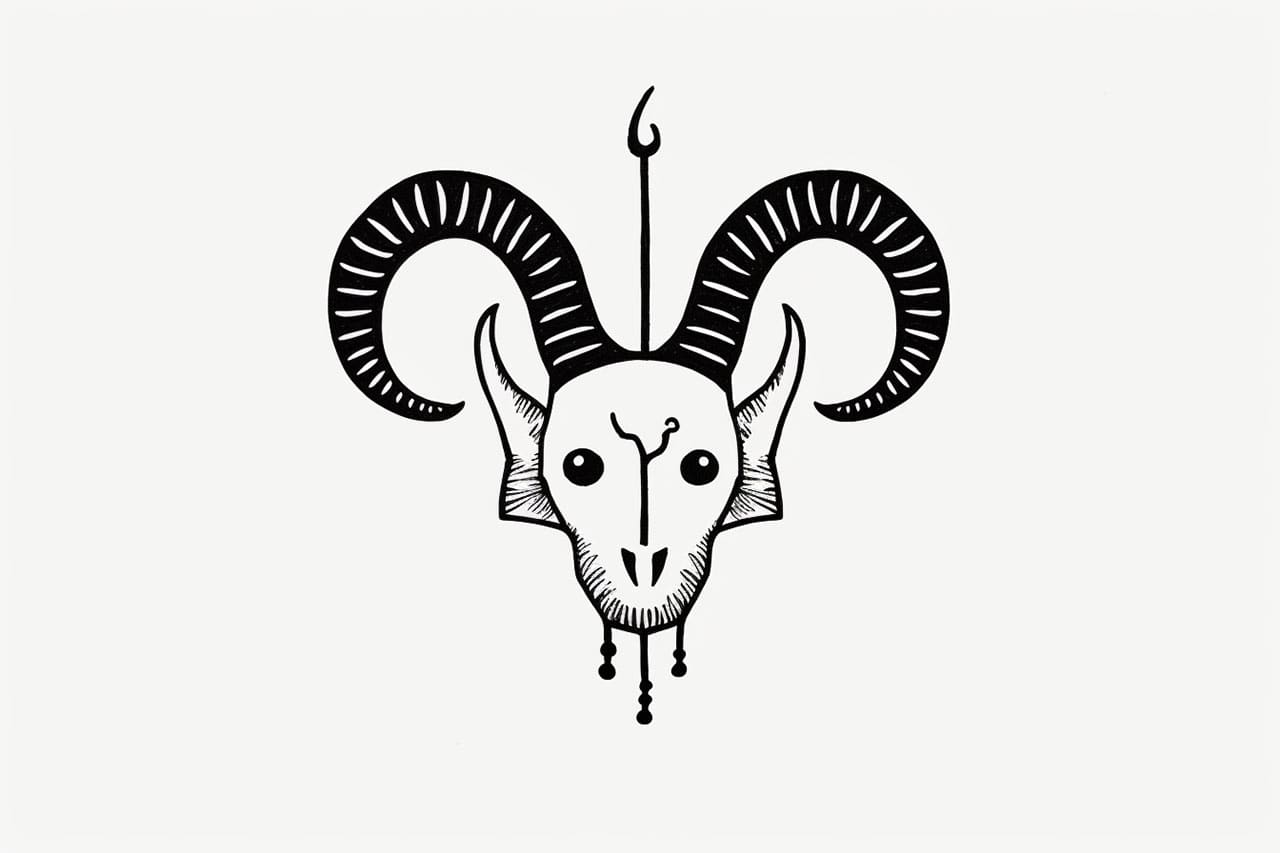
Now that you have mastered the basics, it’s time to explore different horn types. From majestic spiral horns to sharp, pointed ones, the possibilities are endless. Experiment with various shapes, sizes, and textures to create your unique horn designs. Don’t be afraid to think outside the box and let your imagination guide you!
Conclusion
Drawing horns may seem challenging, but with a solid understanding of their anatomy and some practice, you can create stunning horn designs. By following the step-by-step instructions provided in this article, you can develop your drawing skills and create realistic and captivating horns. So, grab your pencils and sketchbooks, and let your creativity run wild!

