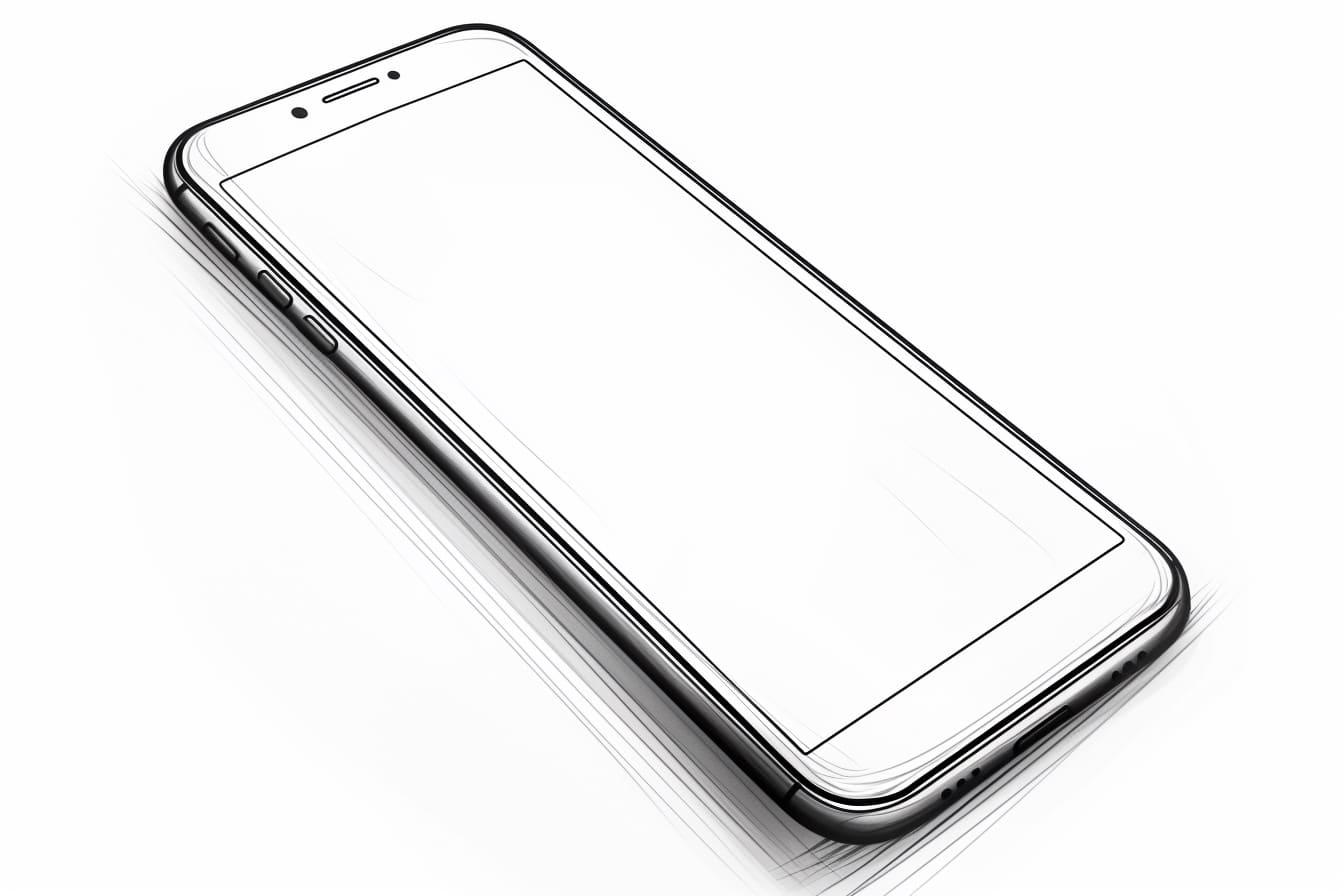
Drawing an iPhone can be a fascinating and rewarding artistic challenge that allows you to explore the sleek design and intricate details of this iconic piece of technology. From the smooth curves of the body to the precise placement of the buttons and camera lens, capturing the essence of an iPhone on paper requires a keen eye for detail and a steady hand. In this guide, we will delve into the techniques and tips needed to create a realistic and visually appealing drawing of an iPhone, whether you are a beginner looking to enhance your skills or an experienced artist seeking a new project to sink your teeth into. So grab your pencils, sharpen your focus, and let’s dive into the world of drawing the iPhone!
Materials Required
To draw an iPhone, you will need the following materials:
- Paper – smooth drawing paper or sketchbook
- Pencil – for sketching and outlining
- Eraser – for correcting mistakes
- Ruler – for measuring and drawing straight lines
- Fine-tip markers or pens – for adding details and outlines
- Colored pencils or markers – for adding color if desired
- Reference photo of an iPhone for accuracy in details
With these materials, you can create a realistic drawing of an iPhone.
How to Draw an iPhone: a Step-by-step Guide
Step 1: Gather Your Materials
- Gather a pencil, eraser, ruler, and a sheet of paper.
- Optionally, you can also use a fine-tip pen for outlining your drawing.
Step 2: Start with Basic Shapes
- Begin by drawing a rectangle in the center of your paper. This will serve as the main body of the iPhone.
Step 3: Add Details to the Screen
- Within the rectangle, draw a smaller rectangle to represent the screen of the iPhone.
- Add a small circle at the top of the screen to represent the front camera.
Step 4: Outline the Home Button and Other Features
- Below the screen, draw a small circle for the home button.
- Add a rectangular shape on the right side for the power button.
- Draw two small circles on the left side for the volume buttons.
Step 5: Add the Speaker and Charger Port
- Above the screen, draw a small rectangle for the speaker.
- Below the iPhone body, draw a small oval shape for the charger port.
Step 6: Refine Your Drawing
- Use your ruler to straighten any uneven lines and refine the shape of the iPhone.
- Add any additional details you wish to include, such as the camera lens on the back.
Step 7: Erase Unnecessary Lines
- Use your eraser to remove any unnecessary guidelines and sketch lines.
- Ensure that your final drawing is clean and polished.
Step 8: Add Shading and Texture (Optional)
- If you want to add more realism to your drawing, consider adding shading to create depth.
- You can also add texture to the iPhone body using cross-hatching or stippling techniques.
Step 9: Finalize Your Drawing
- Take a step back and review your drawing for any final adjustments.
- Sign your drawing and consider dating it to mark your progress.
Step 10: Practice and Experiment
- Practice drawing iPhones from different angles and perspectives to enhance your skills.
- Experiment with different styles and techniques to make your drawings unique and expressive.
By following these steps and practicing regularly, you can improve your drawing abilities and create realistic iPhone illustrations.
Conclusion
In conclusion, mastering the art of drawing an iPhone requires attention to detail, precision, and patience. By following the step-by-step guide provided in this article, you can enhance your drawing skills and create realistic and impressive representations of this iconic device. Remember to practice regularly, experiment with different techniques, and most importantly, have fun expressing your creativity through art. With dedication and perseverance, you can achieve great results in drawing an iPhone and other subjects in the future.
Fun Facts About iPhones
- The first iPhone was announced by Steve Jobs on January 9, 2007, at the Macworld Convention.
- The iconic “Slide to Unlock” feature, introduced with the original iPhone, was patented by Apple.
- The iPhone was originally named “Project Purple” during its development phase.
- The iPhone 4 was the first model to feature the high-resolution Retina display, which set a new standard for screen quality.
- The App Store, launched in 2008, revolutionized the way we use smartphones by offering a wide range of apps for various purposes.
- The iPhone 5s was the first model to introduce Touch ID, Apple’s fingerprint recognition technology.
- The iPhone 7 and 7 Plus were the first models to eliminate the traditional headphone jack, sparking a trend in the smartphone industry.
- The iPhone X was the first model to feature Face ID, Apple’s facial recognition technology, replacing Touch ID.
- Apple has sold over 2.2 billion iPhones since the launch of the first model in 2007.
- The iPhone is one of the best-selling electronic devices in history, with a significant impact on the smartphone market and popular culture.
Suggestions for Scenes and Settings for iPhone Drawings
- A bustling city street scene with people of diverse backgrounds using their iPhones while walking, sitting on benches, or waiting for public transportation.
- A cozy coffee shop with patrons enjoying their beverages while scrolling through their iPhones, with a mix of indoor and outdoor seating.
- An outdoor music festival or concert, capturing the energy and excitement of the event with attendees taking photos and videos on their iPhones.
- A serene park setting with individuals practicing yoga, reading books, or simply relaxing on a blanket with their iPhones nearby.
- A modern office space with employees at their desks, in meetings, or taking a break with their iPhones, showcasing the integration of technology in the workplace.
- A contemporary living room with a group of friends or family members gathered together, each engrossed in their iPhones while chatting and spending time together.
- A futuristic cityscape with sleek architecture and flying vehicles, depicting a scene where individuals interact with holographic displays generated by their iPhones.
- A beach scene at sunset, with people capturing the beautiful setting on their iPhones, playing games, or listening to music while lounging on the sand.
- A busy airport terminal with travelers waiting for their flights, checking their boarding passes on their iPhones, and staying connected with loved ones through video calls.
- An art studio with an artist using their iPhone for reference photos, inspiration, or digital sketching, surrounded by colorful paints, brushes, and creative tools.