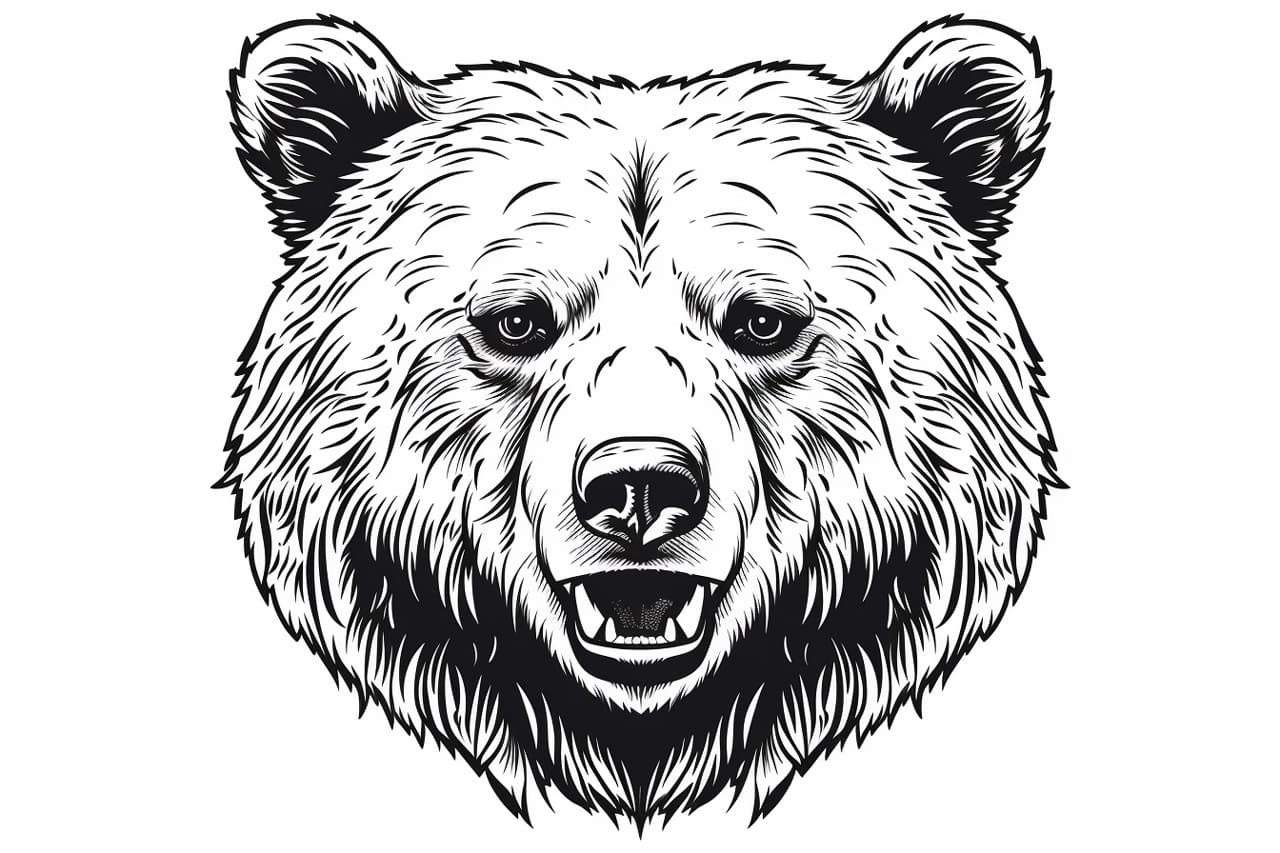
Welcome to this step-by-step guide on how to draw a bear face. Whether you’re a beginner or an experienced artist, this tutorial will help you create a realistic and expressive bear face drawing. By following these simple instructions, you’ll be able to capture the unique features and character of a bear in no time. So grab your drawing materials and let’s get started!
Materials Required
To begin drawing a bear face, you’ll need the following materials:
- Pencil: Use a sharpened pencil with an HB or B grade for outlining and shading.
- Eraser: Have a kneaded or vinyl eraser handy to correct any mistakes.
- Paper: Choose a clean sheet of paper that’s suitable for drawing. A sketch pad or drawing paper works well.
That’s it! With these basic materials in hand, you’re ready to start drawing a bear face.
Step 1: Sketch the Basic Shapes
Begin by lightly sketching two overlapping circles. The larger circle will form the head, while the smaller one will represent the snout. Position the snout slightly below the center of the head to achieve a natural look. Take your time and ensure the circles are symmetrical.
Step 2: Add the Facial Features
Using the circles as a guide, draw the bear’s eyes, nose, and mouth. Place the eyes in the upper half of the head, slightly to the sides of the vertical center line. Add a small almond-shaped nose at the bottom of the snout, and a curved line above it for the mouth.
Step 3: Define the Eyes and Nose
Now, let’s add more detail to the eyes and nose. Draw small ovals within the eye shapes to represent the pupils. Next, create a highlight in each eye by leaving a small area unshaded. For the nose, darken the base of the almond shape and add tiny curved lines to indicate the nostrils.
Step 4: Outline the Face
Using the basic shapes as a guide, carefully outline the bear’s face. Start with the forehead and work your way down to the snout. Pay attention to the contours of the face, following the curves and angles as you go. Make the lines slightly thicker and darker than the construction lines.
Step 5: Detail the Fur
Add fur texture to the bear’s face by drawing small, curved lines around the head and snout. These lines should follow the rounded shape of the head and give the impression of soft, furry fur. Take your time with this step, as the fur adds depth and realism to the drawing.
Step 6: Shade the Face
To give the bear’s face dimension, we’ll add shading. Imagine a light source coming from one side of the drawing, and darken the opposite side accordingly. Use your pencil to gently shade the areas around the eyes, under the nose, and along the sides of the face. Add more layers of shading to create depth and contrast.
Step 7: Refine the Facial Features
Now that the overall form and shading are complete, it’s time to refine the facial features. Pay attention to the proportions and enhance the details. Add more definition to the eyes by darkening the pupils and adding eyelashes. Create depth in the nose by adding darker shading to the sides and underside. Refine the shape of the mouth and add subtle lines to indicate fur.
Step 8: Finalize the Details
Take a moment to review your drawing and make any necessary adjustments. Ensure that the overall proportions look accurate and that the features are well-defined. Erase any construction lines that are still visible. With the final touches complete, your bear face drawing is ready to showcase!
Conclusion
Congratulations! You’ve successfully learned how to draw a bear face from start to finish. By using simple shapes and step-by-step instructions, you’ve created a realistic and expressive bear drawing. Remember, practice makes perfect, so feel free to experiment with different poses and expressions. Whether you’re sketching a bear face for a project or just for fun, these techniques will help you capture the essence of these magnificent creatures. Happy drawing!