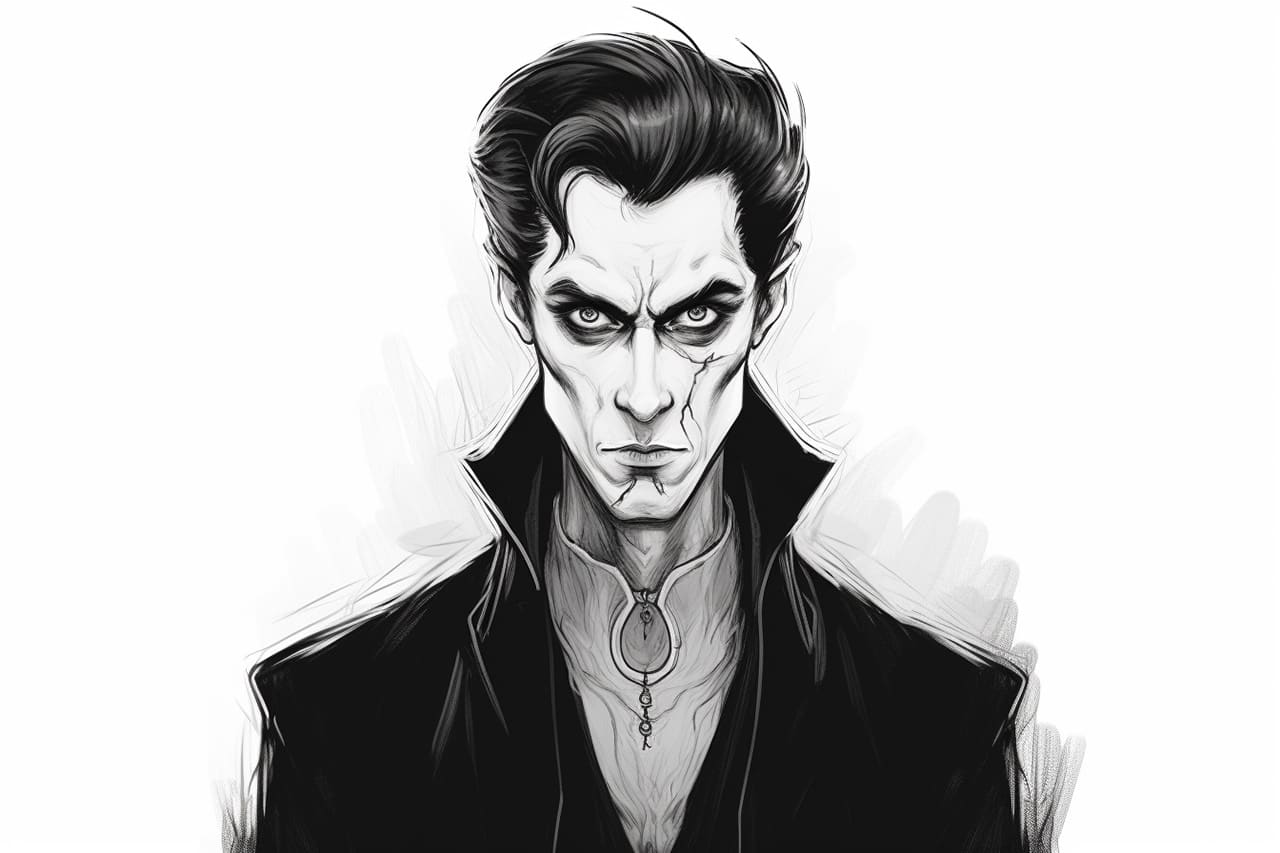
Do you want to learn how to draw a vampire? With their sharp fangs, mysterious cloaks, and haunting eyes, vampires have become iconic figures in popular culture. Whether you want to draw a vampire for Halloween or simply for the thrill of it, this step-by-step guide will help you capture the essence of this supernatural creature on paper.
Materials Required
Before we begin, let’s gather all the materials you will need to draw a vampire:
- Pencil: Choose a medium or soft pencil to create the initial sketch.
- Paper: Use smooth paper that can handle pencil marks without smudging.
- Eraser: A kneaded eraser is ideal for easily correcting mistakes.
- Fine-tipped pen or marker: This will be used for outlining and adding details.
- Colored pencils or markers: Optional, for adding color to your vampire drawing.
Now that we have everything we need, let’s dive into the step-by-step instructions to draw a vampire.
Step 1: Sketch the Basic Shape
Start by lightly sketching an oval shape for the head of the vampire. Then, draw a vertical line down the center of the oval. This line will help you place the facial features accurately.
Step 2: Outline the Facial Features
Using the construction line as a guide, draw two large almond-shaped eyes on either side of the vertical line. Add small, curved lines above each eye to represent the eyebrows. Directly below the eyes, draw a small, straight line for the nose. Next, draw a slightly curved line below the nose to represent the mouth.
Step 3: Add Details to the Face
Now it’s time to bring your vampire’s face to life. Add pupils to the eyes by drawing smaller ovals inside the almond shapes. Give your vampire an intense gaze by adding some shading around the eyes. Enhance the eyebrows by making them thicker and more angular. Add a small, curved line above the mouth to create the upper lip.
Step 4: Define the Fangs
Vampires are known for their sharp fangs, so let’s make sure your drawing captures this iconic feature. Draw two long, pointed fangs on either side of the mouth, protruding slightly from the lips. Make sure the fangs are symmetrical. You can also add some shading around the fangs to give them depth.
Step 5: Draw the Hair
Vampires often have long, flowing hair that adds to their mysterious aura. Sketch the outline of the hair, using curved lines to give it a sense of movement. Experiment with different hairstyles to find one that fits the character of your vampire. Once you’re happy with the shape, add some details and texture by drawing individual strands of hair.
Step 6: Create the Vampire’s Clothing
Now it’s time to dress up your vampire! Start by sketching the collar of a cloak around the neck. Make the collar pointy and slightly exaggerated for a more dramatic effect. Extend the cloak down the sides of the vampire’s body, using flowing lines to create a sense of motion. Add some folds and creases to make the cloak appear more realistic.
Step 7: Add the Finishing Touches
To complete your vampire drawing, go over the pencil lines with a fine-tipped pen or marker to create a bold outline. Erase any unnecessary pencil marks, leaving only the clean, defined lines. If you want to add color to your drawing, use colored pencils or markers to bring your vampire to life. Experiment with different shades of red for the lips and fangs, and consider adding a touch of dark purple or black to the cloak for an extra spooky touch.
Congratulations! You have successfully drawn a vampire. Remember, practice makes perfect, so don’t be discouraged if your first attempt is not exactly as you envisioned. Keep drawing and refining your skills, and soon you’ll be creating vampire masterpieces.
Conclusion
Drawing a vampire can be a thrilling and rewarding experience. Following these step-by-step instructions, you can write this legendary creature to life on paper. Remember to have fun and let your creativity shine through as you create your vampire artwork. Happy drawing!