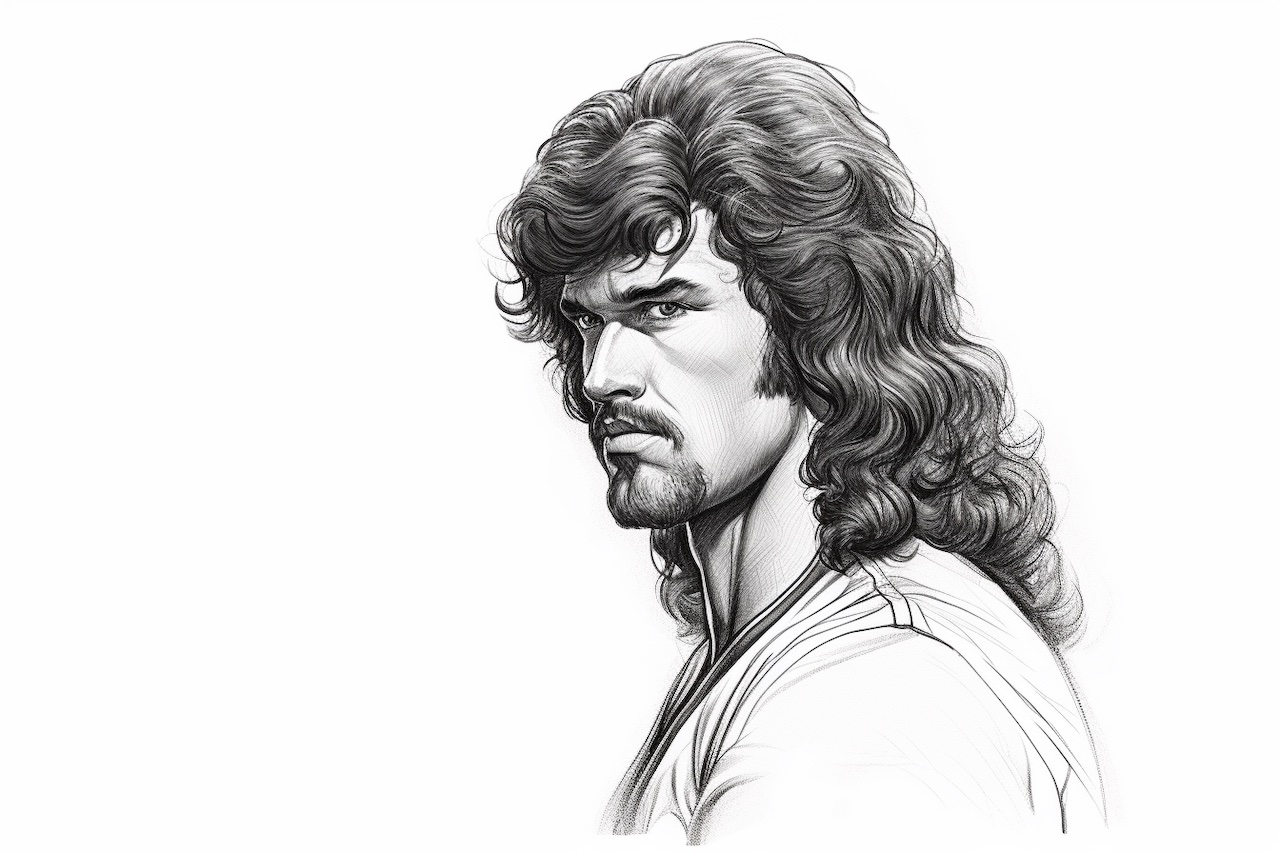
Welcome aspiring artists! In this step-by-step tutorial, I will guide you through the process of drawing a mullet hairstyle. The mullet, known for its short front and long back, was a popular trend in the 1980s and has made a comeback in recent years. By following these instructions, you can capture the essence of this iconic hairstyle on paper. So, grab your pencil and let’s get started!
Materials Required
Before we dive into the drawing process, make sure you have the following materials handy:
- Paper: Choose a smooth paper that is suitable for drawing, such as sketch paper or Bristol board.
- Pencils: Have a range of pencils with different lead hardness (HB, 2B, 4B) to achieve varied line thickness and shading effects.
- Eraser: Keep a good quality eraser for correcting mistakes and refining your drawing.
- Sharpener: Ensure your pencils are sharp for precise lines and details.
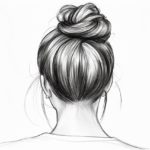
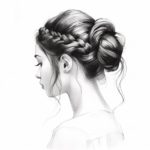
- Reference Image: Find a clear reference image of a mullet hairstyle. This will help you understand the structure, proportions, and details of the hairstyle.
With these materials at your disposal, you’re ready to start drawing a mullet!
Step 1: Outline the Head Shape
Begin by lightly sketching an oval shape to represent the head. The oval should be slightly wider at the top and taper down towards the chin. Remember, this is just a guideline, so use light lines that can easily be modified later.
Step 2: Add the Hairline
Using the reference image, locate the hairline and sketch it lightly on your drawing. Pay attention to the curvature and any distinctive features, such as a widow’s peak or receding hairline.
Step 3: Define the Front Section
Now, let’s focus on the front section of the mullet. Observe the reference image and sketch the outline of the hair at the front. Pay attention to the shape and volume of the hair, making sure to capture the unique characteristics of the mullet.
Step 4: Establish the Length of the Hair
Moving to the back of the head, use the reference image to determine the length of the mullet. Extend the hairline down to the desired length, keeping in mind that the back section is significantly longer than the front.
Step 5: Outline the Sides
Next, sketch the outline of the hair on the sides of the head. The sides should be relatively short compared to the back, so make sure to capture that contrast in your drawing.
Step 6: Define the Texture
To give your mullet drawing more depth and realism, define the texture of the hair. Use short, curved lines to represent individual strands of hair, focusing on the direction and flow. Pay attention to areas of shadow and highlights to create a sense of volume.
Step 7: Refine the Details
Take a closer look at the reference image and add any necessary details to your drawing. This may include facial features, sideburns, or other elements that contribute to the overall look of the mullet hairstyle. Use a sharper pencil or a thinner line to add these finer details.
Step 8: Shade the Drawing
To bring your mullet drawing to life, apply shading to create depth and dimension. Observe the reference image to identify areas of light and shadow, and use your pencils accordingly. Gradually build up the shading, starting with light strokes and gradually darkening as needed. Pay attention to the direction of the hair strands when shading.
Step 9: Add Highlights
To add a touch of realism, include some highlights in your mullet drawing. Use an eraser to carefully lift off some graphite, creating lighter areas where light would naturally hit the hair. This technique will make your drawing appear more three-dimensional.
Conclusion
Congratulations on completing your mullet drawing! By following these step-by-step instructions, you have learned how to capture the essence of this iconic hairstyle. Remember to practice regularly and experiment with different techniques to further enhance your artistic skills. Now, go ahead and showcase your mullet drawing to the world!