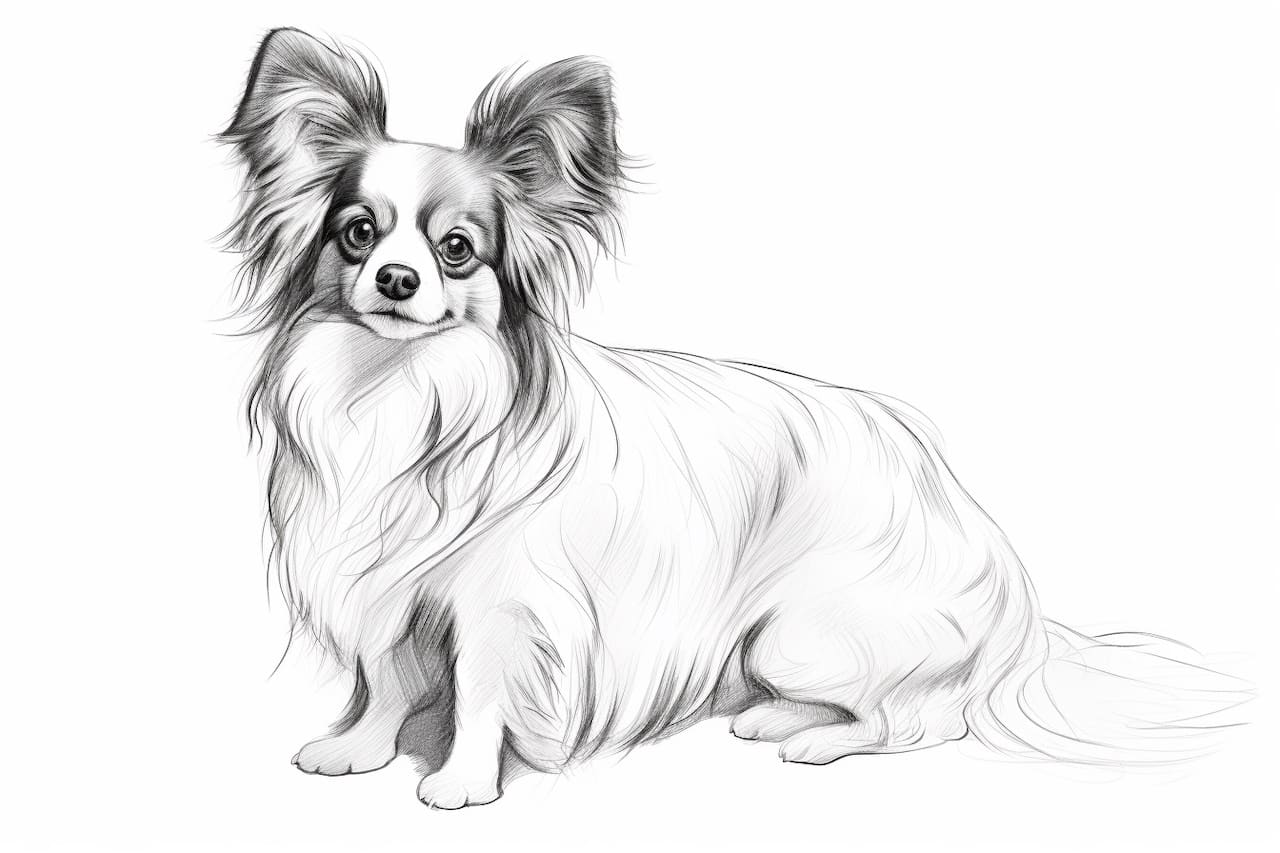
Are you interested in learning how to draw a Papillon, also known as the butterfly dog? This graceful and elegant breed is known for its distinctive butterfly-like ears, which are the inspiration for its name. In this step-by-step guide, I will walk you through the process of drawing a Papillon, from sketching the basic shapes to adding the finer details. Whether you are a beginner or an experienced artist, I’m confident that by the end of this article, you will have created a beautiful drawing of this charming dog.
Before we begin, let’s gather all the materials you will need:
- Drawing paper or sketchbook
- Pencil (preferably a 2B or HB)
- Eraser
- Fine-tip markers or pens (optional, for inking)
- Colored pencils or markers (optional, for coloring)
Now that we have everything ready, let’s dive into the steps of drawing a Papillon.
Step 1: Sketch the Basic Shapes
Start by lightly sketching the basic shapes that will form the framework of your drawing. Begin with an oval shape for the head, followed by a slightly elongated oval for the body. Add two circles for the front and hind legs, and another circle for the tail. Place these shapes in the desired position on your paper, ensuring there is enough space for the entire dog.
Step 2: Refine the Outline
Using the basic shapes as a guide, refine the outline of the Papillon. Add curved lines to connect the head, body, and tail, creating a smooth and flowing outline. Pay attention to the proportions and angles, as they are key to capturing the Papillon’s elegant posture. Don’t worry about making it perfect yet; we will be adding more details in the following steps.
Step 3: Draw the Facial Features
Focus on the head of the Papillon and start adding the facial features. Sketch two large almond-shaped eyes, leaving some space between them. Add a small triangular nose and a smiling mouth with a curved line. Take your time to get the proportions right and ensure that the facial features capture the Papillon’s lively expression.
Step 4: Define the Ears and Fur
One of the defining characteristics of the Papillon is its butterfly-like ears. Draw these distinctive ears by adding two large triangular shapes on either side of the head. Pay attention to the shape and position, as they play a significant role in capturing the breed’s unique appearance. Once you have the ears in place, start adding short, curved lines to represent the fur on the Papillon’s face and body.
Step 5: Add the Legs and Paws
Continue by adding the legs and paws of the Papillon. Use the circles you drew earlier as a reference and sketch the front and hind legs accordingly. Pay attention to the angles and proportions, ensuring that the legs are in proportion to the rest of the body. Add small ovals at the end of each leg to represent the paws, and sketch the toes using short, curved lines.
Step 6: Refine the Details
Now that you have the basic outline of the Papillon, it’s time to refine the details and add more depth to your drawing. Start by erasing any unnecessary guidelines and lightly darken the lines that you want to keep. Pay attention to the texture and patterns on the Papillon’s fur, adding short strokes or dots to represent the hair. Take your time during this step and focus on capturing the unique characteristics of the breed.
Step 7: Ink (Optional)
If you prefer a cleaner and more defined look for your drawing, you can optionally use fine-tip markers or pens to ink over the pencil lines. Wait until the ink is completely dry before erasing any remaining pencil marks. Inking can give your drawing a more professional finish and make it stand out.
Step 8: Color (Optional)
If you want to take your drawing to the next level, you can add color to your Papillon. Use colored pencils or markers to bring your drawing to life. Look at reference photos to match the colors of the Papillon’s fur, markings, and eyes as closely as possible. Take your time with coloring and blend the colors smoothly for a realistic and vibrant result.
Conclusion
Congratulations on completing your drawing of a Papillon! By following these step-by-step instructions, you have learned how to capture the grace and beauty of this charming breed on paper. Remember, practice makes perfect, so don’t be discouraged if your first attempt doesn’t turn out exactly as you envisioned. With time and practice, your drawing skills will continue to improve.
I hope you enjoyed this tutorial on how to draw a Papillon. Whether you are a beginner or an experienced artist, drawing dogs can be a rewarding and enjoyable experience. Now, gather your materials, grab a pencil, and let your creativity take flight as you bring a Papillon to life on paper.