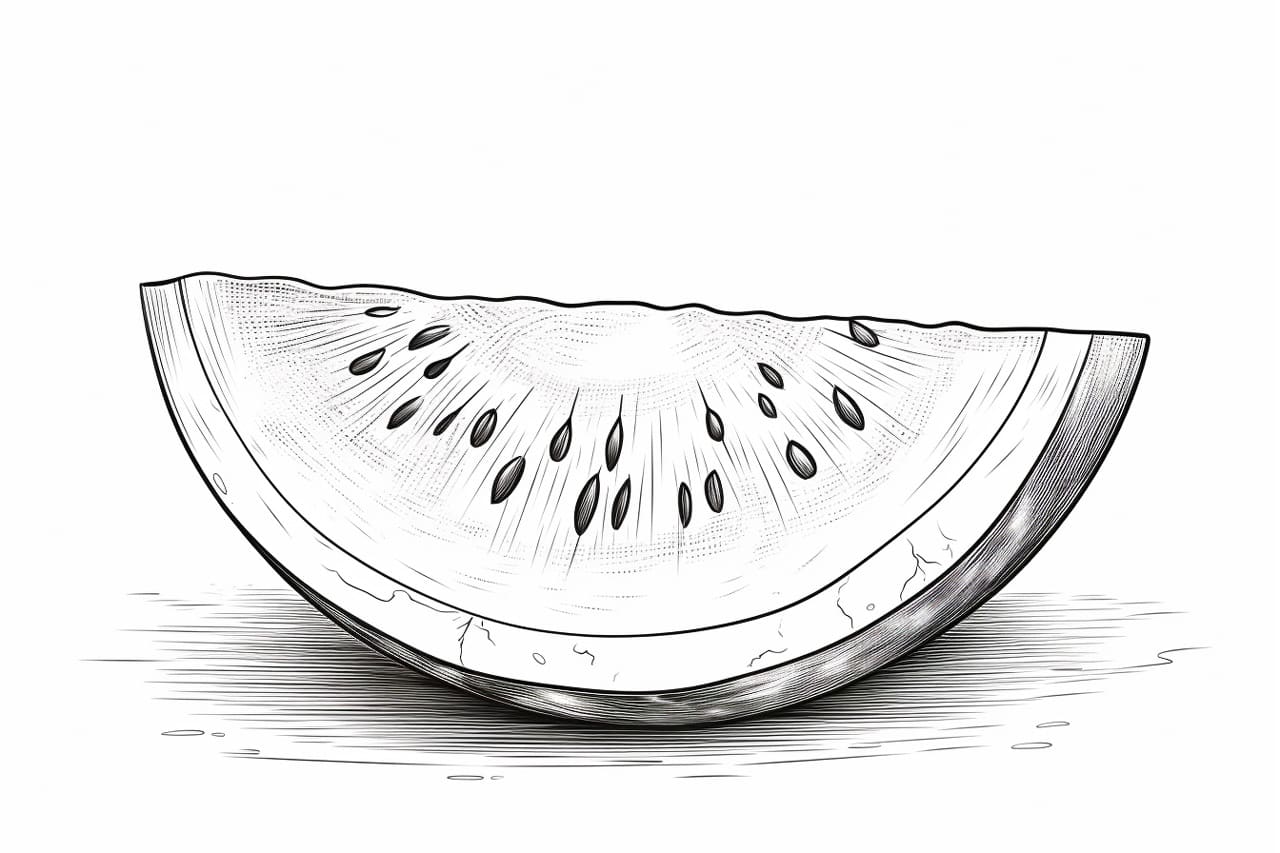
Welcome to this step-by-step guide on how to draw a slice of watermelon! In this tutorial, I will provide clear and concise instructions to help you create a vibrant, mouthwatering watermelon slice on paper. So, grab your materials, and let’s get started!
Materials Required
To begin this drawing, you will need the following materials:
- Pencil
- Eraser
- Drawing paper
- Colored pencils or markers (optional)
Now that you have your materials ready, let’s dive into the steps to create your masterpiece!
Step 1: Sketch the Basic Outline
Start by lightly sketching an elongated oval shape on your drawing paper. This will be the main outline of your watermelon slice. Remember to keep your lines light so they can easily be erased later on.
Step 2: Create the Rind
Next, draw a slightly curved line around the edge of the oval shape to represent the rind of the watermelon. Make sure the line is uneven and jagged to give it a more natural appearance.
Step 3: Add the Seeds
Watermelon seeds are an important part of its visual appeal. Using small circles or ovals, scatter several seeds across the flesh of the watermelon slice. Randomly place them, varying their size and direction for a realistic effect.
Step 4: Define the Flesh
Now it’s time to add some depth to the watermelon flesh. Draw a curving line from the top of the watermelon, following the shape of the oval, down to the rind you previously created. This line will define the separation between the green rind and the juicy red flesh.
Step 5: Shade the Rind
To give the rind a 3D appearance, add shading in the form of alternating light and dark green lines. Start shading from the outer edge of the rind, following the curve of the watermelon slice towards the flesh. The darker lines should be closer to the rind, gradually becoming lighter as they approach the flesh.
Step 6: Color the Flesh
Using colored pencils or markers, carefully color the flesh of the watermelon slice a vibrant shade of red. You can add some darker shades near the seeds to create more definition and depth.
Step 7: Enhance the Seeds
To make the seeds stand out, darken them with a pencil or marker. You can also add some shading around the seeds to make them visually pop. Remember to keep the seeds random in size and placement.
Step 8: Erase Unwanted Lines
Once you are satisfied with the drawing, use an eraser to carefully eliminate any unwanted or excess pencil lines. Be gentle while erasing to avoid smudging your artwork.
Step 9: Add Highlights
To make your watermelon slice look more realistic, add highlights on the flesh using a white colored pencil or marker. Apply these highlights sparingly, focusing on areas where light would naturally hit the watermelon slice.
Step 10: Finishing Touches
Now that your watermelon slice is complete, take a moment to examine your drawing. Make any necessary adjustments to ensure the proportions, shading, and details are to your liking.
Conclusion
Congratulations! You have successfully drawn a slice of watermelon that looks juicy and delicious. By following these step-by-step instructions, you were able to create an appealing artwork full of lifelike details. Remember, practice makes perfect, so keep exploring and experimenting with your art skills.
Whether you want to create a watermelon-themed art piece or simply enjoy drawing fruits, this guide has equipped you with the knowledge to do so. Happy drawing!