As an expert artist and drawing instructor, I will guide you through the steps of how to draw a fall scene. In this tutorial, we will capture the essence of autumn with its vibrant colors and cozy atmosphere. So grab your drawing materials and let’s get started!
Materials Required
Before we begin, gather the following materials:
- Drawing paper or sketchbook
- Pencils (HB, 2B, 4B)
- Eraser
- Colored pencils or markers (optional)
- Reference photos of fall scenes (optional)
Now that you have everything you need, let’s dive into the steps of drawing a captivating fall scene.
Step 1: Sketch the Landscape
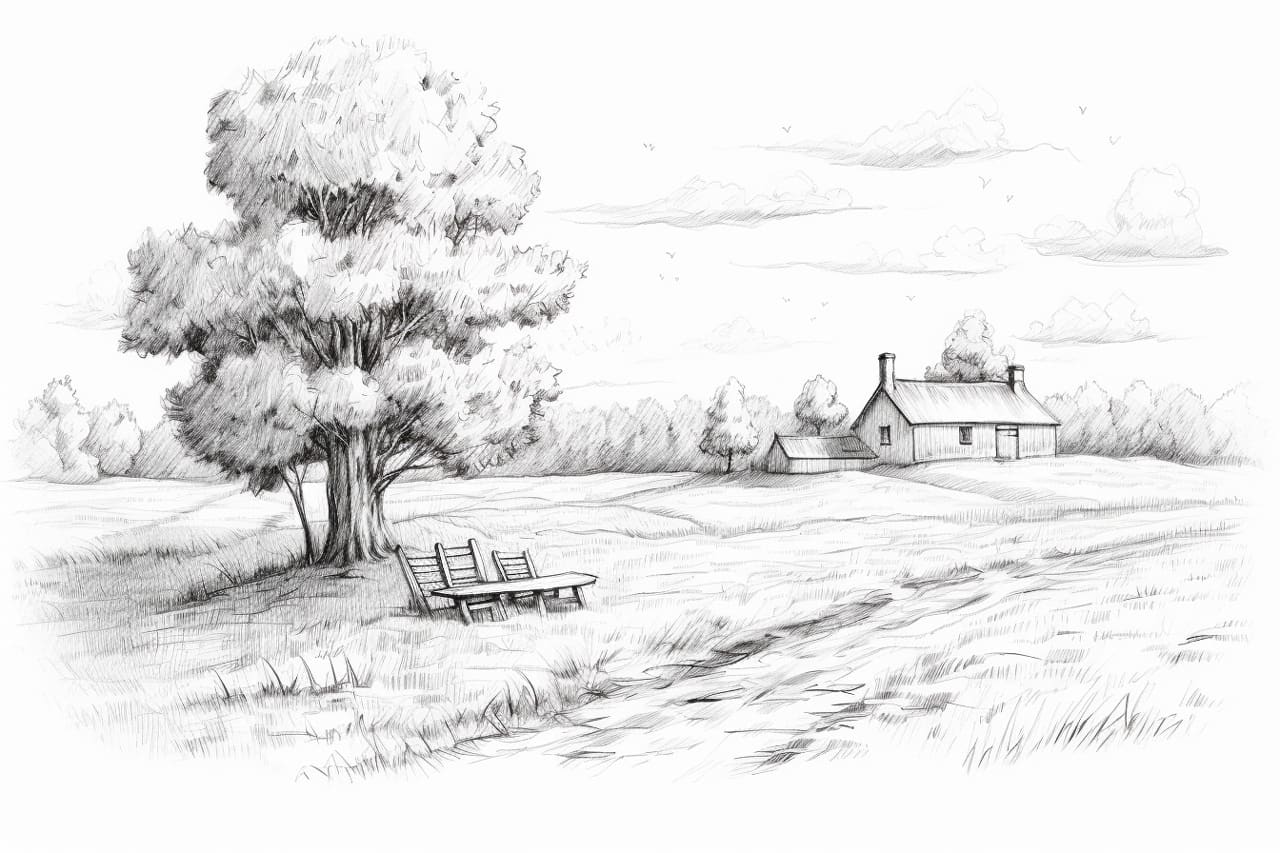
Start by lightly sketching the basic shapes of the landscape. Begin with the horizon line, which will determine the placement of the sky and ground. Then draw the main elements such as trees, hills, and a path if desired. Remember to keep your lines loose and light, as they will serve as the framework for your final drawing.
Step 2: Add Details and Texture to the Trees
Next, focus on the trees in the scene. Draw the trunks using vertical lines, paying attention to how they curve and vary in thickness. Fill in the branches, keeping in mind that the branches tend to become thinner as they extend outward. Add texture to the trees by drawing small, irregular lines to represent leaves or bark. Feel free to reference photos to better understand the tree’s structure and details.
Step 3: Define the Foliage
Once you have sketched the trees, it’s time to define the foliage. Use short, curvy strokes to create clusters of leaves, capturing the organic and irregular shapes found in nature. Vary the pressure applied to your pencil, allowing for lighter and darker areas to add depth and dimension. For an extra touch of realism, you can also incorporate different colors using colored pencils or markers.
Step 4: Bring the Sky to Life
Now, turn your attention to the sky. Start by drawing the outline of clouds using soft, circular strokes. Remember that clouds are not uniform in shape, so feel free to experiment with different curves and sizes. Then shade the sky in gradients, creating a smooth transition of colors. For a fall scene, focus on warm tones like oranges, yellows, and pinks to capture the season’s essence.
Step 5: Add Depth with Shadows
To enhance the realism of your fall scene, add shadows to the landscape. Observe the direction of the light source in your reference photo and imagine where the shadows would naturally fall. Use a darker pencil (such as 2B or 4B) to create shadows in areas that are hidden from the light. By adding shadows, you will bring depth and dimension to your drawing.
Step 6: Detail the Ground and Path
Now, shift your attention to the ground and any paths or roads in the scene. Sketch the texture of the ground using short, horizontal lines to represent the terrain or grass. If there is a path, draw its shape, adding lines to indicate the texture of the path’s surface. Pay attention to the perspective and the way the path recedes into the distance.
Step 7: Final Touches and Highlights
Once you have completed the main elements of your fall scene, take a step back and assess your drawing. Add any final details or touches that may be missing. You can include fallen leaves on the ground, birds in the sky, or any other elements that help bring your scene to life. Use an eraser to gently lift off any unnecessary lines or smudges. Finally, apply highlights to certain areas, such as the tops of trees or the edge of the path, to create contrast and make your drawing pop.
Conclusion
Congratulations! You have successfully learned how to draw a stunning fall scene. From sketching the landscape to adding the final touches, each step has contributed to capturing the beauty of this season. Remember to practice and experiment with different techniques and materials to further develop your drawing skills. Now go ahead and create your own fall masterpiece!