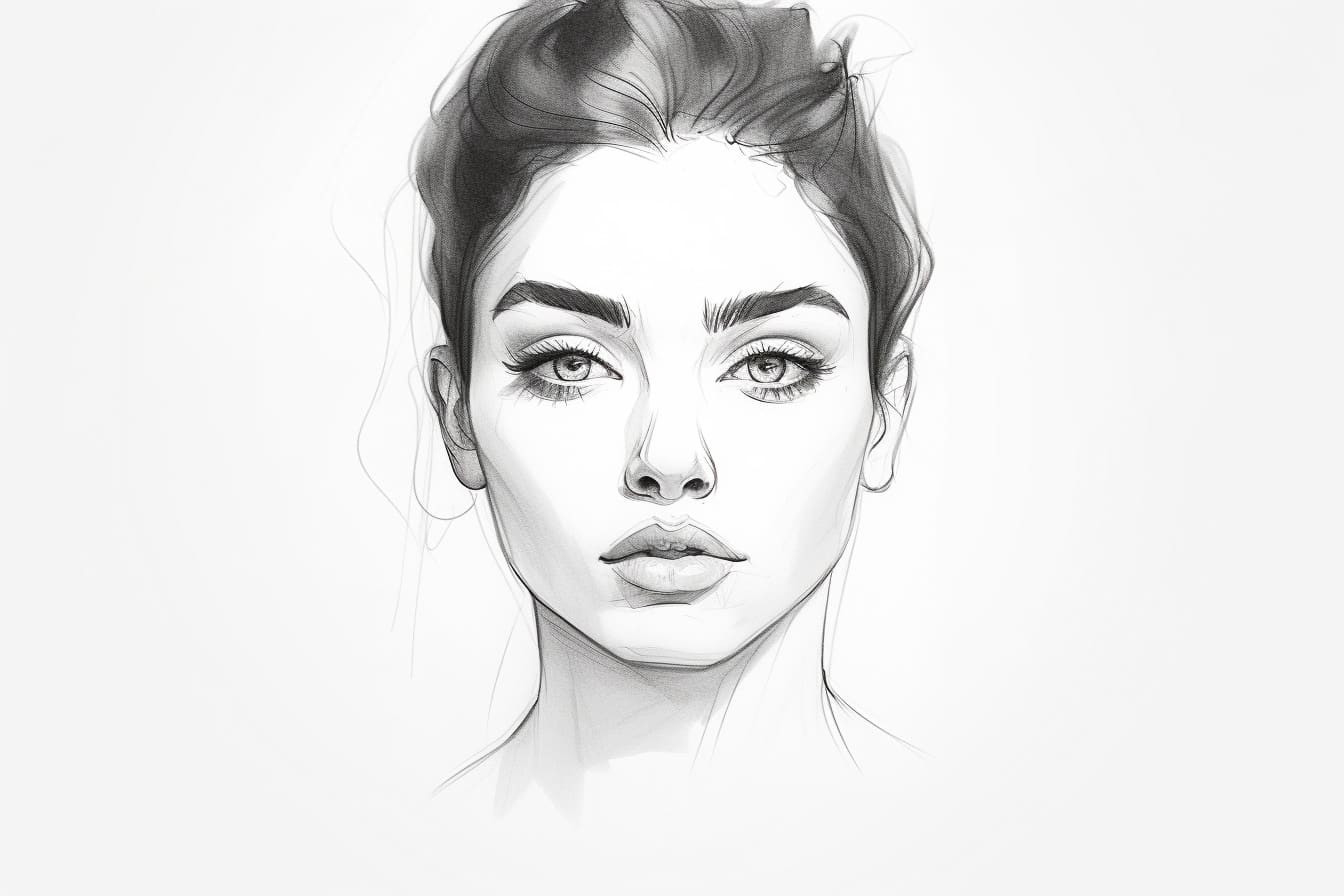
When it comes to drawing emotions, a sad face can evoke a sense of melancholy and empathy. Whether you are an aspiring artist or simply looking to express your emotions through art, learning how to draw a sad face is a valuable skill to have. In this step-by-step guide, we will walk you through the process of creating a sad face, providing clear instructions to help you achieve a realistic and emotive result.
Materials Required
Before we begin, let’s gather the materials you will need to draw a sad face:
- Pencil: Choose a pencil with a medium lead, such as a 2B or HB, for sketching and shading.
- Paper: Opt for a smooth, white drawing paper that is suitable for pencil work.
- Eraser: Have an eraser handy to correct any mistakes and smudges along the way.
- Blending tool: You can use a blending stump or even a cotton swab to blend and soften pencil marks.
Now that we have our materials ready, let’s dive into the step-by-step process of drawing a sad face.
Step 1: Draw the Basic Outline
Begin by lightly sketching a circle on your paper. This will serve as the foundation for the head. Keep the lines faint and loose, as you will be refining them later. Next, draw a vertical line down the center of the circle, and a horizontal line across the middle. These lines will act as guides for placing the facial features.
Step 2: Add the Eyes
Sadness is often expressed through the eyes, so pay close attention to this step. Starting from the center point where the vertical and horizontal lines intersect, draw two almond-shaped eyes, slightly tilted downwards. Make the eyes narrower and more elongated than when drawing a neutral or happy face. Leave a small space between them.
Step 3: Create the Eyebrows
Draw curved eyebrows just above the eyes to further enhance the sad expression. These eyebrows should be raised towards the center and then slope downwards towards the outer edges of the face. The inner corners of the eyebrows should be slightly raised, creating a subtle arch.
Step 4: Form the Nose
Positioned just below the horizontal line, draw a small, slightly curved line for the bridge of the nose. Then, extend two vertical lines downward from the bridge to form the sides of the nose. Keep in mind that a sad face often features a slightly drooping or downward-pointing nose, reflecting a sense of sorrow.
Step 5: Outline the Mouth
To convey sadness effectively, draw a downward-curved, slightly elongated mouth. Begin with a short horizontal line in the center, just below the nose. From there, draw two curved lines extending downward, mirroring the shape of a frown. Make sure the corners of the mouth are slightly turned downward as well.
Step 6: Add Tears
Tears are a common symbol of sadness, and adding them to your sad face drawing can enhance its emotional impact. Draw small teardrops outside the lower corners of the eyes, extending slightly down towards the cheeks. Remember to keep the tears subtle and delicate to maintain a realistic effect.
Step 7: Sketch the Face’s Contours
At this point, you can refine the sketch and add more definition to the face. Lightly shade the areas around the eyes, beneath the eyebrows, and along the sides of the nose to create depth and shadows. Use gentle, circular motions to blend and soften the pencil marks, achieving a natural appearance.
Step 8: Darken the Features
To enhance the expression and overall effect of sadness, carefully darken the lines of the eyes, eyebrows, and mouth. This will add contrast and bring more attention to these features. Be mindful of the intensity of the shading and make adjustments as needed to maintain a balanced and realistic representation.
Step 9: Fine-Tune the Details
Take a step back and assess your drawing. Look for any areas that require adjustment or refinement. Pay close attention to the symmetry of the face, ensuring that both sides are proportionate and aligned. Make any necessary corrections or additions to achieve a more polished and lifelike sad face.
Conclusion
Drawing a sad face allows you to convey emotions and connect with your viewers on a deeper level. By following the step-by-step instructions laid out in this guide, you can create a realistic and emotive representation of sadness. Remember to practice and experiment with different techniques to further develop your artistic skills. With time and dedication, you can master the art of drawing various emotions, including a sad face.


