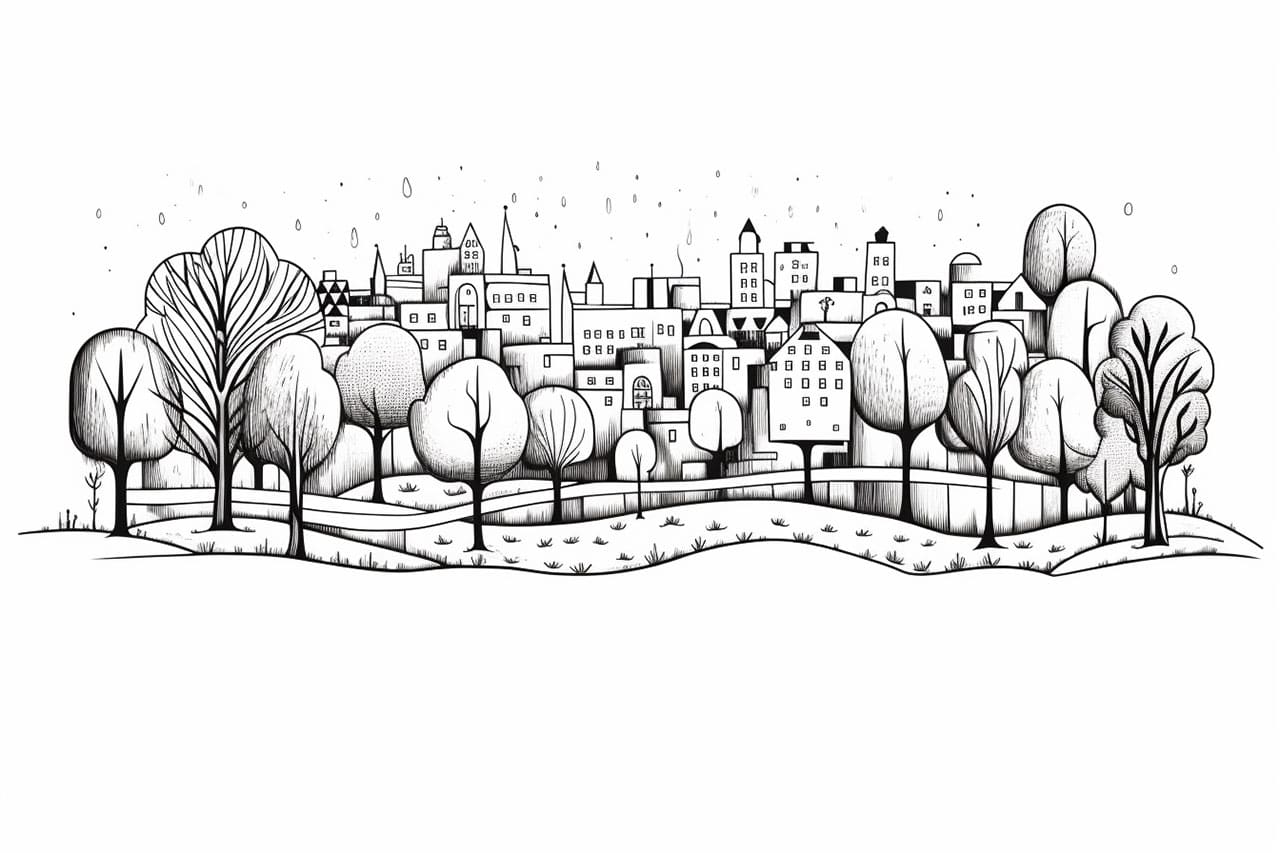
Welcome to this step-by-step guide on how to draw a park! In this tutorial, I will walk you through the process of creating a beautiful and realistic park landscape. Whether you are a beginner or an experienced artist, this guide will help you capture the essence of a tranquil and picturesque park setting.
Materials Required
Before we begin, let’s gather the materials you will need for this drawing:
- Drawing Paper: Choose a sturdy paper that can handle various drawing techniques.
- Pencils: Get a range of graphite pencils with different lead hardness (e.g., 2H, HB, 2B, 4B, 6B).
- Eraser: Have a soft eraser for making corrections and a kneaded eraser for lighter smudging.
- Blending Stump: This tool is useful for blending and smudging pencil marks.
- Colored Pencils (optional): If you want to add color to your drawing, have a set of colored pencils ready.
Now that you have your materials, let’s dive into the step-by-step process of drawing a park.
Step 1: Sketch the Horizon Line and Basic Shapes
Start by drawing a horizontal line across the middle of your paper. This line represents the horizon and will help you establish the perspective of your park. Next, lightly sketch the basic shapes of the park elements. Imagine the park as a collection of simple forms such as trees, bushes, paths, benches, and a pond or fountain. Use light, loose lines to outline these shapes, keeping in mind the overall composition and balance of your drawing.
Step 2: Add Details to the Trees and Foliage
Focus on one tree at a time and start adding details to its trunk, branches, and leaves. Observe the structure of real trees and try to replicate it in your drawing. Use short, curved lines to create the branches, and add clusters of small lines to represent the leaves. Vary the size and direction of the branches to make them look more natural. Repeat this process for each tree, adjusting the shapes and sizes as you go along.
Step 3: Sketch the Pathways and Benches
Now, turn your attention to the pathways and benches in the park. Using light, straight lines, draw the paths winding through the trees. Add details such as cracks, stones, or fallen leaves to make the paths more interesting. For the benches, draw rectangular shapes with slightly curved lines for the seat and backrest. Position them in strategic spots within the park, considering the composition and focal points of your drawing.
Step 4: Outline the Pond or Fountain
If your park includes a pond or fountain, outline its shape using smooth curves. Make sure the edges are irregular to give it a natural appearance. Add ripples or reflections on the water surface with quick, curved lines. You can also indicate the presence of fish or aquatic plants with small, detailed lines and shapes.
Step 5: Refine the Background and Midground Elements
In this step, focus on the background elements such as distant trees, hills, or buildings. Use lighter tones and less detail to create the illusion of distance. Use softer pencils (e.g., 2H or HB) to shade these areas, blending the pencil strokes with a blending stump for a smooth transition. As you move forward into the midground, increase the level of detail and darken the values slightly to add depth and dimension to the landscape.
Step 6: Add Texture and Detail to the Foreground
The foreground elements, such as grass, flowers, and shrubs, need more texture and detail. Use short, quick strokes to create the illusion of grass blades and small flowers. Layer different shades of green to add depth and variation to the foliage. For flowers, use small circles or dots of various colors. Pay attention to the direction of the strokes to suggest movement and organic growth.
Step 7: Finalize the Details and Add Shadows
Now that your main elements are in place, it’s time to refine the details and make your drawing come alive. Add texture to the tree trunks and branches using crosshatching or stippling techniques. Strengthen the lines and shapes of the pathways, benches, pond, and buildings. Create cast shadows by shading areas that are not directly exposed to light. Use darker pencil grades (e.g., 4B or 6B) for the shadows, gradually building up the values to add depth and contrast.
Conclusion
Congratulations on completing your park drawing! By following this step-by-step guide, you have learned how to create a realistic and inviting park landscape. Remember to practice regularly and experiment with different techniques to enhance your drawing skills. Now, go out and explore the beauty of parks with a fresh perspective, appreciating the details that make them special.
Fun Facts About Parks
- Parks offer vital green spaces in urban areas, improving air quality and providing a habitat for urban wildlife.
- New York City’s Central Park was the first landscaped public park in the United States, established in 1858.
- Parks not only offer recreational space but also help in reducing urban heat by absorbing sunlight and heat.
- There are over 400 national park sites in the USA, ranging from sprawling wilderness like the Grand Canyon to historic sites and battlefields.
- Public parks can encourage physical activity like walking, jogging, and biking, contributing to healthier communities.
- The first national park in the world, Yellowstone, was established in 1872, paving the way for global conservation efforts.
- Tokyo has one of the largest urban parks in the world, Showa Memorial Park, spanning a massive 413 acres.
- Parks often serve as venues for cultural events, music festivals, and community gatherings, enhancing social connectivity.
- The oldest known public park is the Deer Park in Denmark, which dates back to the 16th century, originally a royal hunting ground.
- Some parks, like San Francisco’s Golden Gate Park, were created from barren land, transforming sand dunes into lush landscapes.
Suggestions for Scenes and Settings for Park Drawings
- Serene Morning Walk: Draw a peaceful scene of early morning joggers and dog walkers amidst dew-covered grass and blooming flowers.
- Children’s Playground Adventure: Illustrate a lively playground with children playing on swings, slides, and merry-go-rounds.
- Pond Reflection: Capture a tranquil pond surrounded by trees, with ducks swimming and an artist capturing the scene on canvas.
- Spring Picnic: Create a scene of friends and family enjoying a picnic on a sunny day, with colorful blankets and overflowing picnic baskets.
- Winter Wonderland: Design a snowy park with people ice skating on a frozen pond and children building snowmen.
- Outdoor Concert: Show a group of musicians performing on a park stage as an audience relaxes on the grass, enjoying the music and the sunset.
- Cherry Blossom Festival: Draw a park transformed into a sea of pink blossoms, with people strolling under the cherry trees.
- Autumn Hike: Picture a trail through a park covered in fallen leaves, with hikers admiring the vibrant fall colors.
- Park Bench Reflection: Illustrate a solitary figure pondering life while sitting on a park bench, surrounded by nature’s beauty.
- Dog Park Frolic: Depict a playful scene of dogs of all breeds running freely and making friends in a designated dog park area.