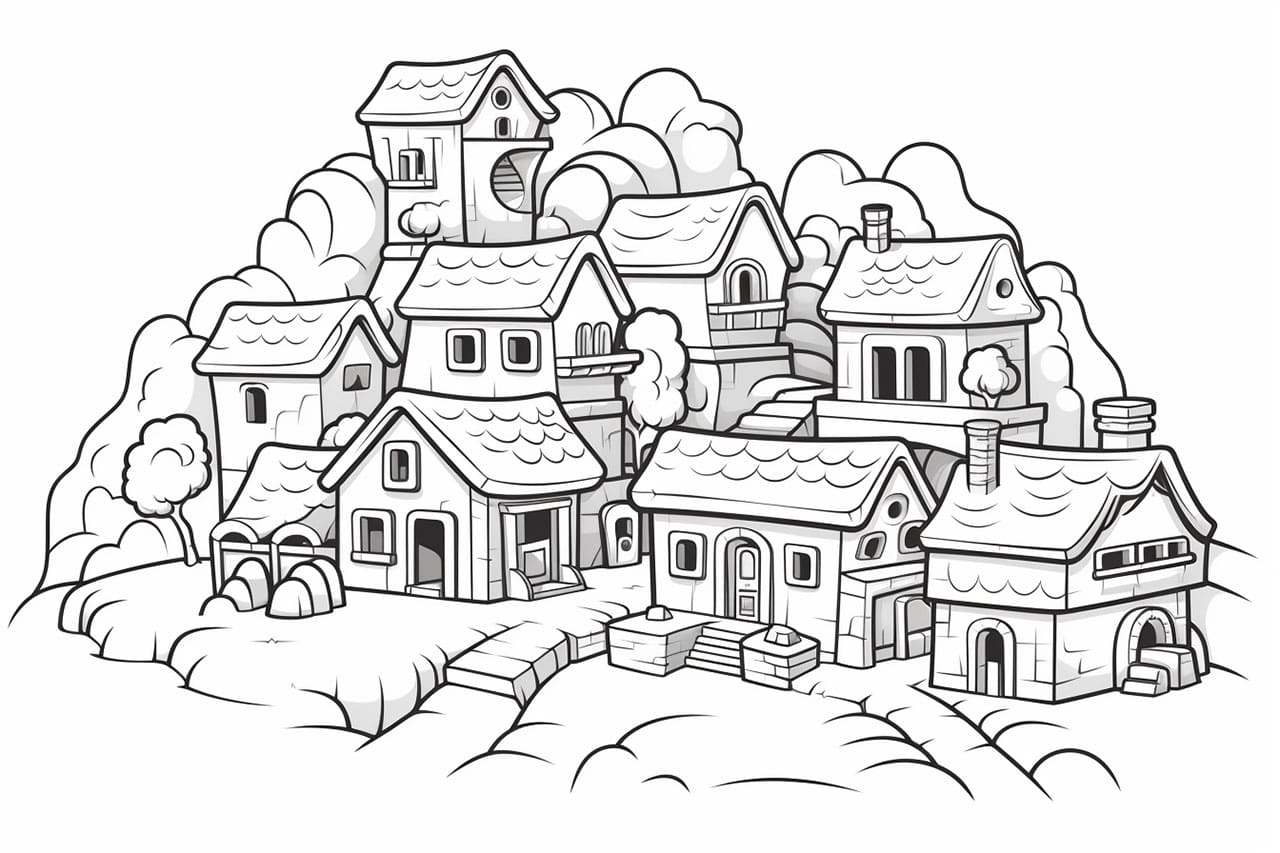
Welcome to this step-by-step guide on how to draw a Minecraft village! In this tutorial, we will go through the process of creating a detailed and visually appealing representation of a typical Minecraft village. Whether you are a beginner or an experienced artist, this guide will provide you with the necessary instructions to draw your own Minecraft village.
Materials Required
Before we dive into the drawing process, let’s gather the materials you will need to get started:
- Paper: Choose a blank sheet of paper in a size that suits your preferences. A standard letter or A4 size paper will work just fine.
- Pencil: Select a HB or 2B pencil for sketching and outlining.
- Eraser: Have a soft eraser handy to correct any mistakes or remove unwanted lines.
- Fine-tipped Pens: Prepare a set of fine-tipped pens in various sizes. These will be useful for inking and adding details to your drawing.
- Colored Pencils or Markers: Optional, but if you want to add color to your drawing, gather a set of colored pencils or markers to bring your Minecraft village to life.
Now that we have our materials ready, let’s begin drawing our Minecraft village!
Step 1: Sketch the Outline
Start by lightly sketching the basic outline of your Minecraft village. Visualize how you want your village to be laid out and rough in the main structures and pathways. Remember, Minecraft villages typically consist of houses, farms, pathways, and other elements such as wells or lamp posts. Take your time to plan the overall composition.
Step 2: Add Structure Details
Once you are satisfied with the layout, start adding more details to the individual structures within the village. Begin by drawing the houses, making sure to capture the boxy shape that is iconic to Minecraft. Pay attention to the size and placement of windows and doors. You can also add fences, gardens, or other small details to make each house unique.
Step 3: Outline the Pathways
Next, outline the pathways that connect the buildings in your village. These pathways can be simple lines or slightly wider to resemble a road. Add some irregularities and connect them to each structure naturally. This will give your village a more organic and realistic look.
Step 4: Add Vegetation
Minecraft villages often have vegetation like trees and flowers to add color and life to the scene. Sketch in some trees near the houses or clustered in certain areas. Add flowers or bushes along the pathways to make your village more vibrant. Take your time to create different shapes and sizes to add variety.
Step 5: Ink Your Drawing
Once you are satisfied with the sketch, it’s time to ink your drawing. Use your fine-tipped pens to outline the main structures, pathways, and details. Be deliberate and confident with your lines. Consider using different pen sizes to create contrast and variation in line weight, providing more depth to your drawing.
Step 6: Erase the Sketch Lines
After the ink has dried, gently erase the pencil sketch lines. Take your time and use a light touch to avoid smudging the ink. Be careful around the areas where the ink lines intersect, as you don’t want to accidentally erase any important details.
Step 7: Color Your Minecraft Village (Optional)
If you want to add some color to your drawing, grab your colored pencils or markers and start adding hues to your Minecraft village. Refer to the colors used in the Minecraft game for reference, or let your imagination guide you. Add shading and highlights to give your drawing depth and dimension.
Step 8: Final Touches and Details
Once you have finished coloring, step back and assess your drawing. Look for any areas that may need additional touches or details. Enhance the texture of the structures, add shadows, or refine any elements that require attention. Don’t be afraid to experiment and make the drawing your own.
Conclusion
Congratulations on completing your Minecraft village drawing! By following these step-by-step instructions, you have created a visually appealing representation of a typical Minecraft village. Remember, practice makes perfect, so don’t hesitate to try drawing different variations and incorporate your own creative ideas.
Now it’s your turn to put these instructions into action. Grab your materials, follow the steps, and enjoy the process of bringing your Minecraft village to life on paper. Happy drawing!


