Welcome to this step-by-step guide on how to draw a kimono! Whether you are an experienced artist or a beginner, this tutorial will help you create a beautiful and intricate representation of this traditional Japanese garment. Follow along with the instructions and let your creativity flow. Let’s get started!
Materials Required
Before we begin, gather the following materials:
- Pencil
- Eraser
- Paper
- Colored pencils or markers (optional)
- Reference images of kimonos (recommended)
Having these materials ready will make the drawing process smoother and more enjoyable.
Step 1: Sketch the Basic Outline
Start by lightly sketching the basic outline of the kimono. Begin with a vertical line down the center of your paper, as this will act as the spine of the garment. Then, draw two horizontal lines intersecting the vertical line near the top and bottom. These will serve as guidelines for the collar and hem of the kimono.
Step 2: Draw the Collar
Using the upper horizontal guideline as a reference, draw a curved line extending from the center line. This will be the collar of the kimono. The shape and size of the collar may vary depending on the style you want to depict. Experiment with different shapes to create different looks.
Step 3: Add the Sleeves
Next, draw the sleeves of the kimono. Start by drawing two curved lines extending from each side of the collar, following the guidelines you drew earlier. The shape and length of the sleeves can vary, so feel free to explore different designs. You can make them shorter or longer, wider or narrower, depending on your artistic preference.
Step 4: Define the Body of the Kimono
Now, let’s define the body of the kimono. Draw a diagonal line from the end of the collar to the lower horizontal guideline. This will create the opening of the kimono. From there, draw two more lines, slightly curved, to connect the sleeves to the bottom of the kimono. Remember to keep the lines flowing and graceful to capture the elegance of the kimono.
Step 5: Add Details and Patterns
This step is where you can add unique details and patterns to your kimono. Feel free to get creative and personalize your design. You can add floral patterns, geometric shapes, or any other motifs that inspire you. Take reference from traditional kimonos or explore your own imagination. Use light, gentle strokes to create delicate patterns.
Step 6: Refine Your Drawing
Now it’s time to refine your drawing. Take a closer look at the overall shape and proportion of the kimono. Make any necessary adjustments, erasing any unwanted lines or adding more definition where needed. Pay attention to the flow of the fabric and the way it hangs on the body. This step will help bring your drawing to life.
Step 7: Finalize Your Drawing
Once you are satisfied with the overall composition and details of your kimono, darken the lines you want to keep and erase any remaining guidelines. This will give your drawing a clean and finished look. Take your time and be patient during this step, as it can make a significant difference in the final result.
Conclusion
Congratulations on completing your kimono drawing! By following these steps, you have learned how to create a beautiful representation of this traditional Japanese garment. Remember to practice regularly and experiment with different styles and patterns to further enhance your skills. Embrace your creativity and enjoy the process of drawing. Happy creating!
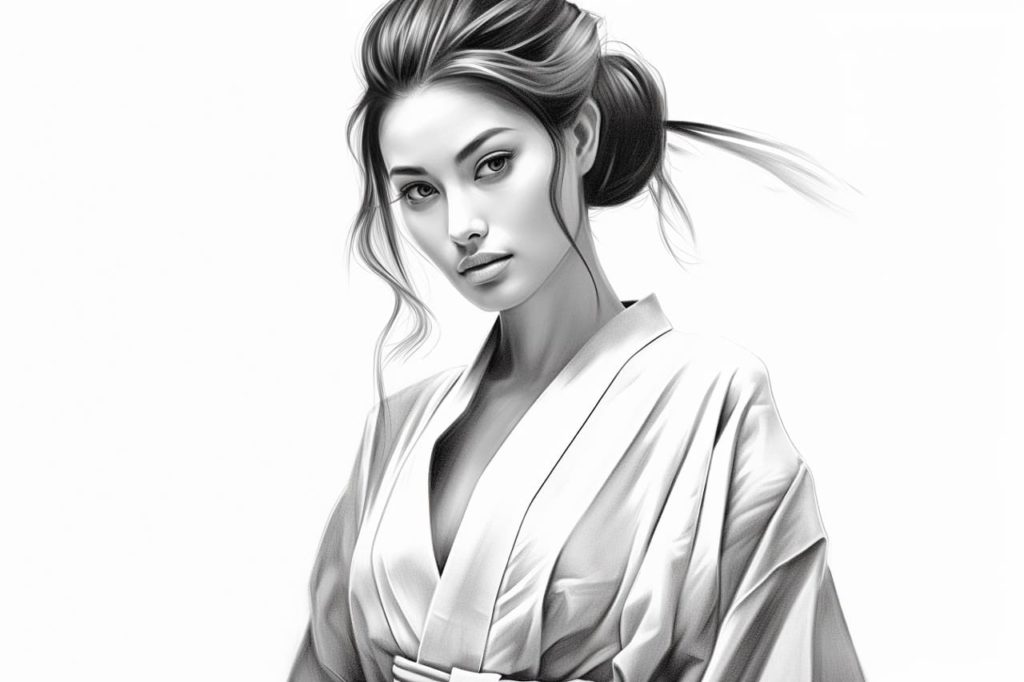
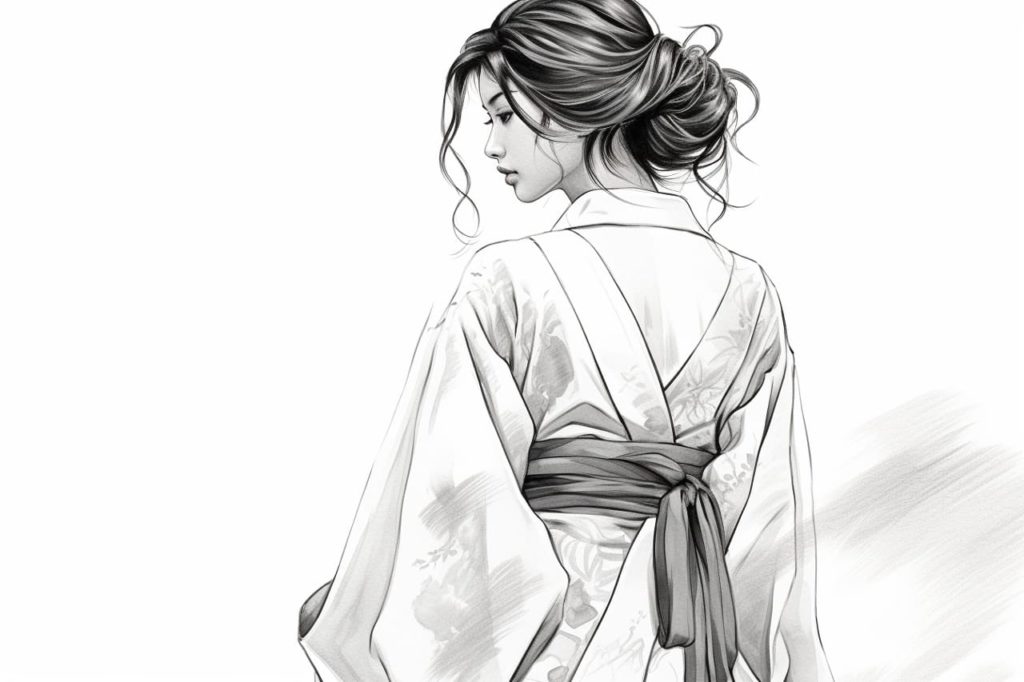
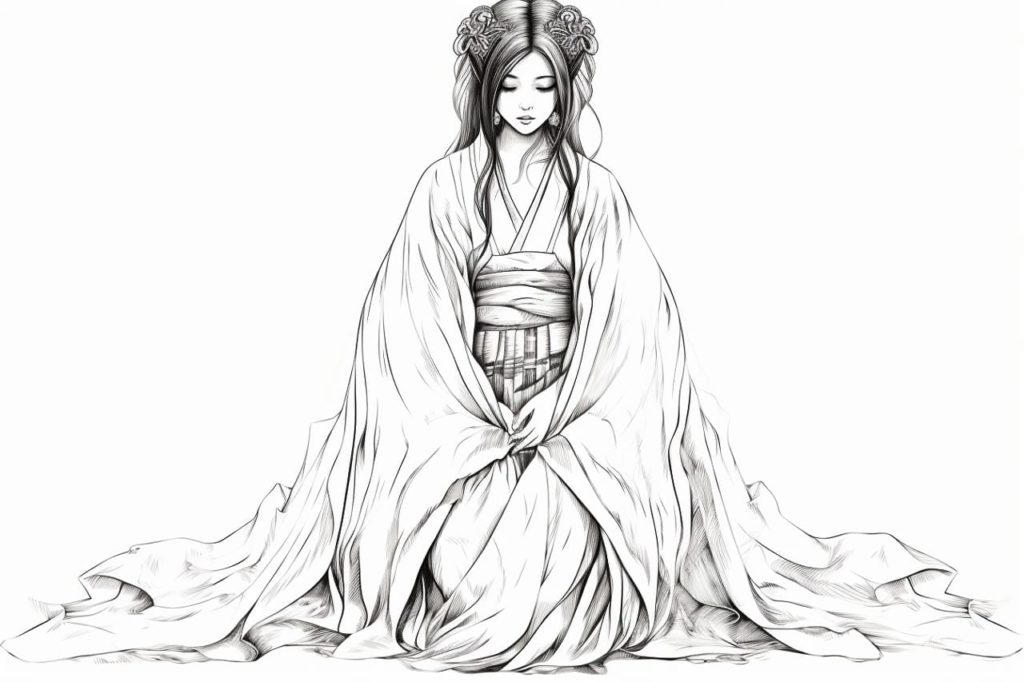
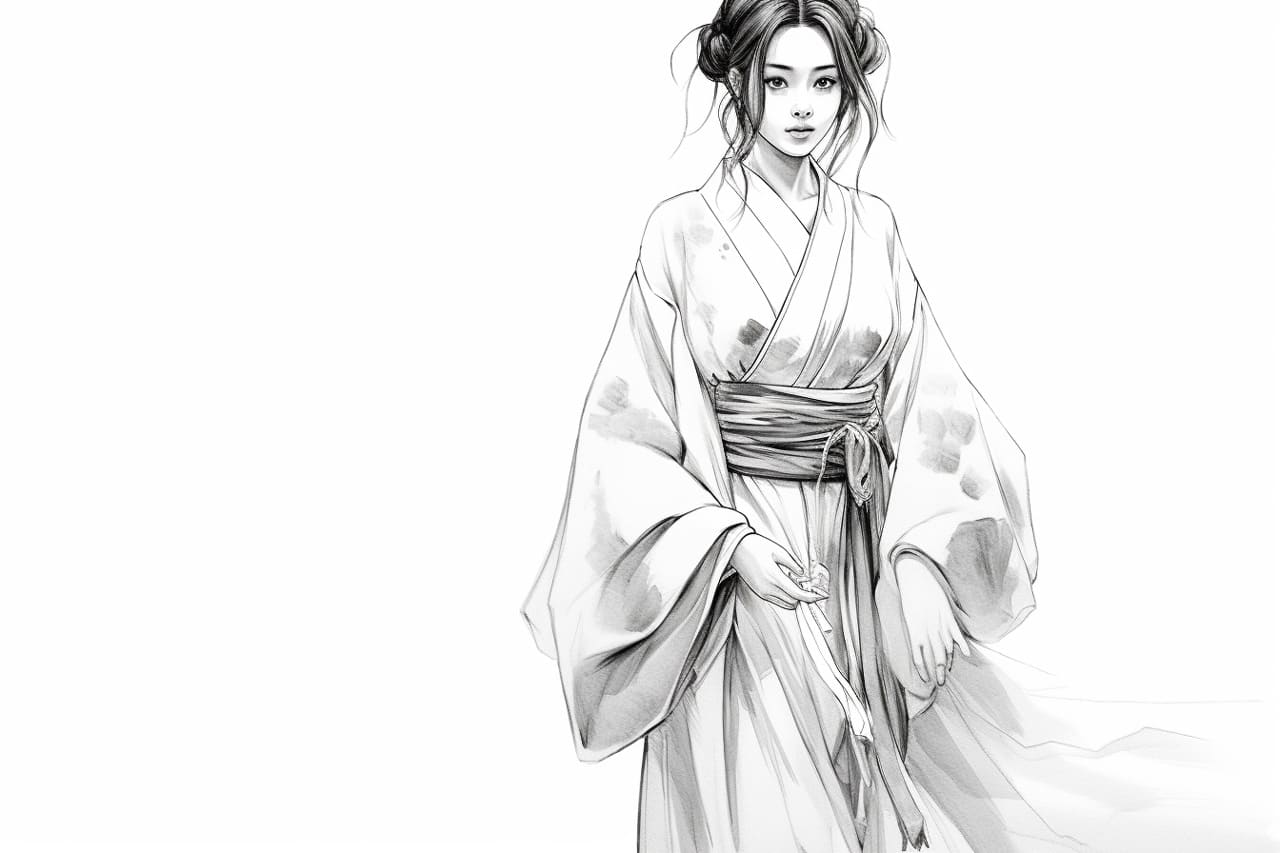
Gallery of Kimono Drawings