How to Draw a Husky
Learn how to draw a husky in this step-by-step tutorial. Follow along with our detailed instructions and create your own beautiful husky artwork.

Materials You'll Need
- Pencil
- Paper
- Eraser
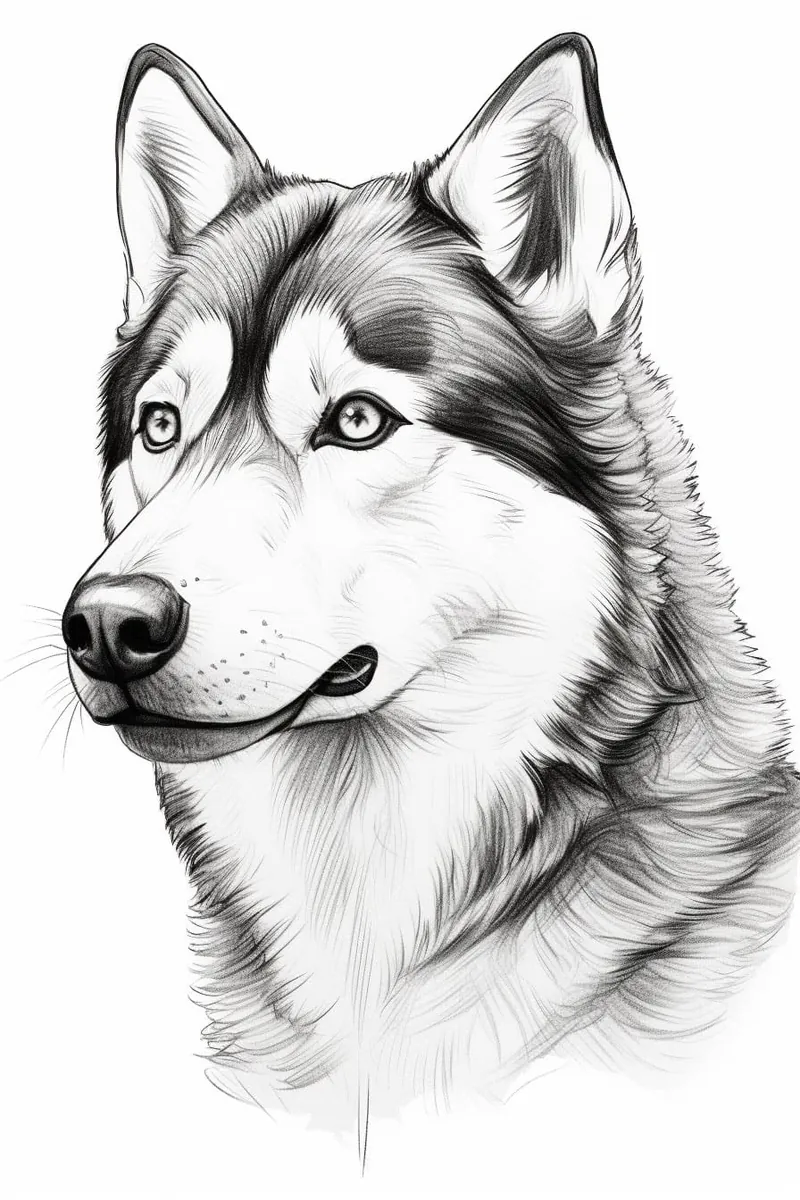
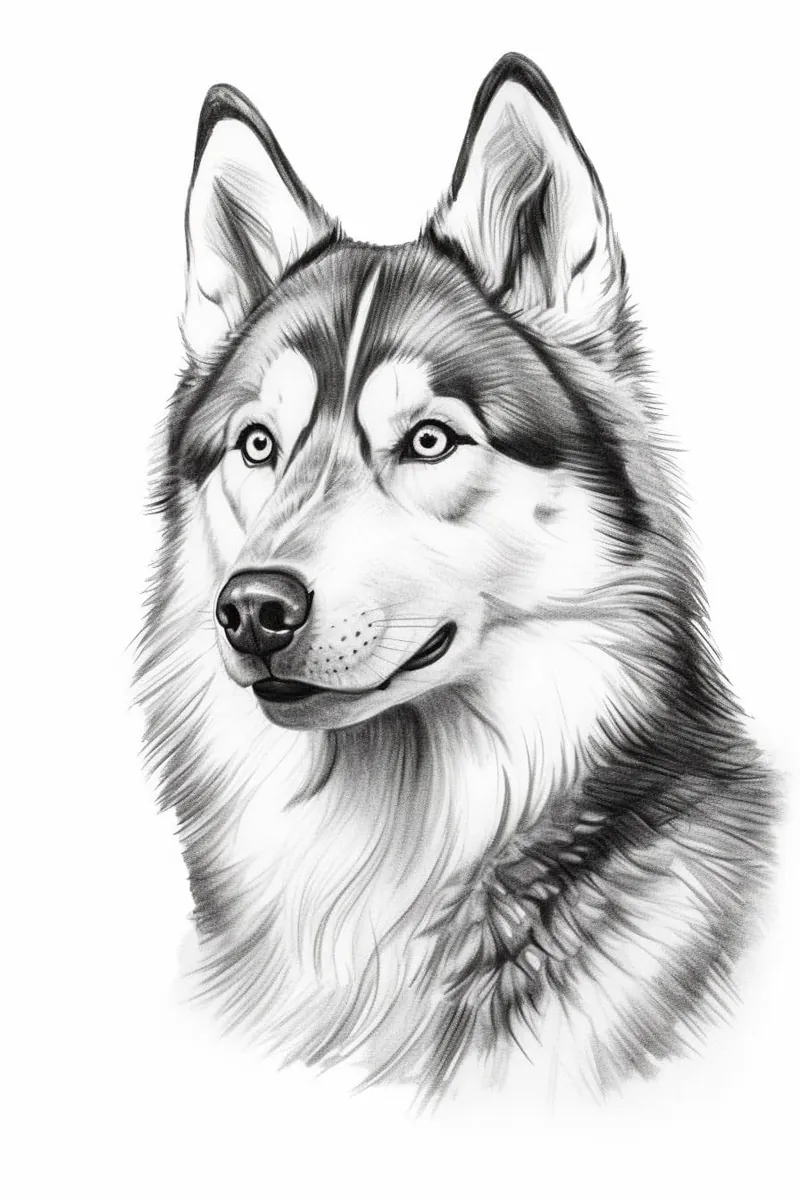
![]() Drawing animals is a creative and fulfilling hobby that lets you explore their beauty and personality on paper. Among all the dog breeds, huskies stand out with their stunning appearance, piercing eyes, and thick, fluffy fur. Their wolf-like features and playful expressions make them an irresistible subject for artists of all levels.
Drawing animals is a creative and fulfilling hobby that lets you explore their beauty and personality on paper. Among all the dog breeds, huskies stand out with their stunning appearance, piercing eyes, and thick, fluffy fur. Their wolf-like features and playful expressions make them an irresistible subject for artists of all levels.
In this step-by-step tutorial, we'll guide you through how to draw a husky from start to finish. Whether you're a beginner eager to learn the basics or a seasoned artist looking to refine your skills, this guide will help you capture the essence of this majestic breed. From their iconic markings to their expressive eyes, every step will bring you closer to creating a lifelike husky drawing.
Grab your pencils, paper, and a dash of creativity, and let's dive into the art of drawing one of the most striking and beloved dog breeds in the world!

Materials Required
To begin drawing a husky, gather the following materials:
- Pencil: Use a medium or soft graphite pencil for sketching the initial outlines.
- Eraser: A kneaded eraser is recommended, as it can be shaped to erase specific areas.
- Drawing paper: Choose a smooth paper that is suitable for sketching and shading.
- Fine-tip pens: Black pens with different thicknesses can be used for outlining and adding details.
- Colored pencils or markers: Optional, but adding color can bring your husky drawing to life.
Now that you have your materials ready, let's dive into the step-by-step process of drawing a husky.
Step 1: Basic Shapes
Start by lightly sketching the basic shapes that will serve as the foundation for your husky drawing. Begin with an oval for the head, followed by a smaller circle for the body. Connect the two shapes with a curved line, representing the neck. Add circles for the shoulders and hips.
Step 2: Refine the Body
Using the basic shapes as a guide, refine the body of the husky. Add details such as the chest, back, and hind legs. Huskies have a distinct body shape, so pay attention to their sleek and muscular characteristics.
Step 3: Define the Face and Ears
Focus on the head of the husky. Draw a vertical line in the middle of the oval, dividing it into two halves. This will help you position the facial features accurately. Sketch the almond-shaped eyes on either side of the line. Add the ears, which are triangular in shape and positioned slightly outward from the eyes.
Step 4: Nose and Mouth
Draw a small triangle at the bottom of the husky's snout to create the nose. Below the nose, sketch a curved line to represent the mouth. Huskies have a distinctive curled-up tail, so you can indicate that as well.
Step 5: Eyes and Eyebrows
Refine the shape of the eyes and add the eyebrows for a more expressive and realistic look. Huskies are known for their piercing eyes, so make sure to capture that intensity in your drawing.
Step 6: Fur and Shading
Focus on adding texture and shading to the husky's fur. Use light, feathery strokes to mimic the softness of their coat. Pay attention to the direction of the fur, which tends to flow from the top of the head towards the body. Add darker shading in areas where shadows would naturally fall, such as under the neck and along the body.
Step 7: Outlining and Details
Once you are satisfied with the overall shape and shading, use a fine-tip pen to outline the husky's features and add finer details. Be mindful of the thickness of the lines, as variations can create depth and dimension in your drawing. Focus on areas such as the eyes, nose, and mouth to make them stand out.
Step 8: Optional Coloring
If you prefer a colored drawing, you can use colored pencils or markers to add hues to your husky. Research the specific coat colors and patterns of huskies to ensure accuracy. Layers and blending techniques can bring depth and vibrancy to your artwork.
Tip: When drawing a husky, pay special attention to their unique fur texture, which is key to capturing their essence. Use a combination of short, quick strokes with a soft pencil (like a 2B) for the undercoat, and longer, flowing strokes with a harder pencil (like an H) for the topcoat to create depth and dimension. Don't forget to study reference photos closely; notice how the fur lies in different directions, especially around the ears and cheeks. Incorporating subtle shading around the eyes can enhance their expressive quality, making them appear more lifelike. Lastly, consider using blending tools, such as a tortillon or your finger, to soften harsh lines and create a more natural look in your final piece.
Conclusion
Drawing a husky allows you to capture the beauty and spirit of this magnificent breed. By following these step-by-step instructions, you can create a stunning husky drawing that showcases their unique features and personality. Remember to practice and experiment with different techniques to further develop your artistic skills.
We hope you enjoyed this tutorial on how to draw a husky. Happy drawing!