Funko Pops have become extremely popular collectibles in recent years, with their cute and stylized designs capturing the hearts of fans all over the world. If you’re a fan of Funko Pops and have always wanted to try your hand at drawing one, you’re in luck! In this step-by-step guide, I’ll walk you through the process of how to draw a Funko Pop. So grab your drawing materials and let’s get started!
Materials
To begin drawing your Funko Pop, you’ll need the following materials:
- Paper: Use a smooth, heavyweight paper that can handle ink and markers without bleeding through. A sketchbook or drawing pad will work well.
- Pencil: Choose a pencil with a medium hardness (HB or 2B) for sketching and initial outlines.
- Eraser: Have a good quality eraser handy to correct any mistakes or smudges.
- Fine-line Pens: Use pens with a fine tip, such as Micron or Sakura Pigma pens, for inking the final lines.
- Markers or Colored Pencils: Consider using markers or colored pencils to add color to your drawing. Choose colors that closely match the Funko Pop you’re trying to recreate.
Now that you have all your materials gathered, let’s dive into the step-by-step process of drawing a Funko Pop!
Step 1: Research and Reference
Before diving into the drawing process, it’s crucial to spend some time researching and gathering reference images of the Funko Pop you want to draw. Look for different angles and details that will help you accurately capture the character’s features. Having a clear understanding of the Funko Pop’s design will greatly assist you in the drawing process.
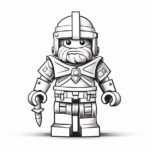
Step 2: Sketch the Basic Shapes
Start by lightly sketching the basic shapes that make up the Funko Pop’s body. Begin with a circle for the head, and then add a rectangle for the body. Pay attention to the proportions and size of each shape, as this will serve as the foundation for your drawing.
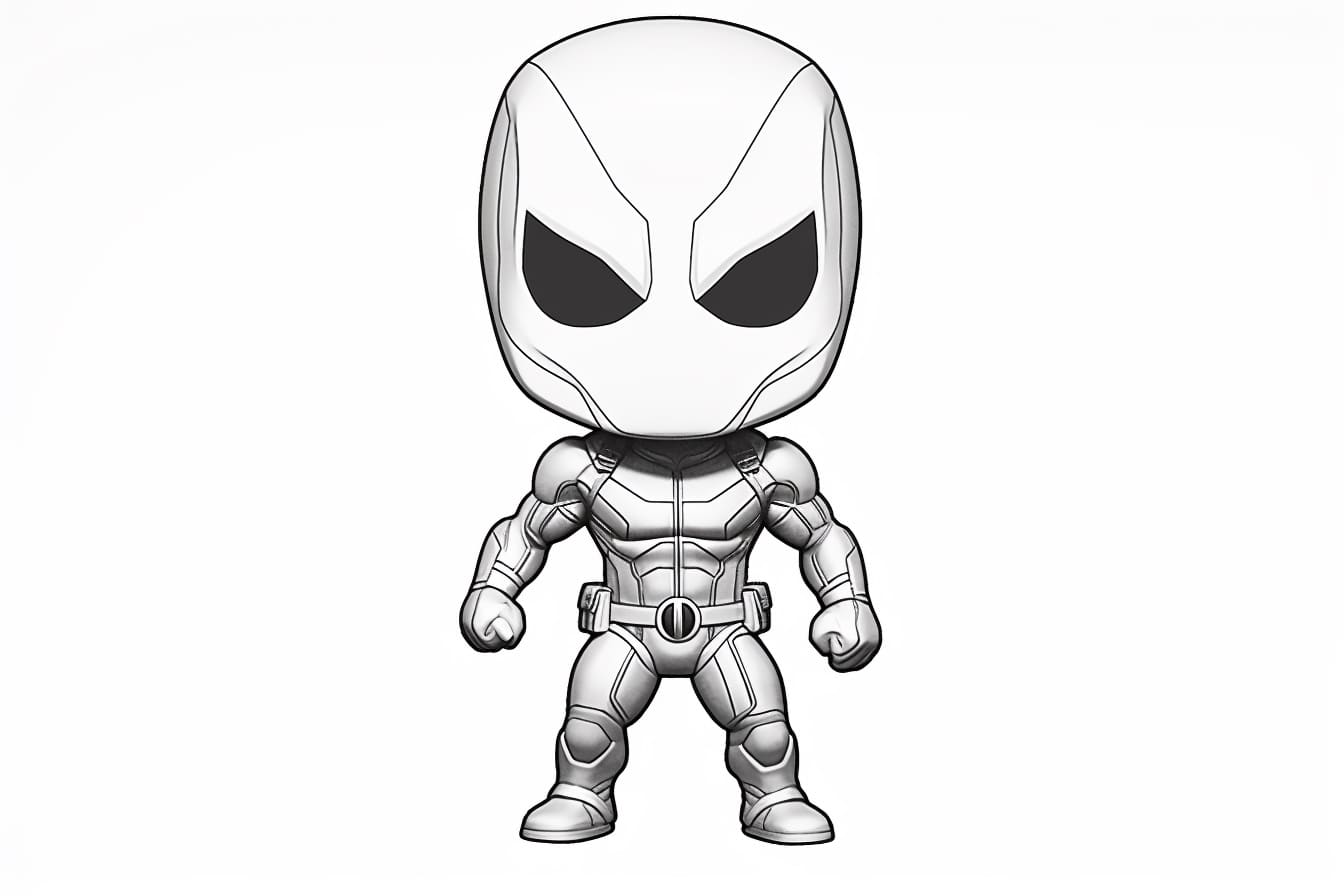
Step 3: Refine the Shape and Facial Features
Using the basic shapes as a guide, refine the outline of the Funko Pop’s body and add more detail to the facial features. Pay close attention to the style and proportions of the Funko Pop you’re drawing, as each character may have slightly different features.
Step 4: Add the Details
Now it’s time to add the smaller details that make the Funko Pop unique. This includes elements like the eyes, mouth, hair, and any accessories the character might have. Take your time with this step and refer back to your reference images to ensure accuracy.
Step 5: Ink the Final Lines
Once you’re satisfied with the sketch, use a fine-line pen to ink over the final lines of your drawing. Start with the outline of the character and then work your way towards the smaller details. Take your time and be careful not to smudge the ink as you go.
Step 6: Erase the Pencil Lines
After the ink has dried, carefully erase any remaining pencil lines to clean up your drawing. Use a light hand and a good quality eraser to avoid damaging the paper or smudging the ink.
Step 7: Color Your Funko Pop (Optional)
If you’d like to add some color to your drawing, now is the time! You can use markers, colored pencils, or any other coloring tools you prefer. Refer back to your reference images to ensure you capture the correct colors and shading.
Conclusion
Congratulations on drawing your very own Funko Pop! By following these step-by-step instructions, you’ve learned how to capture the adorable and iconic features of a Funko Pop. Remember to practice regularly and have fun exploring different characters and styles. So, grab your drawing materials and start creating your own collection of hand-drawn Funko Pops today!