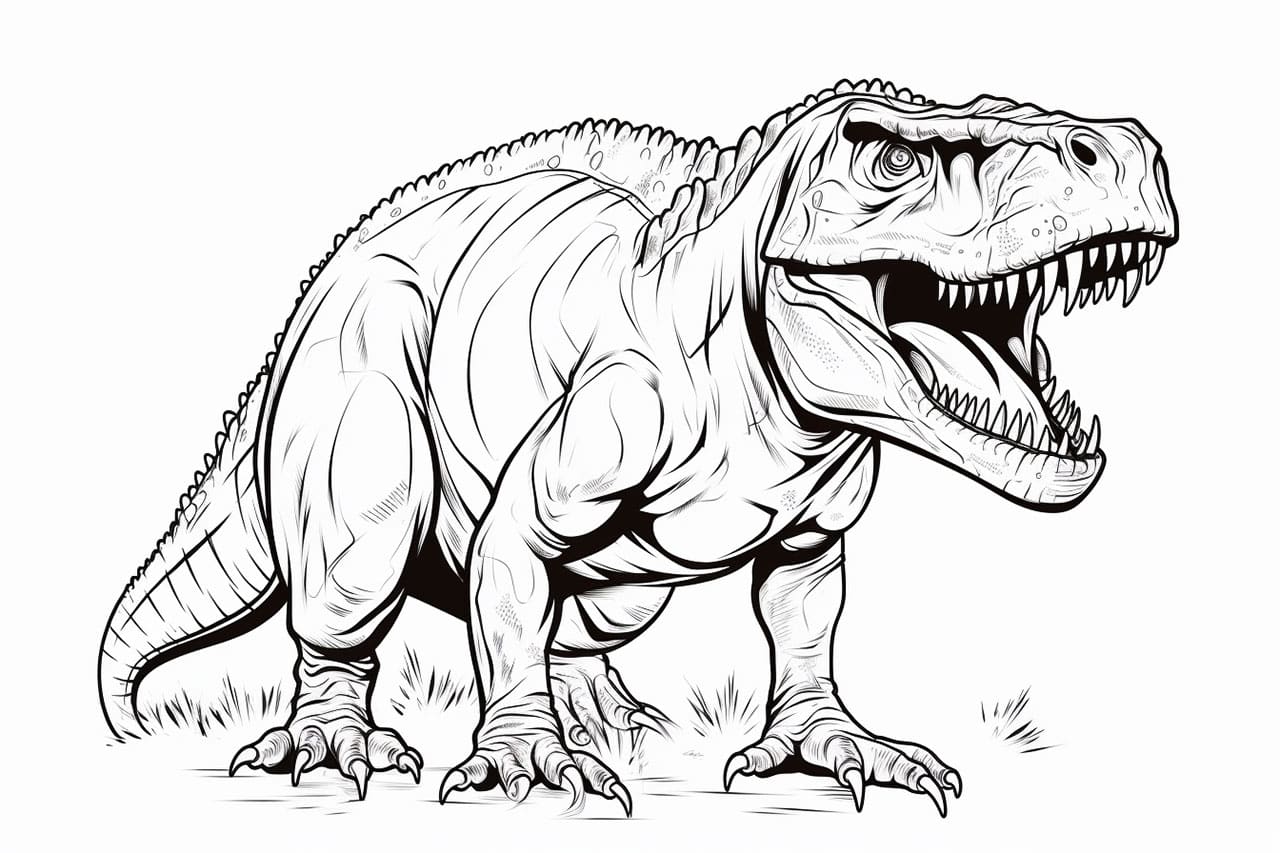
Welcome to this step-by-step tutorial on how to draw a giganotosaurus! Follow along with the instructions provided, and soon you’ll be able to create a magnificent and detailed drawing of this incredible dinosaur. Whether you’re a beginner or an experienced artist, this guide will help you bring the giganotosaurus to life on paper. So, grab your drawing materials and let’s get started!
Materials Required
Before we dive into the drawing process, let’s make sure you have all the necessary materials at hand. Here’s what you’ll need:
- Pencil: Start with a regular HB or No. 2 pencil for sketching and initial outlines.
- Eraser: Make sure you have a good quality eraser to correct any mistakes or refine your drawing.
- Drawing Paper: Choose a smooth and sturdy paper that is suitable for sketching and shading.
- Fine-tip Pens or Ink: You will need pens or ink for inking your final lines if you prefer a more defined look.
- Colored Pencils or Markers (optional): If you want to add color to your giganotosaurus drawing, gather your preferred colored pencils or markers.
That’s it! Now let’s move on to the step-by-step instructions.
Step 1: Basic Shape and Skeleton
Start by lightly sketching a circle for the giganotosaurus’s head. Then, add a line from the head, curving down for the back, and another line curving down for the tail. Connect these lines with a curved line for the body.
Next, draw two curved lines for the limbs (front and back) coming out of the body. Add simple circles or ovals at the ends of these lines to represent the feet. This will serve as the basic skeleton for your giganotosaurus drawing.
Step 2: Outline the Head
Using the circle as a guide, draw the giganotosaurus’s head. Start by adding a rounded snout, followed by a line for the jaw. Sketch two small circles for the eyes and add a small curved line above each eye to represent the brow ridge.
Now, draw the mouth by extending the jaw line and adding a row of sharp teeth. Make sure to add more triangular teeth at the bottom jaw compared to the upper.
Step 3: Add Details to the Body
To give your giganotosaurus a more realistic look, it’s time to add details to the body. Start by drawing small, curved lines along the back for the spines. Add some additional lines on the tail and limbs to represent the dinosaur’s rough skin texture.
Next, draw the front and back limbs with more details. Add curved lines to indicate the muscles and joints. Don’t forget to draw the claws at the end of each limb, which are sharp and powerful.
Step 4: Refine the Outline
Now that you have the basic structure and details in place, it’s time to refine the outline of your giganotosaurus drawing. Go over your preliminary sketches and make any necessary adjustments to the proportions and shapes.
Start by erasing any unnecessary lines, focusing on retaining only the essential outline and details. Use your pencil to darken the finalized lines, making them more prominent and defining the shape of your giganotosaurus further.
Step 5: Shading and Texturing
To add depth and dimension to your drawing, you can now start shading and texturing your giganotosaurus. Begin by identifying the direction of the light source and shade the areas that would be in shadow accordingly.
Use your pencil to lightly shade the body, keeping the shading consistent with the direction of the light. Pay attention to the muscles and curves of the dinosaur’s body to create a realistic three-dimensional effect.
If you prefer a more defined look, you can use fine-tip pens or ink to outline your final lines before shading. This will give your drawing a clean and bold appearance.
Step 6: Optional Coloring
If you want to take your giganotosaurus drawing to the next level, you can add color using colored pencils or markers. Select colors that match the giganotosaurus’s appearance and apply them carefully, adding depth and highlights as you go.
Remember to start with lighter colors and gradually build up the layers for a more realistic effect. Take your time and experiment with different techniques to achieve the desired result.
Conclusion
Congratulations on completing your giganotosaurus drawing! By following these step-by-step instructions, you’ve learned how to create a detailed and captivating representation of this fascinating dinosaur. Remember, practice makes perfect, so don’t hesitate to try drawing the giganotosaurus from different angles and in various poses.
We hope you enjoyed this tutorial and found it helpful in enhancing your drawing skills. Keep exploring and creating, and you’ll continue to improve. Happy drawing!