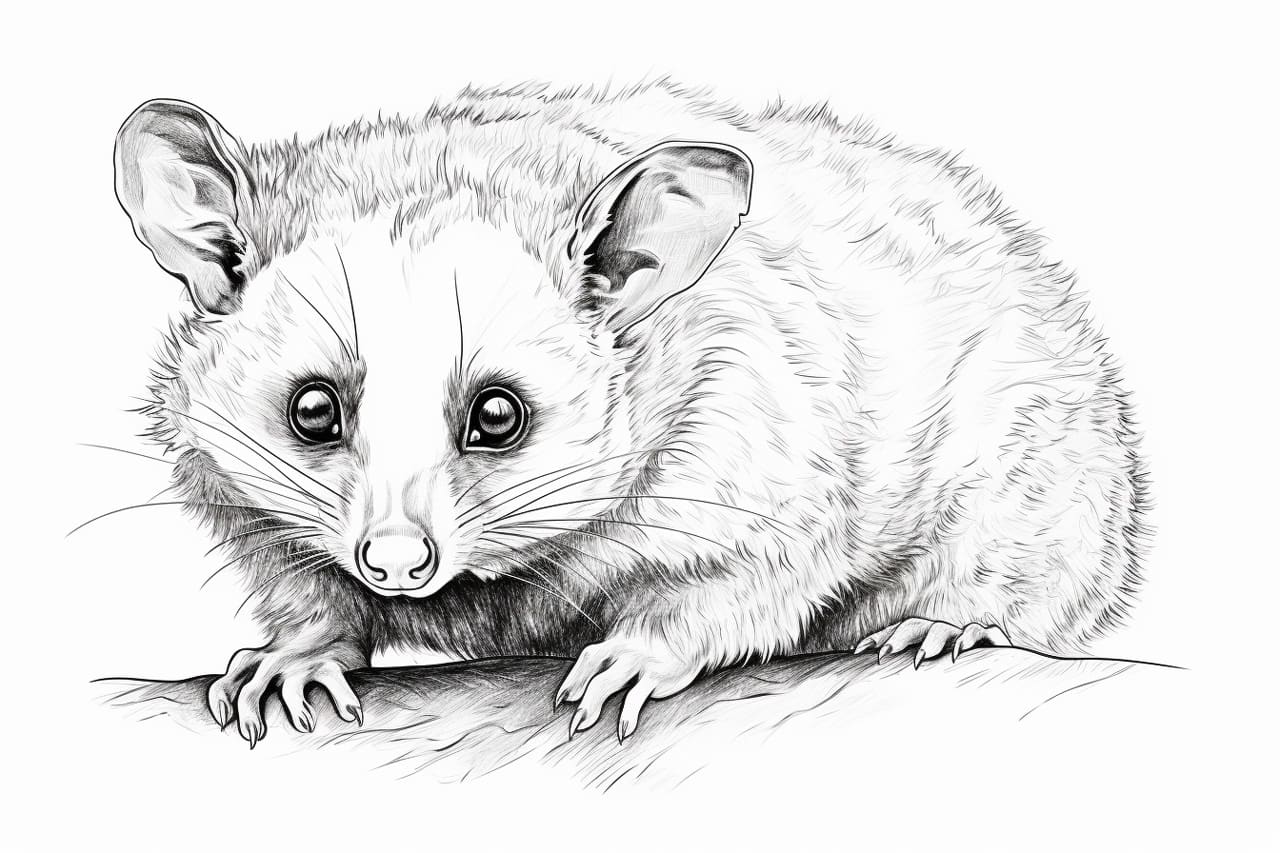
Possums are fascinating creatures that can make for an interesting subject to draw. With their unique appearance and nimble movements, capturing their likeness on paper can be both challenging and rewarding. In this step-by-step guide, I will walk you through the process of drawing a possum, from the initial sketch to the final details. So grab your pencils and let’s get started!
Materials Required
Before we begin, make sure you have the following materials:
- Drawing paper
- Pencils (HB, 2B, and 4B)
- Eraser
- Blending stump or cotton swabs
- Reference photo of a possum (optional, but recommended)
Step 1: Basic Shapes
To start, let’s establish the basic structure of the possum’s body using simple geometric shapes. Begin by drawing a large oval in the center of your paper. This will serve as the possum’s body. Next, add a smaller oval on top of the body, slightly to the right. This will be the head. Finally, draw a long, curved line extending from the body to represent the possum’s tail.
Step 2: Outlining the Body
Using the basic shapes as a guide, begin outlining the possum’s body. Start by adding more definition to the head, drawing a rounded shape with a protruding snout. Then, trace the shape of the body, making sure to capture the possum’s distinct hump in the back. Follow the curve of the tail, tapering it to a pointed end.
Step 3: Facial Features
Now, let’s focus on the possum’s face. Draw two large circles for the eyes on the head, leaving a small gap between them. Within each eye, draw a smaller circle to represent the pupils. Add a curved line above each eye to indicate the possum’s eyebrows. Next, draw a small, triangular nose below the eyes and a smiling mouth beneath the nose. Don’t forget to add small rounded ears on top of the head.
Step 4: Adding Detail
With the basic shapes and features in place, it’s time to add some detail to bring your possum to life. Start by refining the shape of the eyes, adding eyelids and eyelashes for a more realistic look. Use short, curved lines to define the possum’s fur, paying attention to the direction of the fur growth. Add texture to the possum’s ears by drawing small lines and curves.
Step 5: Shading and Texture
Now it’s time to add shading and texture to your drawing. Start by shading the possum’s body using a light layer of pencil strokes in the direction of the fur. Gradually build up the darkness by adding more layers of shading, focusing on the areas that would naturally be darker, such as the underside of the body and the creases on the face.
Use a darker pencil, such as a 2B or 4B, to create depth and shadows. Pay attention to the reference photo, if you have one, to capture the texture of the possum’s fur. Use short, irregular strokes to mimic the look of fur, especially around the possum’s face and tail.
Step 6: Final Details
In this final step, add any remaining details to complete your possum drawing. Pay close attention to the eyes, adding highlights and reflections to make them appear shiny and expressive. Use a kneaded eraser to selectively lighten any areas that may have gotten too dark.
Add any additional details, such as whiskers and subtle facial markings, to enhance the overall realism of your drawing. Take a step back and assess your work, making any necessary adjustments until you are satisfied with the final result.
Conclusion
Congratulations! You’ve successfully learned how to draw a possum step by step. By following these instructions and using your creativity, you’ve captured the essence of this fascinating creature on paper. Remember, practice makes perfect, so keep drawing and exploring different subjects to further develop your artistic skills.
I hope you enjoyed this tutorial on how to draw a possum. You can create beautiful drawings of these intriguing animals with patience and practice. Happy drawing!