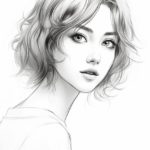
Welcome to this step-by-step tutorial on how to draw a cowgirl! Whether you’re an aspiring artist or just looking to have some fun with drawing, this guide will take you through the process of creating your very own cowgirl character. So grab your drawing supplies and let’s get started!
Materials Required
Before we begin, let’s gather the materials you’ll need for this drawing:
- Paper: Choose a smooth and sturdy paper that is suitable for drawing. A sketchbook or drawing pad would work well.
- Pencil: Have a range of pencils available, such as a 2H for light sketching and a 2B or 4B for darker lines.
- Eraser: Make sure you have a good quality eraser to help you correct any mistakes or unwanted lines.
- Markers or Colored Pencils (optional): If you want to add color to your drawing, have some markers or colored pencils ready.
Now that we have all our materials prepared, let’s dive into the steps of drawing a cowgirl!
Step 1: Sketching the Basic Shapes
Start by sketching the basic shapes that will form the foundation of your cowgirl character. Begin with an oval shape for the head and add a vertical line down the center of the oval. This line will help you place the facial features later on. Next, draw a rounded trapezoid shape for the body, with wider shoulders and a narrower waist. Add two intersecting lines on the face for the placement of the eyes and nose.
Step 2: Adding the Facial Features
Using the guidelines you drew in the previous step, start adding the facial features. Place the eyes on the horizontal line, with enough space between them for the nose. Add almond-shaped eyes, with the outer corners slightly raised for a confident look. Then, draw a small nose in the shape of an upside-down triangle, centered between the eyes. Finally, add a smiling mouth below the nose, curving slightly upwards at the ends.
Step 3: Drawing the Hair
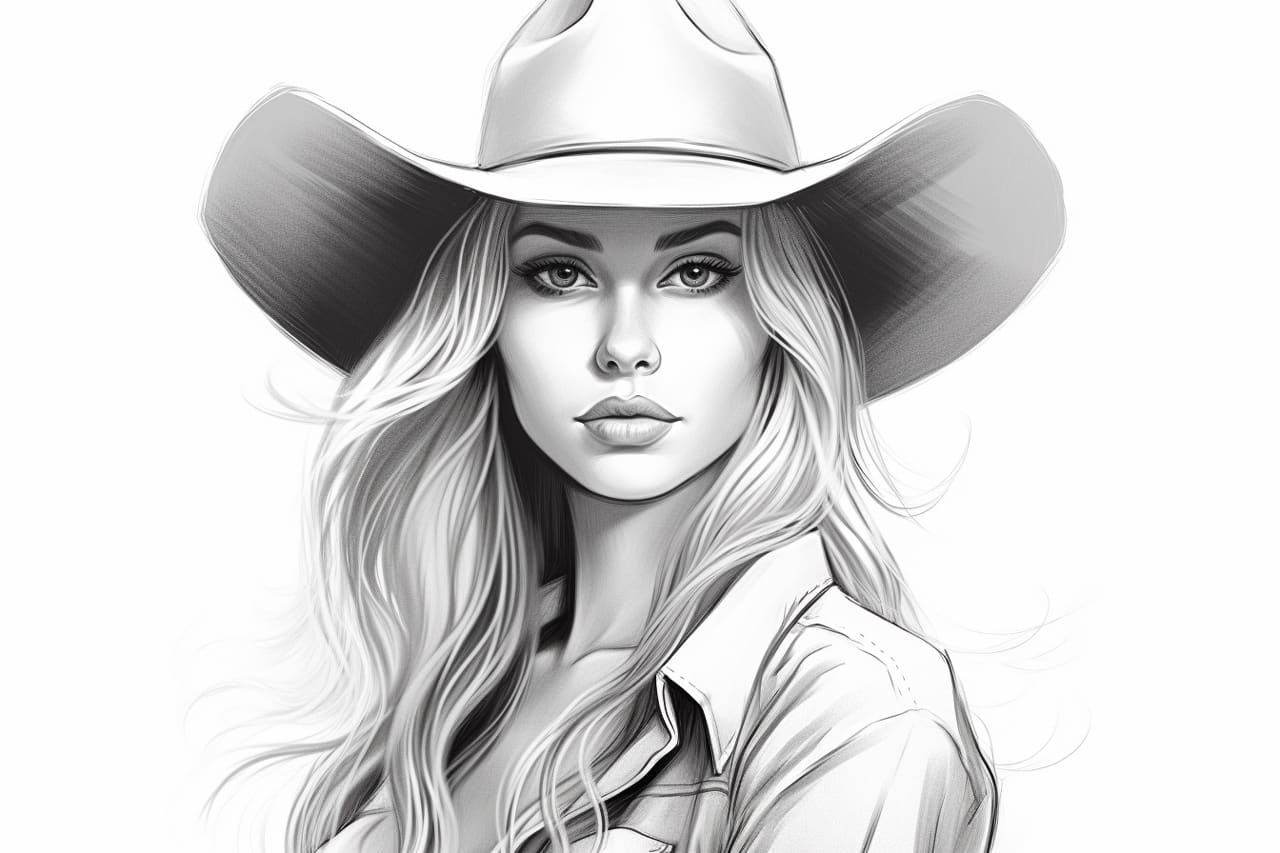
Now, let’s focus on drawing the cowgirl’s hair. Start by sketching the outline of the hair using loose and flowing lines. Cowgirls often have long, wavy hair, so feel free to make it as voluminous as you like. Add some additional details such as braids or a cowboy hat, depending on the style you prefer. Don’t worry about perfection at this stage; we’ll refine the lines later on.
Step 4: Defining the Facial Features
Next, it’s time to refine the facial features to give your cowgirl more character. Start by adding eyebrows above the eyes, creating an arched shape that follows the curve of the eye socket. Then, draw eyelashes above the eyes to make them more expressive. Add some shading to the eyes by lightly sketching in the iris, leaving a small highlight for added depth. Finally, give your cowgirl rosy cheeks by adding small circles on each side of the face.
Step 5: Adding Details to the Outfit
Now that the face is complete, let’s turn our attention to the cowgirl’s outfit. Begin by drawing the neckline and collar of the cowgirl’s shirt. Then, add the details of the shirt, such as the buttons, pockets, and any decorative stitching. Don’t forget to draw the sleeves and cuffs as well. For the lower body, sketch a simple skirt or a pair of jeans, depending on your preference. Add a belt and some boots to complete the look.
Step 6: Refining the Hair and Adding Accessories
Go back to the hair and start refining the lines, giving it more texture and volume. Add some strands of hair that flow naturally, paying attention to the direction of the hair’s movement. Feel free to experiment with different hairstyles to make your cowgirl unique. You can also add accessories like a bandana or a cowboy hat to enhance the Western vibe.
Step 7: Finalizing the Drawing
In this final step, take a moment to review your drawing and make any necessary adjustments. Erase any unwanted lines and darken the ones you want to keep. Use the appropriate pencil to add shading and depth to your drawing. Pay attention to light sources and add shading accordingly to create a more realistic effect. If you prefer, you can also use markers or colored pencils to add color to your cowgirl drawing. Experiment and have fun with it!
And there you have it! You’ve successfully drawn a cowgirl character. With practice, you’ll be able to customize your cowgirl further, adding your own unique style and details. So keep on drawing and exploring your creativity!
Conclusion
Drawing a cowgirl is a great way to express your artistic skills and create a character full of personality. In this tutorial, we’ve covered the step-by-step process of drawing a cowgirl, from sketching the basic shapes to adding the final details. Remember to have fun and experiment with different styles and accessories to make your cowgirl truly your own.
If you enjoyed this tutorial on how to draw a cowgirl, keep practicing and exploring other subjects. Drawing is a skill that improves with time and dedication. So grab your pencils and continue your artistic journey. Happy drawing!
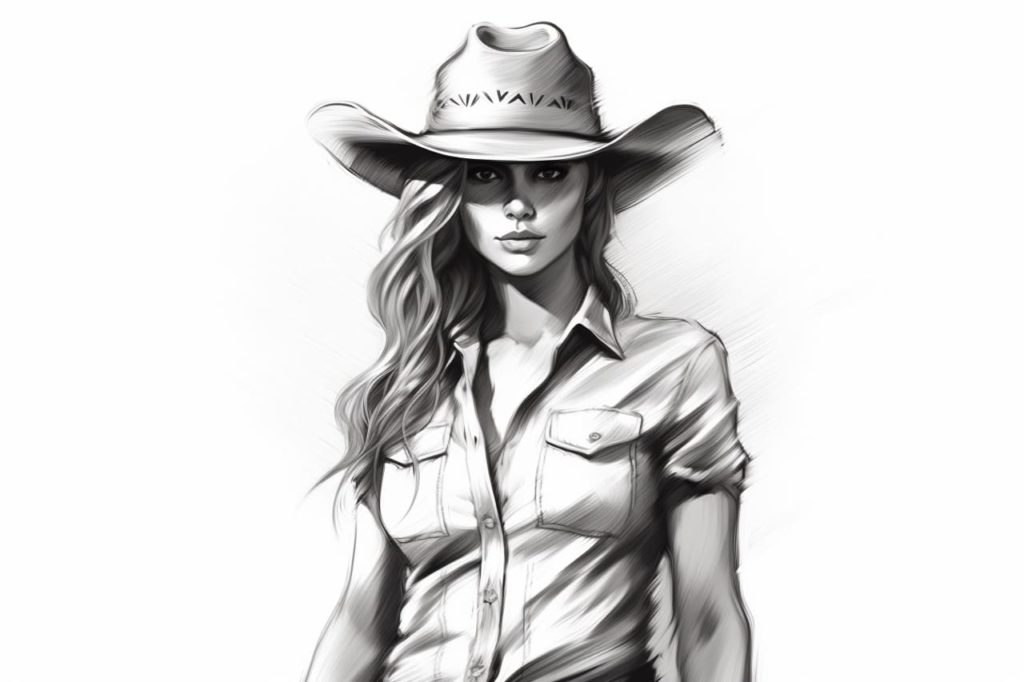
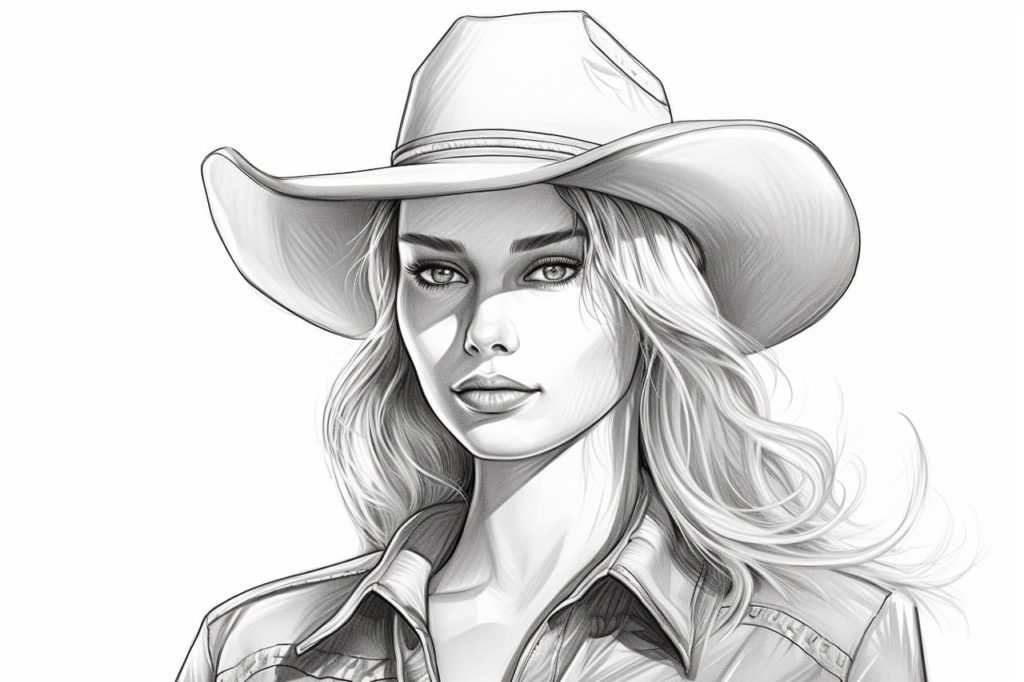
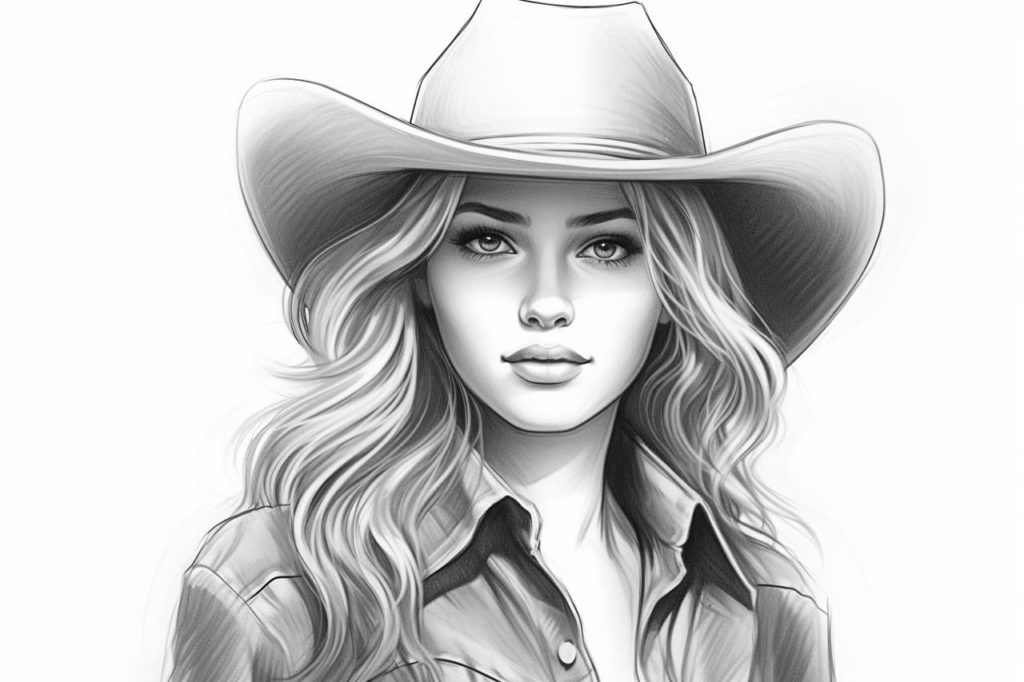
Gallery of Cowgirl Drawings