Welcome to this step-by-step guide on how to draw Mrs. Claus! Whether you are an aspiring artist or just looking for fun, this tutorial will help you create a charming portrait of Santa’s beloved wife. We will walk you through each stage of the drawing process, providing clear instructions. So grab your pencils and let’s get started!
Materials Required
Before we begin, let’s gather the materials you will need:
- Drawing paper or sketchbook
- Pencil (preferably a set of pencils with different lead densities)
- Eraser
- Colored pencils or markers (optional)
Now that everything is ready let’s dive into the drawing process.
Step 1: Basic Outline
Start by lightly sketching Mrs. Claus’s head and body outline. Begin with an oval shape for the head, slightly elongated vertically. Then, draw a rectangular shape beneath the head to represent her body. Remember to keep your lines light and easy to erase.
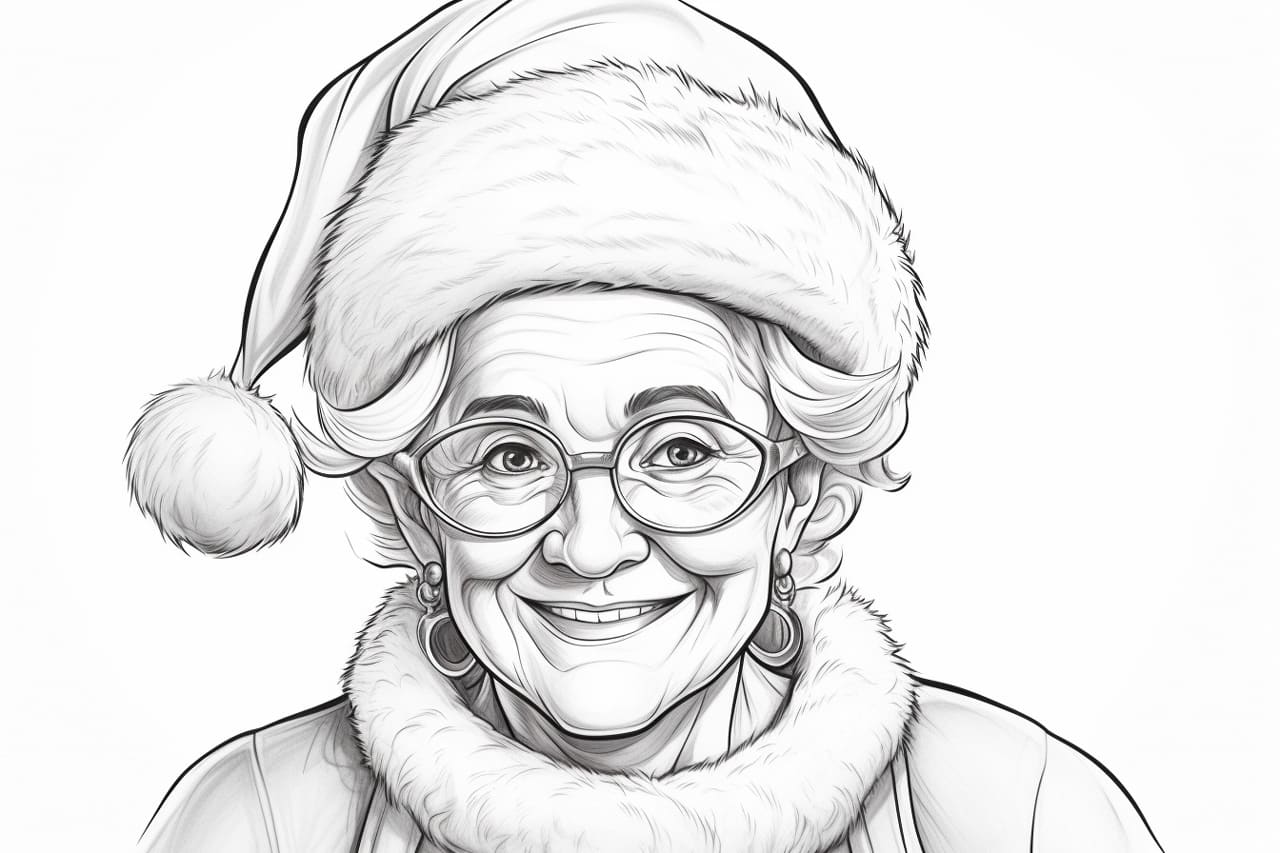
Step 2: Facial Features
Next, focus on adding Mrs. Claus’s facial features. Using the oval as a guide, lightly draw a horizontal line across the middle to mark the position of the eyes. Draw two small circles on this line for the eyes and add a curved line below them for the nose. Place a slight oval shape below the nose to form the mouth. You can also add a few lines for eyebrows and wrinkles to reveal her gentle expression.
Step 3: Hair and Hat
Moving on to the hair and hat, draw a wavy line around the top of the head to create Mrs. Claus’s hair. Add some loose curls around the sides and bottom of the head to give it volume and depth. Then, draw a triangle-shaped hat on top of the head. Ensure the hat is slightly wider than the head and has a fluffy texture at the base.
Step 4: Body and Clothing
It’s time to work on Mrs. Claus’s body and clothing. Utilizing the rectangular shape as a guide, add curved lines on each side to shape her arms. Connect the arms to the body using smooth curved lines. For her dress, draw a flowing shape that covers the lower part of her body. Add some ruffled details at the end of the dress to give it a festive look.
Step 5: Details and Accessories
In this step, we will add more details and accessories to bring Mrs. Claus to life. Give her some round glasses by drawing two circles on the upper part of her nose. Add some fluffy fur trim to her hat, dress, and cuffs. You can remove a small brooch on her dress as a decorative element. Remember to use light, gentle lines for these details to avoid overpowering the drawing.
Step 6: Finalize the Outline
Now that we have established the main features of Mrs. Claus, it’s time to refine the outline and make any necessary adjustments. Take a closer look at your drawing and ensure all the proportions and shapes are accurate. Use your eraser to remove unwanted lines and refine the outline to create a cleaner and more polished look.
Step 7: Shading and Coloring (Optional)
If you wish to add depth and dimension to your drawing, you can proceed with shading and coloring. Use your pencils with different lead densities to create varying shades of gray. Start by adding light shading to the areas that would naturally have less light, such as the undersides of the hat brim and clothing folds. Gradually build up the shading to create contrast and depth.
For coloring, you can use colored pencils or markers to bring vibrancy to your artwork. Experiment with different color combinations for Mrs. Claus’s clothing and accessories. Don’t be afraid to let your creativity shine!
Conclusion
Congratulations on completing your drawing of Mrs. Claus! By following these step-by-step instructions, you have learned how to capture the essence of this iconic character. Remember, practice makes perfect, so keep honing your artistic skills and exploring new subjects.
We hope you enjoyed this tutorial on how to draw Mrs. Claus. Now, you have the knowledge and confidence to create your festive artwork. So grab your pencils and let your imagination run wild as you bring Mrs. Claus to life on the page!