Welcome to this engaging step-by-step tutorial on how to draw a camel! If you’ve ever marveled at the elegance of these remarkable creatures, you’re not alone. Camels are not only iconic symbols of arid landscapes but also fascinating animals filled with character. Their unique features—like long legs, humps, and expressive faces—make them an excellent subject for artists of all skill levels.
Drawing a camel can be both a fun and rewarding experience. Whether you’re a beginner looking to explore your artistic side or an experienced artist seeking to hone your skills, this guide will provide you with the tools and techniques you need to bring a camel to life on paper. From capturing the basic shapes to adding intricate details, this tutorial will walk you through each step, ensuring you gain confidence as you make progress along the way.
So, gather your materials, find a comfortable workspace, and prepare yourself for an exciting artistic journey. With your pencil in hand and a sprinkle of creativity, you’ll be well on your way to creating a beautiful, realistic camel drawing that truly reflects the majesty of this incredible animal!
Materials Required
- Pencil
- Eraser
- Drawing paper
- Reference picture of a camel
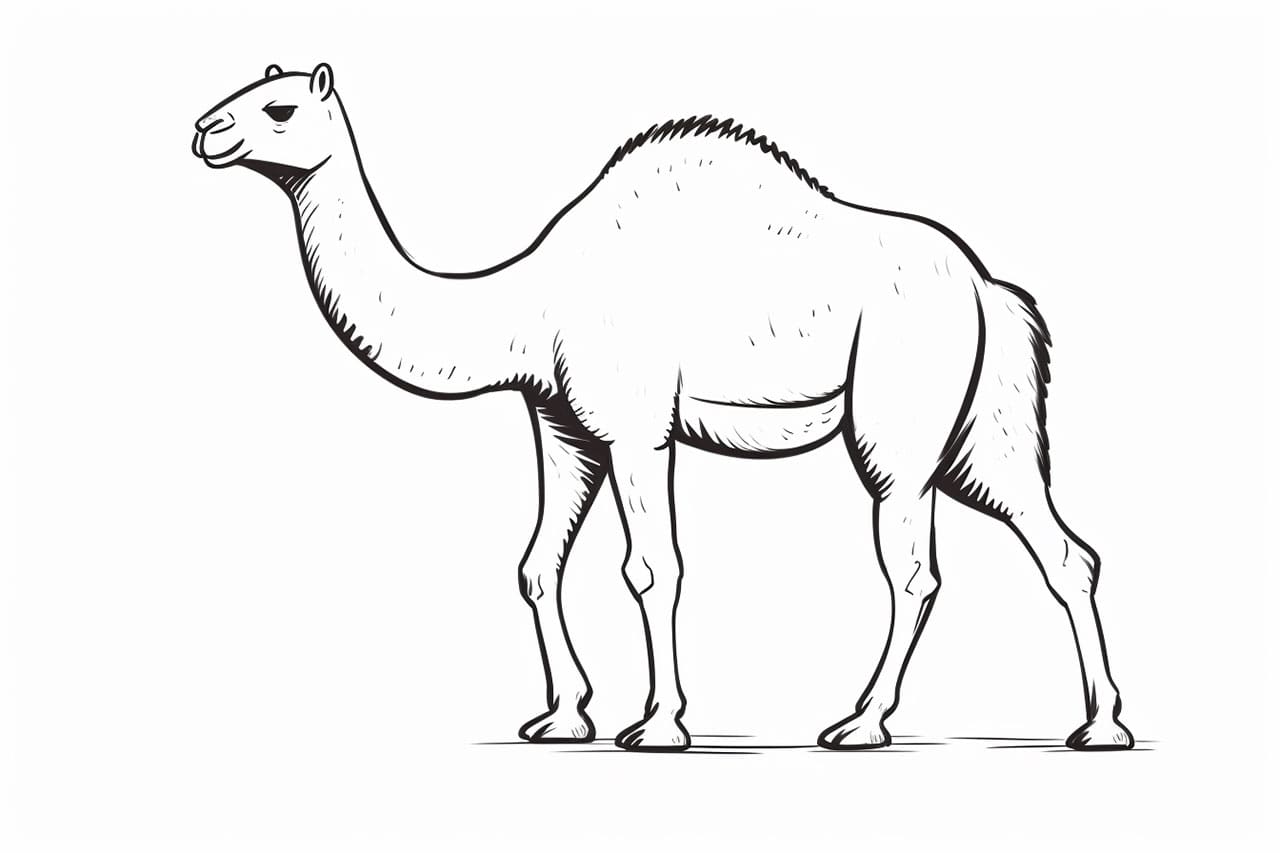
Step 1: Draw the Basic Shapes
To begin, draw the basic shapes of the camel. Start by sketching a large oval for the body and a smaller oval for the head. Draw a curved line for the neck, connecting the head to the body. Add a long, horizontal oval for the hump and two smaller ovals for the front and hind legs.
Step 2: Refine the Shapes
Next, refine the basic shapes by adding more details. Draw the legs, making sure to follow the contours of the ovals. Add a bump on top of the head for the camel’s distinctive hump. Sketch the ears, eyes, and nostrils on the head.
Step 3: Sketch the Details
Now it’s time to add the details to the camel drawing. Sketch the facial features, such as the eyes, eyebrows, and mouth. Draw the tail at the back of the body, and add the hooves to the legs. Pay attention to the shapes and proportions to make your camel look more realistic.
Step 4: Add Shading and Texture
To give your camel drawing depth and dimension, add shading and texture. Shade in the areas where shadows would naturally fall, such as under the hump and the legs. Use short, curved lines to add texture to the fur on the body, neck, and legs of the camel.
Step 5: Final Touches
Take a step back and look at your drawing as a whole. Make any necessary adjustments and add any final touches that you feel are necessary to make your camel drawing look complete and lifelike.
Conclusion
Congratulations! You have successfully drawn a camel with this step-by-step tutorial. Drawing a camel may seem challenging at first, but with practice and patience, you can refine your skills and create even more realistic camel drawings. Remember to observe the proportions and features of the camel closely while drawing, and let your creativity shine as you add your personal touch to each sketch. Happy drawing!
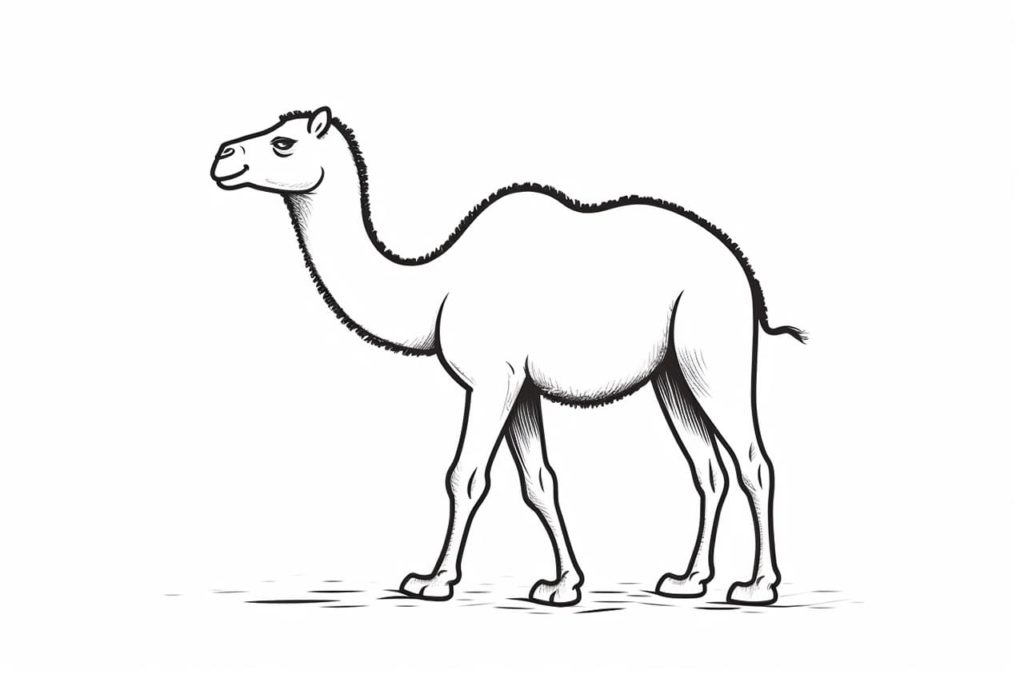
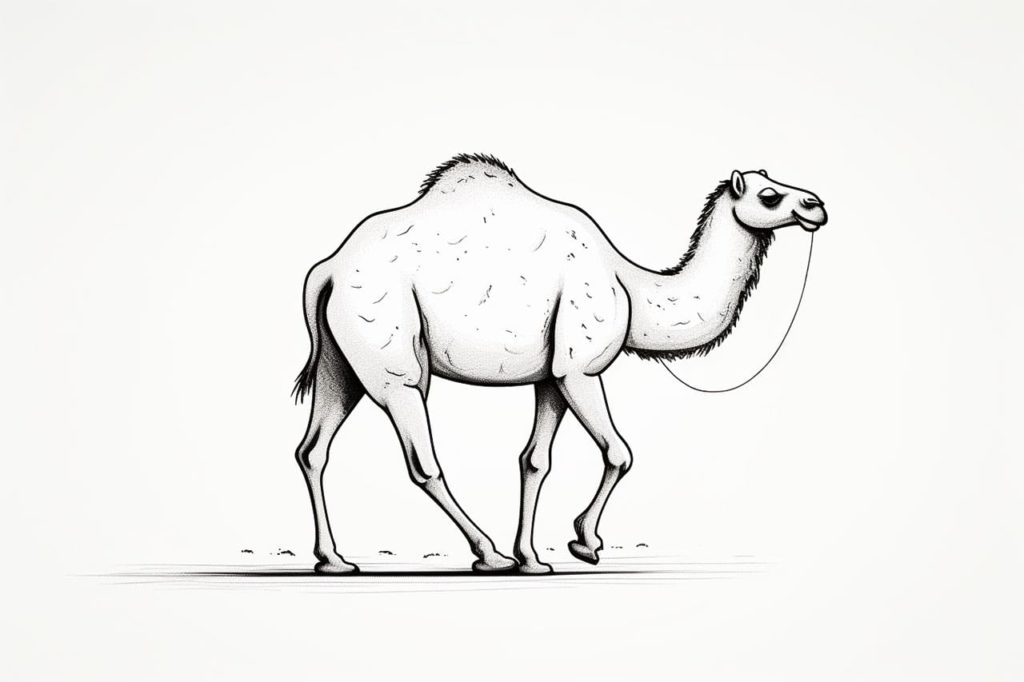
Gallery of Camel Drawings
Fun Facts About Camels
- Camels are known as “ships of the desert” for their ability to travel long distances across arid environments with minimal water.
- There are two main types of camels: dromedary (one-humped) and Bactrian (two-humped).
- Camels can drink up to 40 gallons of water in one go when they rehydrate after a long period without water.
- Their humps store fat, which can be converted to water and energy when resources are scarce.
- Camels have three sets of eyelids and two rows of eyelashes to protect their eyes from sand and dust.
- They can close their nostrils to keep sand out during sandstorms.
- Camels are social animals and typically travel in herds led by a dominant male.
- Their thick lips allow them to eat thorny plants that other animals avoid.
- In some cultures, camels are raced as a traditional sport, and camel milk is a staple food.
- Camels have been domesticated for thousands of years and are vital to the cultures and economies of desert-dwelling communities.
Suggestions for Scenes and Settings for Camel Drawings
- Desert Caravan: Draw a line of camels carrying goods across a vast desert landscape, with dunes and a setting sun in the background.
- Oasis Rest Stop: Illustrate camels lounging by an oasis, with palm trees and a small waterhole providing a refreshing break.
- Bedouin Camp: Create a scene of camels resting near a traditional desert camp, with tents and campfires under a starry sky.
- Sahara Adventure: Picture a group of camels trekking through the dramatic sands of the Sahara, with towering dunes and mirages on the horizon.
- Mountain Crossing: Depict Bactrian camels navigating rugged mountain terrain, laden with packs and led by nomadic herders.
- Camel Race: Capture the excitement of a traditional camel race, with decorated camels sprinting along a dusty track.
- Market Day: Show camels lined up at a bustling market, laden with colorful textiles and spices for trade.
- Sandstorm Shelter: Illustrate camels huddled together, their features obscured by an encroaching sandstorm, eyes and nostrils protected.
- Old Caravan Route: Imagine a historical scene of camels traversing the ancient Silk Road, carrying valuable goods between continents.
- Sultan’s Procession: Create a regal parade with richly adorned camels bearing a sultan and his entourage through a city of spires and bazaars.