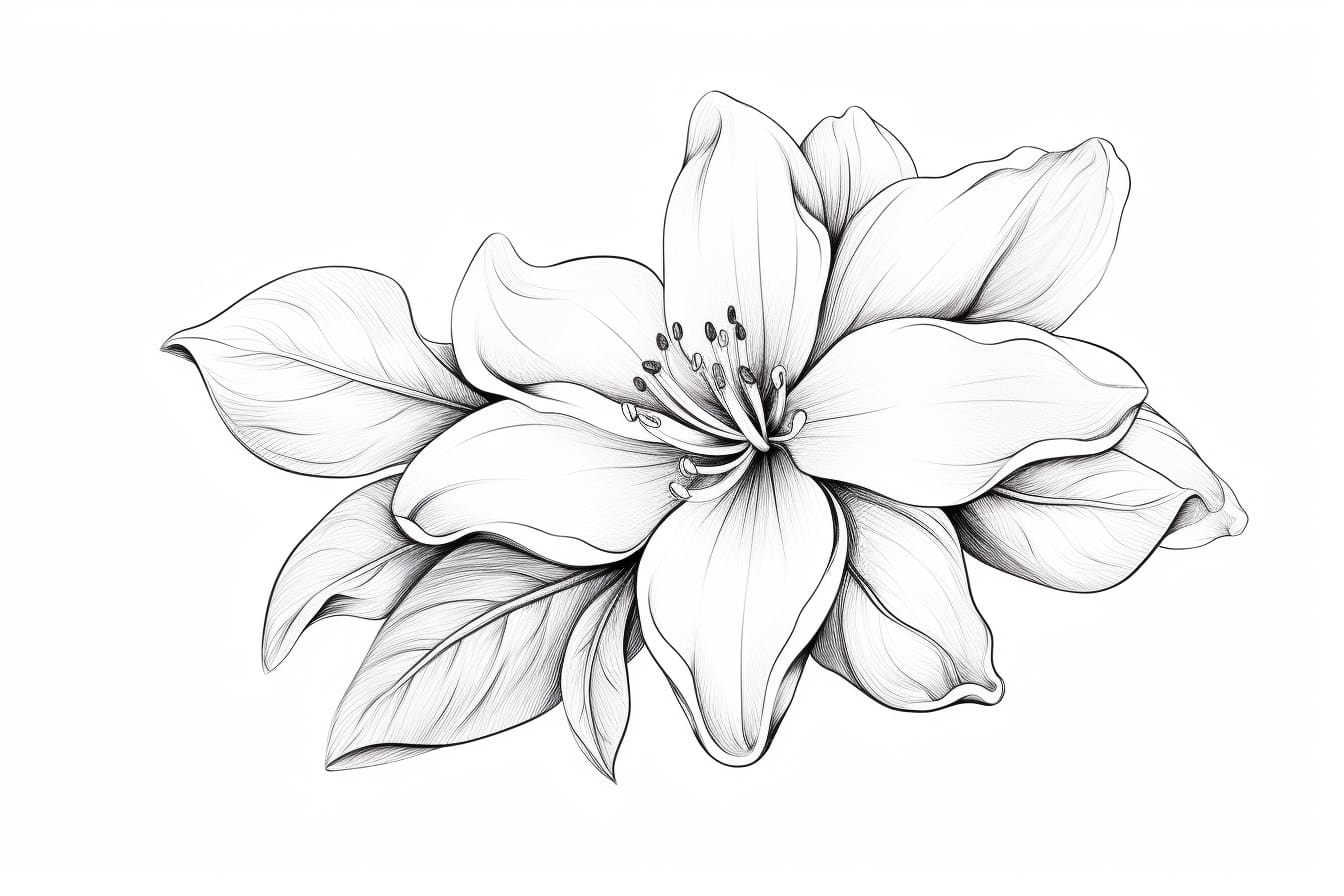
Flower petals, with their delicate curves and intricate details, are a captivating subject for any artist. Whether you’re sketching a single petal or creating an entire bloom, mastering the art ofhow to draw a flower petal is a rewarding way to improve your skills and connect with the beauty of nature. Petals come in endless shapes and sizes—from smooth and symmetrical to jagged and dynamic—making them a versatile subject for creativity.
In this step-by-step tutorial, we’ll explain how to draw a flower petal, breaking it down into simple, manageable stages. Whether you’re a seasoned artist looking to refine your technique or a beginner eager to explore floral art, this guide is designed to inspire and encourage you.
So, grab your favorite drawing materials—pencils, paper, and maybe a touch of color—and let’s dive into the world of botanical art. Get ready to create a stunning flower petal that reflects the elegance and charm of nature!
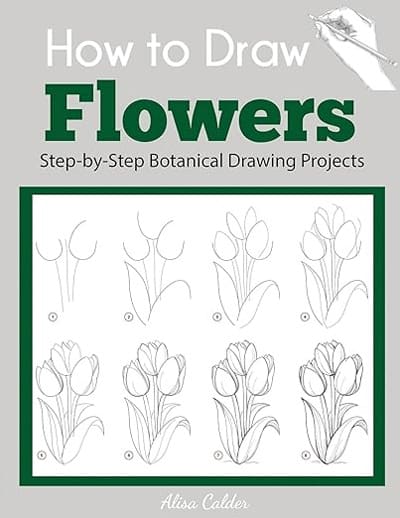
Learn How to Draw Flowers Step-by-Step
This simple and straightforward guide teaches you how to draw many different kinds of flowers with step-by-step instructions. It’s perfect both for total beginners and experienced artists who want to expand their skills.
Materials Required:
- Pencil
- Eraser
- Drawing paper
- Colored pencils or markers (optional)
How to Draw a Flower Petal: Step-by-Step Guide
Step 1: Lightly Outline the Shape
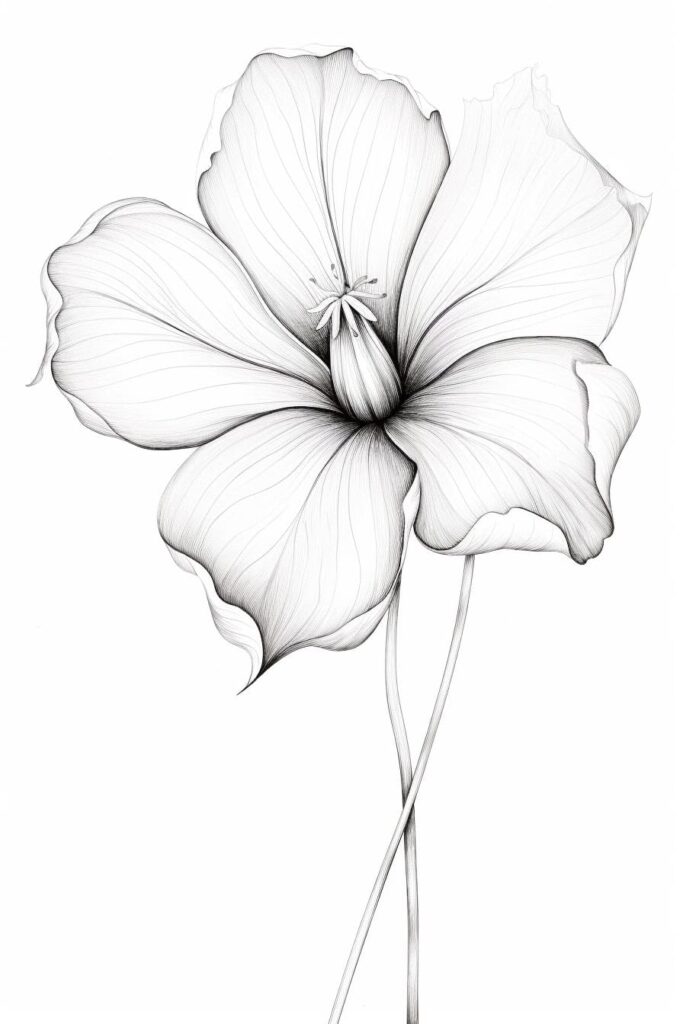
Begin your flower petal masterpiece by sketching its basic shape with soft, light pencil strokes. Petals come in a variety of forms—elongated ovals, delicate heart shapes, or even asymmetrical curves. Take a moment to observe the type of flower you’re drawing and try to capture its unique silhouette. Don’t worry about perfection—this outline is just the foundation for your creativity to bloom.
Step 2: Add Curves and Contours for Realism
Now, breathe life into your petal by refining its shape with gentle curves and contours. Real flower petals rarely have straight edges—they’re full of subtle waves and folds. Pay close attention to your reference flower or image, and mimic its natural flow. These curves will give your petal a three-dimensional look, making it appear soft and lifelike.
Step 3: Define the Center Connection
Focus on the base of the petal where it connects to the flower. This is often a point of intricate detail. Add lines or subtle textures to suggest the veins, folds, or slight changes in texture that occur here. This step adds depth and creates a sense of realism, grounding the petal as part of a larger bloom.
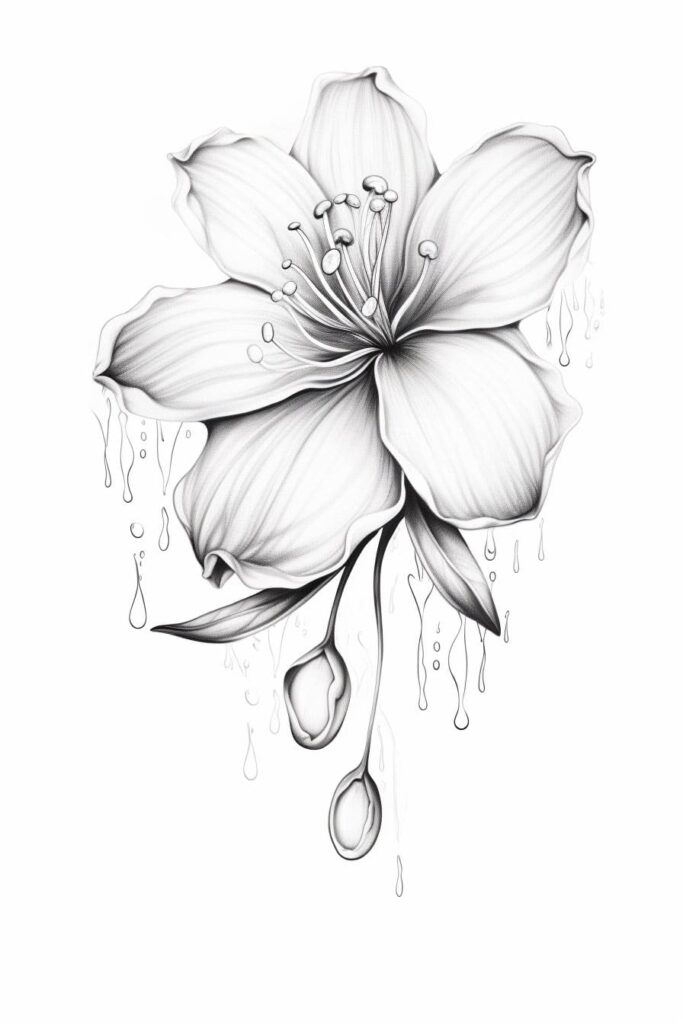
Step 4: Shade for Depth and Light
Let’s add some dimension! Imagine where your light source is coming from or observe it in your reference image. Use your pencil to gently shade the areas of the petal that fall into shadow, such as the base or any folded edges. Gradually build up the shading by layering strokes, leaving lighter areas to represent highlights. This contrast between light and shadow is key to making your petal look vibrant and three-dimensional.
Step 5: Add Texture and Fine Details
Step back and assess your drawing so far. Is the petal smooth and lifelike? Now’s the time to enhance it with texture. Use small, delicate strokes or dots to create the appearance of veins running through the petal. For some petals, you might even add tiny hairs or soft ridges to capture their unique texture. These details will elevate your drawing, making it more intricate and realistic.
Step 6: Bring It to Life with Color (Optional)
If you’d like to add color, grab your colored pencils or markers and let your creativity shine. Start with a light base color, then layer darker shades to emphasize shadows and lighter tones to highlight areas catching the light. Blending is your best friend here—smooth transitions between hues will make your petal pop. Consider the natural gradient many petals have, such as lighter edges and darker bases, to add an extra layer of realism.
Flourishing Finish: Your Petal is Complete!
Congratulations, artist! You’ve successfully drawn a beautiful flower petal, capturing its curves, texture, and delicate charm. By following these steps, you’ve not only created a piece of art but also deepened your appreciation for the intricate beauty of nature.
Drawing a flower petal is more than just an artistic exercise—it’s an opportunity to refine your observation skills, practice subtle shading, and experiment with texture and color. Keep exploring different flower types and petal shapes to expand your skills. Whether you frame this drawing, add it to a larger floral composition, or simply use it as inspiration for your next piece, let your creativity blossom! 

Related posts:
 How to Draw a Cute Flower in 6 Simple Steps
 How to Draw a Beautiful Flower in 9 Steps
 How to Draw a Lotus Flower in 10 Easy Steps
 How to Draw a Peony Flower in 8 Easy Steps
 How to Draw a Flower in 5 Easy Steps
 How to Draw a Tulip in 7 Simple Steps
 8 Steps for How to Draw an Iris Flower
 How to Draw a Daisy in 8 Easy Steps
 Flower Power