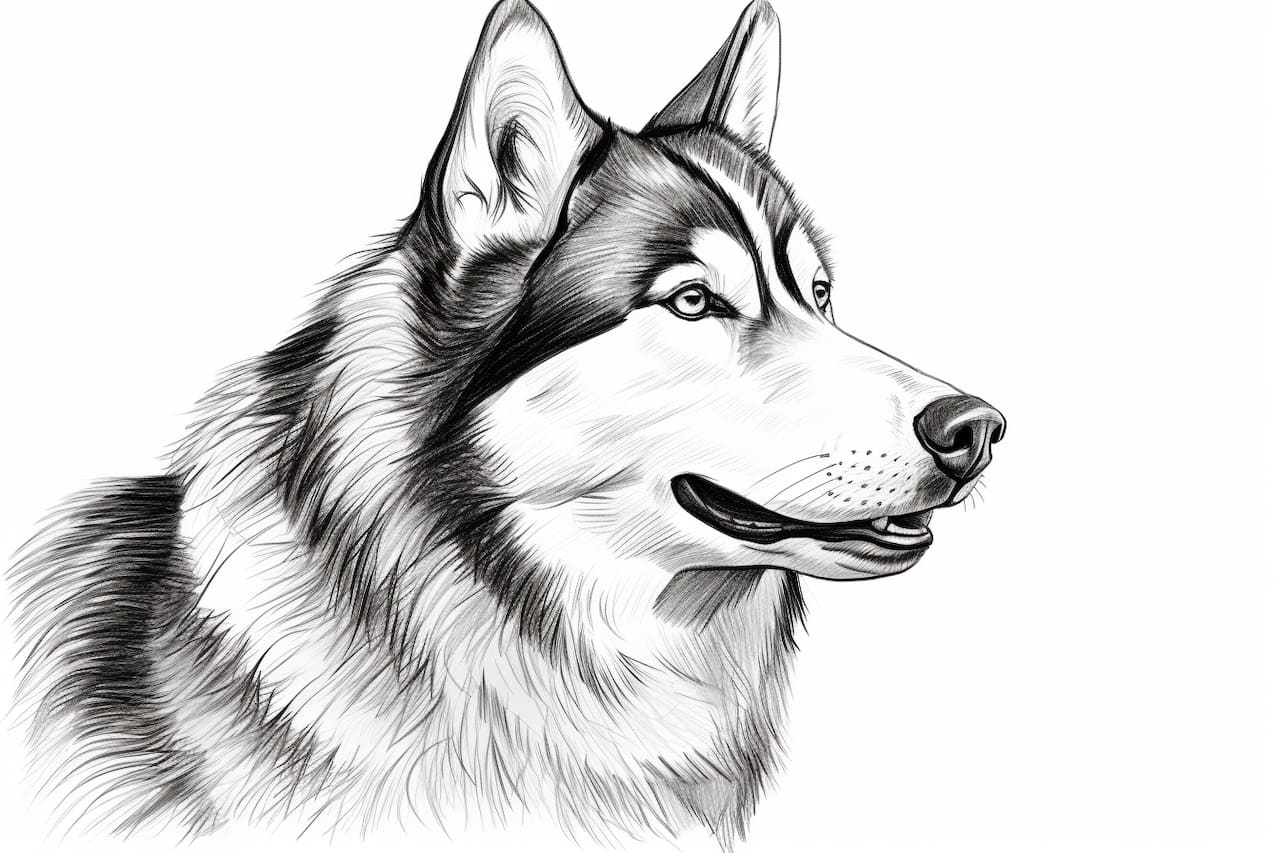
Welcome to this step-by-step tutorial on how to draw a Siberian Husky! In this guide, we will cover everything you need to know to create a realistic drawing of this beautiful dog breed. Whether you are a beginner or an experienced artist, this tutorial will provide you with clear instructions to help you capture the unique characteristics of a Siberian Husky. So let’s get started!
Materials Required:
To begin, gather the following materials:
- Drawing paper or sketchbook
- Pencils (HB, 2B, and 4B)
- Eraser
- Blending stump or cotton swabs
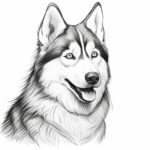
- Reference photo of a Siberian Husky
Step 1: Sketching the Basic Shapes
Start by lightly sketching the basic shapes of the Siberian Husky. Begin with an oval for the head, followed by a rounded rectangular shape for the body. Add a smaller oval for the snout at the appropriate position on the head. Remember to keep your pencil strokes light and easily erasable at this stage.
Step 2: Adding Details to the Face
Next, we will focus on the face of the Siberian Husky. Draw two almond-shaped eyes at the upper portion of the head oval, leaving enough space for the nose in between. Add a small triangular shape for the nose and a line for the mouth. Pay attention to the placement and proportions of these features, using your reference photo for guidance.
Step 3: Defining the Ears and Fur
Now, let’s work on the ears and fur of the Husky. Draw two triangular-shaped ears on top of the head, making sure they are appropriately sized and positioned. Then, add short, curved strokes around the head to represent the furry texture of the Husky’s coat. Remember to vary the length and direction of your strokes to capture the natural look of the fur.
Step 4: Shading the Face and Body
To give depth and dimension to your drawing, it’s time to add shading. Start by identifying the light source in your reference photo. Using a softer pencil, such as a 2B or 4B, shade the areas of the face and body that are in shadow, while leaving the highlighted areas lighter. Use smooth, even strokes to blend the shading and create a seamless transition from light to dark.
Step 5: Adding Details to the Eyes and Nose
Now, let’s add more details to the eyes and nose. Use a sharp pencil to carefully define the shape and structure of the eyes, including the iris, pupil, and eyelashes. Add shading to the eyes to create depth and realism. For the nose, draw small lines and dots to represent the texture, and shade accordingly to match your reference photo.
Step 6: Refining the Body and Fur
Continue working on the body and fur of the Siberian Husky. Pay close attention to the unique markings and patterns of the breed. Use a combination of short, controlled strokes and blending techniques to create a realistic fur texture. Remember to take breaks and step back to assess your progress, making any necessary adjustments along the way.
Step 7: Final Touches and Details
In this final step, add any remaining details and refine your drawing. Pay attention to the contours and muscles of the body, as well as any facial markings or distinctive features. Take your time to ensure that your drawing closely resembles the reference photo and captures the essence of the Siberian Husky.
Congratulations on completing your drawing of a Siberian Husky! With practice and patience, you can continue to improve your skills and create even more realistic and detailed drawings of different dog breeds.
Conclusion
Drawing a Siberian Husky can be a rewarding experience, allowing you to capture the beauty and uniqueness of this majestic dog. You can create a realistic and lifelike drawing by following the step-by-step instructions in this tutorial and using a reference photo as your guide. Remember to be patient with yourself and to practice regularly, as drawing is a skill that improves with time and dedication. So grab your materials, find a cozy spot, and start sketching your Siberian Husky masterpiece!