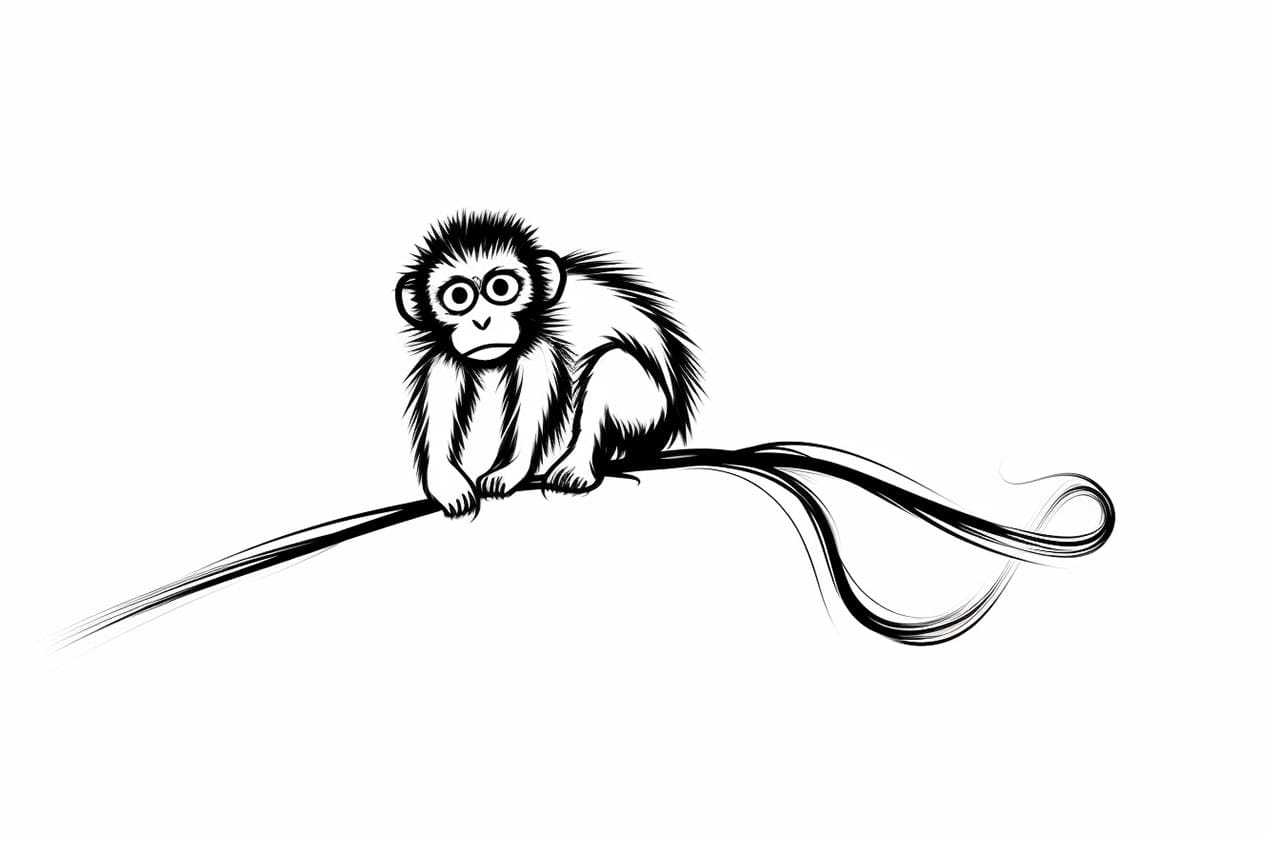
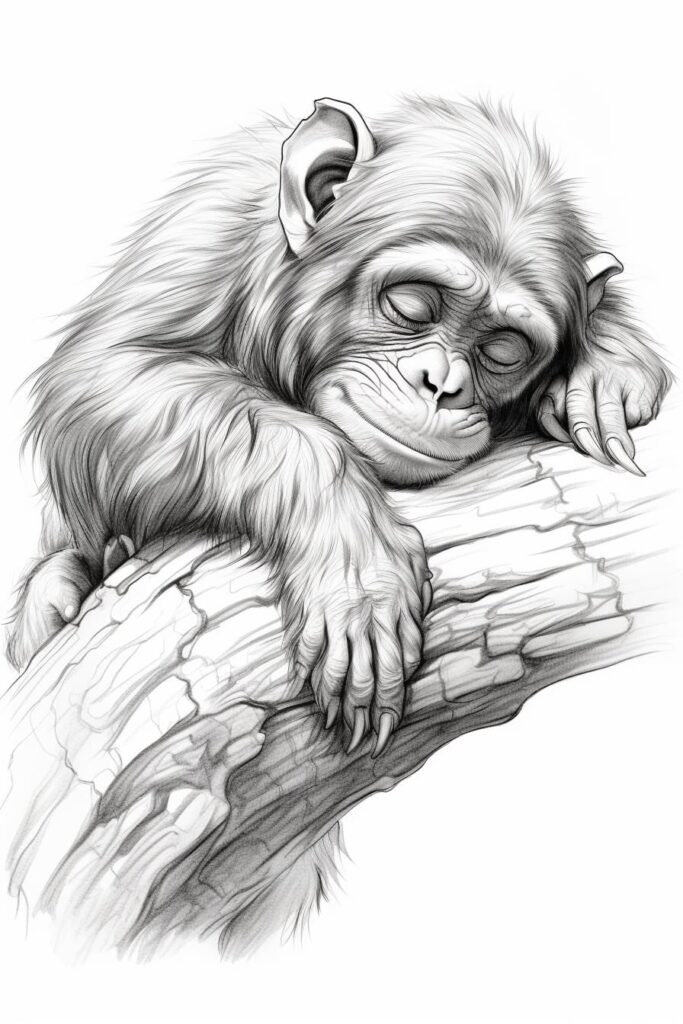
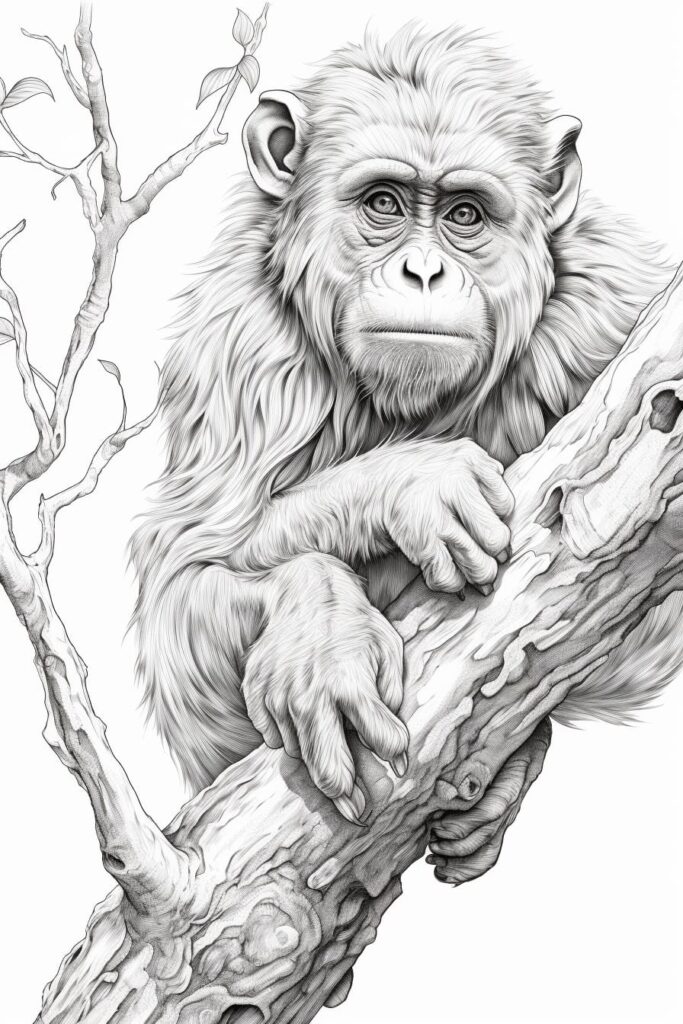
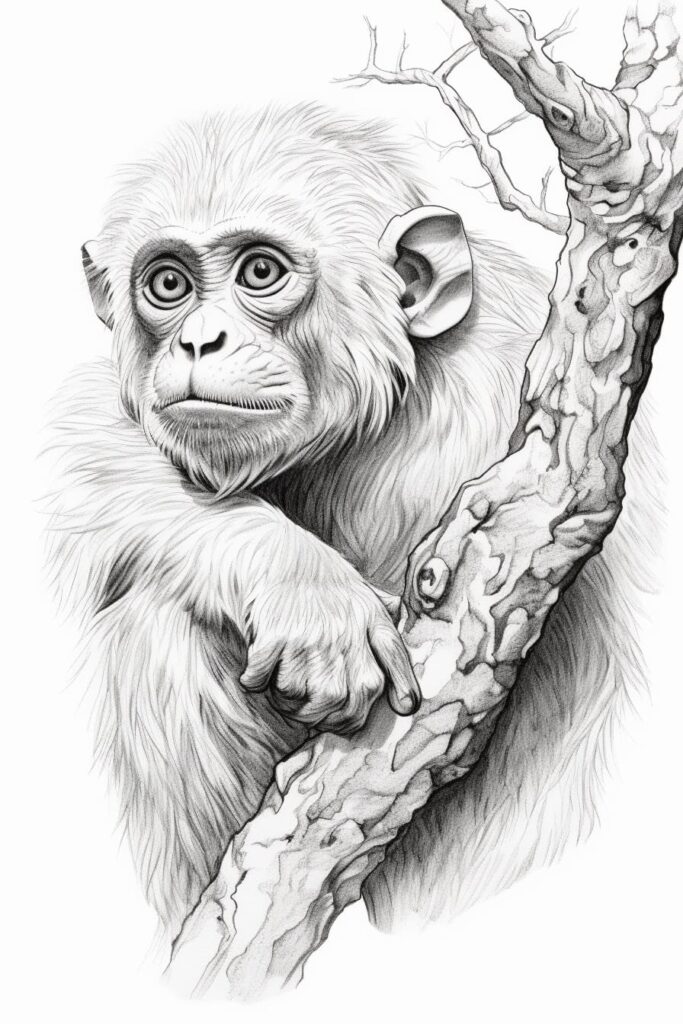
Welcome to this engaging step-by-step guide on how to draw a monkey! Drawing can be a delightful way to unleash your creativity, and what better subject than the playful and expressive monkey? Whether you’re just starting your artistic journey or you have some experience under your belt, this tutorial is designed to lead you through the process with clarity and ease.
In this guide, we’ll use simple techniques to help you create a realistic and detailed portrayal of a monkey. With each step, you’ll build upon the previous one, gradually bringing your drawing to life. By the end, you’ll have a charming monkey that you can proudly showcase, and you might even discover new techniques along the way.
So, gather your drawing materials, find a comfortable workspace, and let’s dive into the fun world of monkey artistry! With a little focus and a splash of imagination, you’ll be amazed at what you can create. Let’s get started on this creative adventure!
Materials Required:
- Pencil
- Eraser
- Drawing paper
- Colored pencils or markers (optional)
- A reference photo of a monkey
Now that we have our materials ready, let’s begin the drawing process.
Step 1: Start with Basic Shapes
To begin, we’ll start by drawing the basic shapes that make up the monkey’s body. Start with a large oval shape for the head, followed by a smaller oval shape for the body. Then, draw a smaller circle for the monkey’s face and two ovals for the ears. Finally, add two curved lines for the monkey’s arms.
Step 2: Refine the Face and Add Features
Next, let’s focus on the monkey’s face. Using the circle as a guide, draw two almond-shaped eyes, leaving some space in between them for the nose. Add a small curved line for the nose and a slightly curved line below it for the mouth. Then, draw two small circles on the face for the monkey’s ears and add some fur details around them.
Step 3: Draw the Monkey’s Body
Now let’s move on to the monkey’s body. Using the outline we created earlier, start adding details to the body. Draw curved lines to define the shape of the body and add a curved line for the tail. Then, add details to the arms by drawing the fingers using small curved lines.
Step 4: Refine the Monkey’s Face and Features
In this step, we’ll focus on adding more details to the monkey’s face. Start by refining the shape of the eyes, making them more expressive. Add small pupils to the eyes to give them life. Then, add eyebrows above the eyes and some fur details around the face to add texture. Finally, draw a curved line for the monkey’s mouth to create a friendly smile.
Step 5: Add Fur Textures and Details
To make our monkey drawing more realistic, let’s add some fur textures and details. Use short, curved lines to create the fur texture on the monkey’s body. Pay attention to the direction of the lines, following the natural flow of the fur. Add more definition to the ears by adding some fur details as well. Take your time with this step, as it will give your drawing a more realistic and finished look.
Step 6: Shade and Add Depth
To add depth and dimension to our monkey drawing, we’ll use shading techniques. Start by shading the areas where the shadows would naturally fall, such as under the monkey’s face, body, and arms. Use your pencil to create smooth and even shades, gradually building up the darkness. Take your time with this step and remember to blend the shading for a more realistic effect.
Step 7: Final Touches and Details
Now that the main drawing is complete, let’s add some final touches and details. Add some highlights to the monkey’s eyes to make them shine. You can use an eraser to carefully remove some graphite or create highlights using white colored pencils or markers. Add some more fur details and textures if needed, especially in areas that seem too flat. Take a step back and assess your drawing, making any necessary adjustments.
Wrapping Up on How to Draw a Monkey
Congratulations! You have successfully completed a step-by-step guide on how to draw a monkey. By following these instructions and taking your time with each step, you have created a detailed and realistic monkey drawing. Remember, practice makes perfect, so don’t be afraid to experiment and try different techniques. Now that you have mastered the art of drawing a monkey, you can apply these skills to draw various other animals as well. Enjoy your newfound drawing skills!