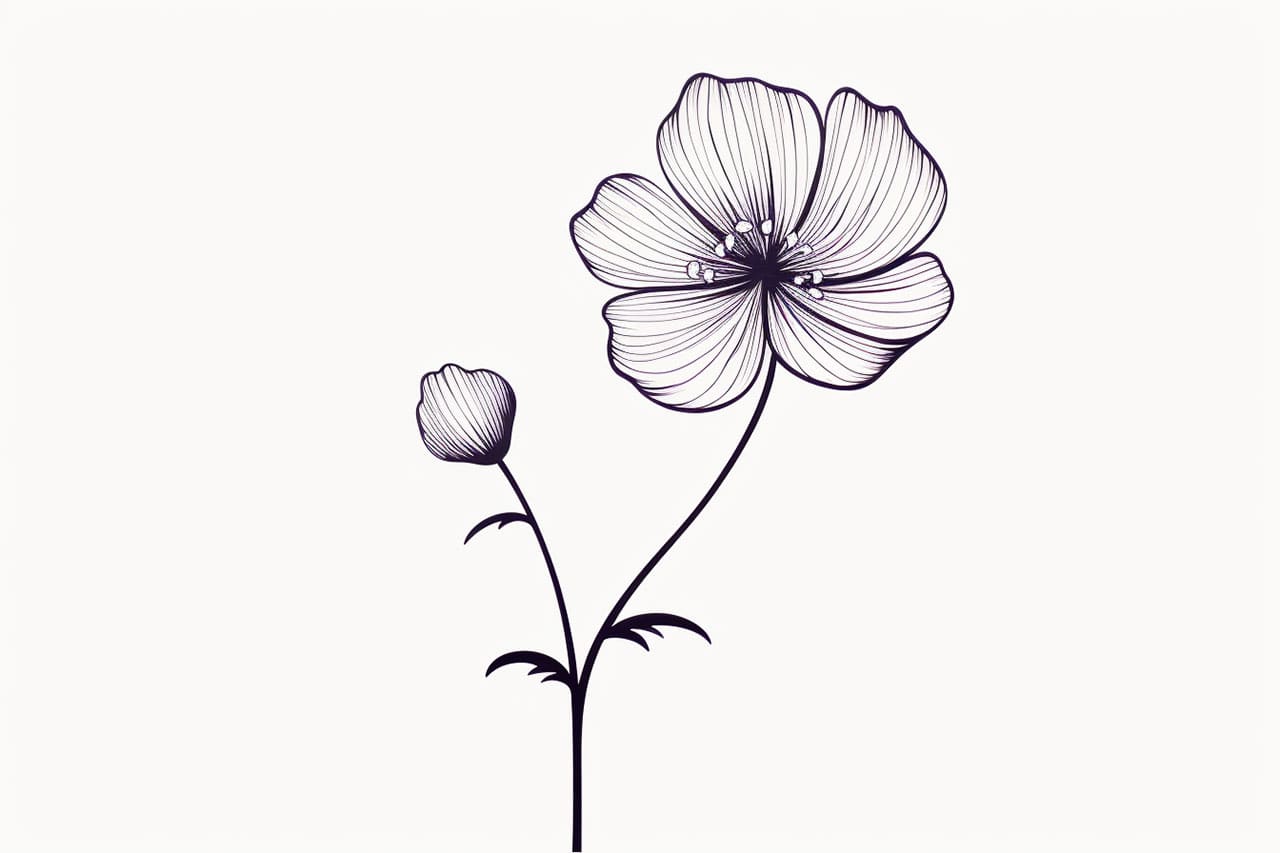
Welcome to this engaging step-by-step guide on how to draw a violet! Whether you’re picking up a pencil for the first time or are an experienced artist looking to refine your skills, this tutorial is designed to lead you through the enchanting process of capturing the beauty of violets on paper. These lovely flowers, known for their delicate charm and diverse shades of purple and violet, offer a wonderful opportunity for artists to explore floral design and color blending.
Drawing violets not only allows you to appreciate the intricate details of nature but also enhances your observational skills. As you progress through the steps outlined in this guide, you’ll learn to focus on the various components of the flower, from the subtle curves of the petals to the lush greenery of the leaves. By the end of the tutorial, you’ll feel a sense of accomplishment as you bring your own violet to life.
So, gather your drawing materials and prepare to unleash your creativity. Let’s embark on this artistic journey together and watch as a beautiful violet emerges from your imagination onto the page!
Materials Required
Before we begin, make sure you have the following materials ready:
- Drawing paper or sketchbook
- Pencil (preferably an HB or 2B)
- Eraser (a kneaded eraser works best)
- Colored pencils or watercolor pencils (optional for adding color)
- Fine tip black pen or marker (optional for outlining)
Now that you have your materials, let’s delve into the step-by-step process of drawing a violet.
Step 1: Basic Shape
Start by lightly sketching a small oval shape towards the center of your paper. This oval will serve as the base of your violet flower. Keep it small and proportionate to the size of the flower you want to draw.
Step 2: Petal Guidelines
Draw two intersecting lines that cross the center of the oval shape. This will help you create the guidelines for the petals. The vertical line should be slightly shorter than the height of the oval.
Step 3: Outer Petals
Using the guidelines, sketch the outer petals of the violet. Begin by drawing a curved line from the bottom of the oval, following the left guideline. Repeat this on the right side. Connect the two curved lines at the top to create a rounded shape. This forms the first layer of petals.
Step 4: Inner Petals
Next, draw another layer of petals inside the first layer. These petals should be slightly smaller in size. Create a similar rounded shape by drawing curved lines that follow the guidelines. Make sure the inner petals overlap the outer ones, giving your violet a sense of depth.
Step 5: Detailing the Petals
To add more realism to your drawing, it’s time to add some texture and details to the petals. Start by lightly sketching short lines along the outer edges of the petals. These lines will give the petals a slightly wavy appearance. Repeat this step for all the petals, both outer and inner.
Step 6: Stem and Leaves
Now that the flower is taking shape, let’s draw the stem and leaves. Extend a thin, curved line from the bottom of the oval to create the stem. Then, draw two elongated ovals on either side of the stem to represent the leaves. Violets typically have heart-shaped leaves, so keep that in mind while sketching.
Step 7: Adding Color (Optional)
If you prefer to add color to your drawing, grab your colored pencils or watercolor pencils. Choose shades of violet and green to match the natural colors of a violet flower and its leaves. Carefully layer your chosen colors on the petals and leaves, adding depth and dimension to your artwork.
Step 8: Outlining (Optional)
For a more defined look, you can outline your drawing with a fine tip black pen or marker. Go over the main lines of the flower, stem, and leaves, adding emphasis to the contours. This will make your drawing bolder and more visually appealing.
Conclusion
Congratulations! You have successfully learned how to draw a violet. By following these step-by-step instructions, you have created a beautiful and realistic depiction of this charming flower. Remember to practice regularly to refine your skills and develop your own artistic style. Enjoy the process of drawing and let your creativity bloom!
Related posts:
 How to Draw a Daffodil in 9 Steps
 How to Draw a Tulip in 7 Simple Steps
 How to Draw a Cute Flower in 6 Simple Steps
 How to Draw a Poppy Flower in 6 Simple Steps
 How to Draw a Peony Flower in 8 Easy Steps
 How to Draw a Dogwood Flower
 How to Draw a Lotus Flower in 10 Easy Steps
 How to Draw a Sunflower in 10 Simple Steps