
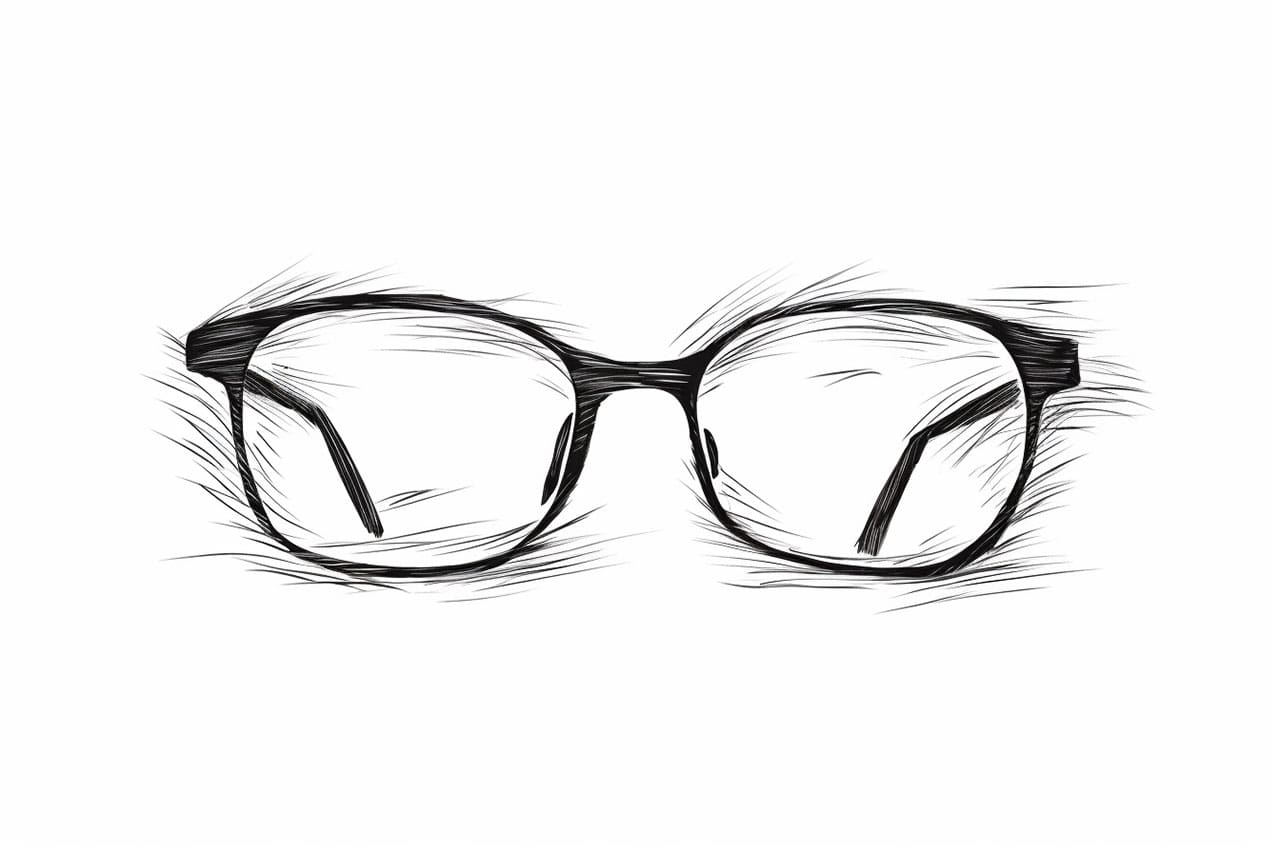
Glasses are a common accessory that can greatly enhance the appearance of your characters or still life drawings. Learning how to draw glasses can be a valuable skill for any artist. In this step-by-step guide, I will help you understand the process of drawing glasses, from the basic framework to the intricate details. So grab your pencils and let’s get started!
Materials Required
Before we begin, gather the following materials:
- Sketch paper
- Pencils (HB, 2B, and 4B)
- Eraser
- Ruler
- Fine-tipped pen or marker (optional)
Step 1: Basic Shape
Start by lightly sketching the basic outline of the glasses. Begin with two horizontal lines that are slightly curved. The bottom curve should be wider than the top curve, resembling an upside-down U shape. Keep the lines light, as they will serve as your guide.
Step 2: Bridge and Nose Pads
Draw a short vertical line at the center of the glasses, connecting the top and bottom curves. This line represents the bridge of the glasses. Add two small circles or ovals on either side of the bridge to indicate the nose pads.
Step 3: Frames
Extend two vertical lines downwards from the bottom curve of the glasses to create the frames. These lines should be parallel and slightly curved, following the shape of the initial outline. Leave a small gap between the bottom curve and the frames.
Step 4: Temples
On the outer edges of the frames, draw two long, slightly curved lines pointing towards the sides of the paper. These lines represent the temples or arms of the glasses. Make sure they are evenly spaced and symmetrical.
Step 5: Hinges
At the outer corners where the frames and temples meet, draw small rectangular shapes. These rectangles symbolize the hinges of the glasses. Make them slightly curved to match the shape of the frames.
Step 6: Lenses
Inside the frames, draw two oval shapes that represent the lenses. Start by sketching the top curve of each lens, following the shape of the frames. Then, complete the shape by drawing the bottom curve. Make sure the lenses are symmetrical and centered within the frames.
Step 7: Details
To add realism, we need to add some details to our glasses. Begin by erasing the initial guidelines. Next, carefully define the shape of the bridge, making it slightly curved to fit the contours of the nose. Add some thickness to the frames by drawing a parallel line to the existing lines. Use your ruler to ensure straight lines. Also, add thickness to the temples, tapering them slightly towards the ends.
Step 8: Reflection and Shadows
To create a sense of depth and dimension, add reflection and shadows to your glasses. Start by imagining a light source and draw a curved line on the outer edge of each lens parallel to the top curve. This will represent the reflection of light. Then, using light shading, add shadows underneath the frames, lenses, and temples. This will give your glasses a three-dimensional appearance.
Step 9: Fine-Tuning
Take a step back and evaluate your drawing. Make any necessary adjustments to the proportions and shape of the glasses. Refine any lines or details that may need improvement. Take your time with this step and use your eraser to correct any mistakes.
Conclusion
Drawing glasses can be a challenging task, but with the right guidance, anyone can achieve great results. In this step-by-step guide, we have covered the process of drawing glasses from the basic shape to the final details. Remember to practice regularly to improve your skills. With time and dedication, you will be able to create realistic and detailed glasses in your artwork.
So grab your sketchbook and pencils, and start practicing drawing glasses! With patience and practice, you’ll soon master this skill.
Related posts:
 How to Draw Nemo: A Step-by-Step Guide
 How to Draw Kakashi – A Step-by-Step Guide
 How to Draw a Cupcake Step by Step
 How to Draw Bulbasaur: A Step-by-Step Guide
 How to Draw a Braid: A Step-by-Step Guide
 How to Draw a Skirt: A Step-by-Step Guide for Aspiring Artists
 How to Draw Rope: Step-by-Step Drawing Tutorial
 How to Draw a Sunflower Step by Step