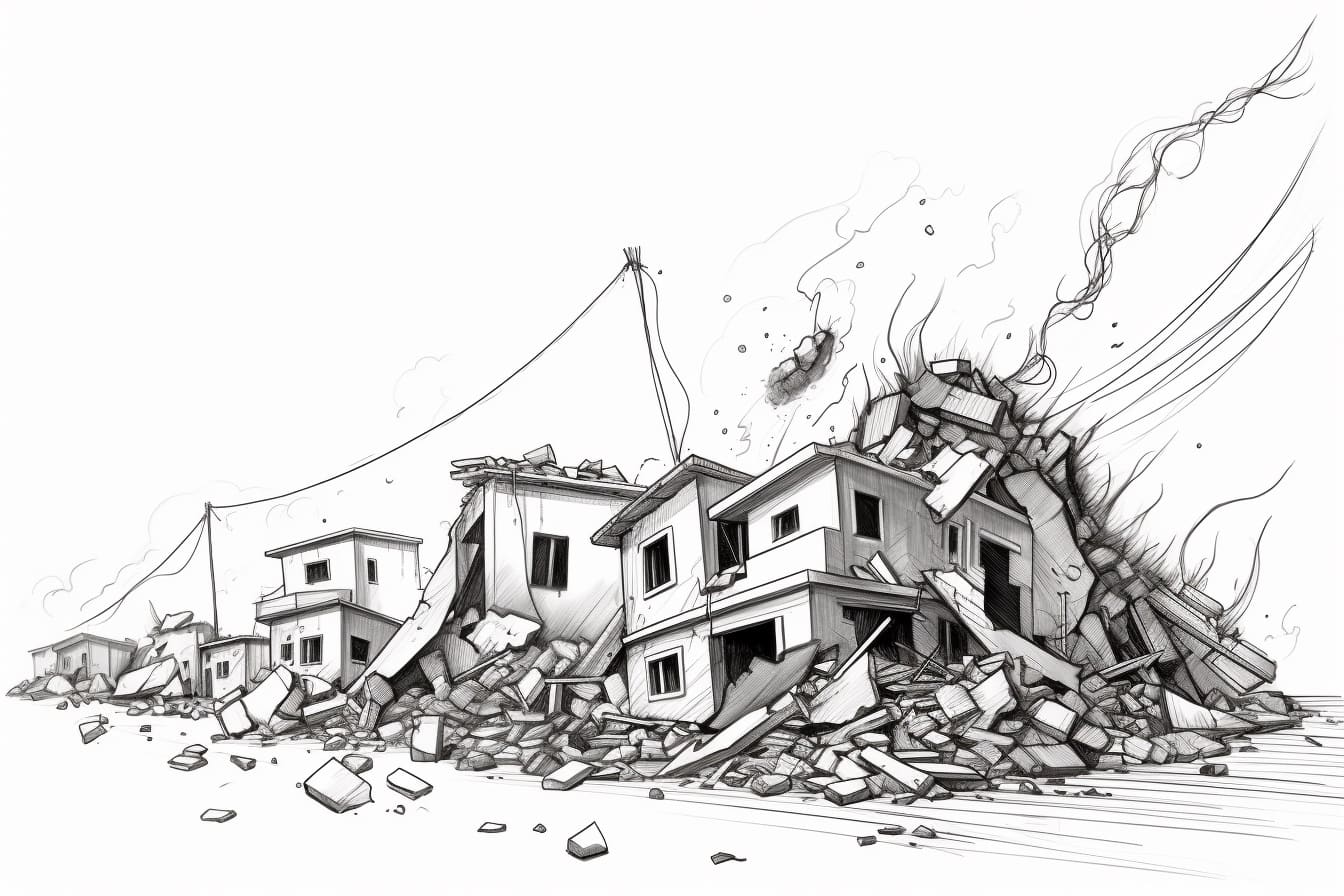
Drawing Earthquake can be both a challenging and rewarding experience. Capturing the raw power and unpredictability of this natural phenomenon on paper can create a dynamic and impactful piece of art. From the intense vibrations to the crumbling structures, there are endless opportunities to explore different textures, shapes, and emotions in your drawing. In this guide, we will delve into techniques and tips to help you bring the energy and chaos of an earthquake to life on your canvas. So grab your pencils, pens, or charcoal, and let’s dive into the exciting world of drawing Earthquake.
Materials Required
To draw an earthquake, you will need the following materials:
- Sketch paper or drawing paper
- Pencils (various grades for shading)
- Eraser
- Ruler (optional for creating straight lines)
- Colored pencils, markers, or pastels (optional for adding color)
- Reference images of earthquakes for inspiration and accuracy in depicting the natural disaster.
How to Draw an Earthquake: a Step-by-step Guide
Step 1: Sketch the Ground
Start by drawing a horizontal line across the middle of your paper to represent the ground level. This will serve as the base for your earthquake drawing.
Step 2: Create the Earthquake Epicenter
Draw a small circle or dot on the ground line to mark the epicenter of the earthquake. This is the point on the Earth’s surface directly above where the seismic activity originates.
Step 3: Draw the Rupture Line
From the epicenter, draw jagged lines radiating outwards in different directions to represent the rupture line caused by the earthquake. These lines should be irregular and uneven to show the shifting of tectonic plates.
Step 4: Add Cracks and Fissures
Around the rupture line, sketch additional cracks and fissures in the ground to indicate the damage caused by the earthquake. These can be thin lines branching out from the main rupture line or appearing elsewhere on the ground.
Step 5: Include Displaced Objects
Draw objects such as buildings, trees, or rocks displaced by the earthquake. Tilt these objects at different angles to show the impact of the seismic activity.
Step 6: Add Debris and Dust
Use shading or sketching techniques to create debris and dust clouds rising from the ground due to the earthquake’s force. This adds a sense of movement and chaos to your drawing.
Step 7: Detail the Epicenter
Enhance the epicenter by adding cracks or radiating lines around it to emphasize its significance in the earthquake’s origin point.
Step 8: Final Touches
Review your drawing and add any additional details or shading to enhance the overall impact of the earthquake scene. Consider adding labels or a key to explain different elements of your drawing if desired.
Step 9: Reflect and Revise
Take a moment to reflect on your drawing and make any necessary revisions or adjustments to improve its accuracy and visual appeal. Pay attention to details such as proportions, textures, and overall composition.
By following these steps and incorporating your creativity, you can create a compelling and illustrative representation of an earthquake.
Conclusion
In conclusion, drawing an earthquake is a challenging yet rewarding artistic endeavor that allows us to capture the raw power and intensity of this natural phenomenon on paper. By following the steps outlined in this article and using techniques such as creating dynamic lines and textures, incorporating dramatic lighting effects, and focusing on the emotional impact of the event, artists can successfully convey the chaos and destruction of an earthquake through their artwork. Remember to practice, experiment, and allow your creativity to flow freely as you tackle this complex subject matter. With dedication and patience, you can create a compelling and evocative representation of an earthquake that captures the attention and imagination of viewers.
Fun Facts About Earthquakes
- The largest earthquake ever recorded was a magnitude 9.5 in Chile in 1960, known as the Great Chilean Earthquake.
- Earthquakes can cause landslides, tsunamis, and volcanic eruptions.
- The fastest seismic waves from an earthquake can travel at speeds of up to 15,000 miles per hour.
- Earthquakes are not just limited to Earth – they have been detected on the Moon, Mars, and even on some of the moons of Jupiter and Saturn.
- The term “earthquake weather,” which suggests that certain weather conditions can lead to earthquakes, is actually a myth with no scientific basis.
- Seismologists use a scale called the Richter scale to measure the magnitude of earthquakes, with each whole number increase representing a tenfold increase in amplitude.
- The majority of earthquakes occur along the edges of tectonic plates, where plates are either colliding, moving apart, or sliding past each other.
- Some animals are believed to have a sense that allows them to detect earthquakes before they happen, such as dogs, cats, and elephants.
- The study of earthquakes is called seismology, and scientists who study earthquakes are called seismologists.
- Earthquakes can be caused by human activities such as mining, reservoir-induced seismicity from filling large dams, and hydraulic fracturing (fracking) for oil and gas extraction.
Suggestions for Scenes and Settings for Earthquake Drawings
Of course! Here are some specific suggestions for scenes and settings you can incorporate into your drawings of an earthquake:
- Urban Destruction: Draw a cityscape with skyscrapers crumbling, roads cracked open, and vehicles overturned.
- Coastal Disaster: Depict a tsunami hitting a coastal town with massive waves crashing onto buildings and sweeping away everything in its path.
- Mountainous Terrain: Show landslides and rockfalls occurring on steep mountain slopes, with boulders tumbling down and trees uprooted.
- Rural Farmstead: Illustrate an earthquake affecting a rural farm setting, with barns collapsing, livestock running in panic, and fields cracked open.
- Underground Tunnels: Create a scene of chaos in underground tunnels or subways, with debris falling, lights flickering, and people trying to escape.
- Historical Site: Imagine an earthquake striking a historical site like ancient ruins or a medieval castle, with ancient structures crumbling and artifacts being damaged.
- Industrial Area: Draw an industrial zone with factories and warehouses shaking, machinery toppling over, and fires breaking out.
- Residential Neighborhood: Illustrate a suburban neighborhood with houses shifting on their foundations, power lines falling, and residents evacuating.
- Emergency Response: Show first responders like firefighters, paramedics, and volunteers helping injured people, searching for survivors, and providing aid in the aftermath of the earthquake.
- Rebuilding and Recovery: Depict a scene of hope and resilience as communities come together to rebuild and recover from the devastation caused by the earthquake. Show people working together to clear debris, rebuild homes, and support each other.
Remember to focus on capturing the dynamic energy and impact of the earthquake in your drawings, using techniques like dramatic perspective, exaggerated movement, and contrasting light and shadow to convey the intensity of the event. Experiment with different mediums and styles to bring your scenes to life and evoke the emotions associated with earthquakes.


