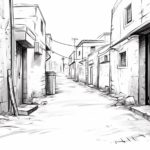
Drawing arches is not just an artistic endeavor; it is a journey into the realms of history, architecture, and beauty. For centuries, archways have served not only as structural elements in grand constructions but also as symbols of strength, elegance, and timeless beauty. From the stunning Roman aqueducts to the delicate arches of Gothic cathedrals, these captivating curves have inspired countless artists and architects alike.
In this article, I am thrilled to share my knowledge and passion for drawing arches with you. Whether you are just beginning your artistic journey or are a seasoned creator looking for fresh inspiration, learning to draw arches can deepen your understanding of perspective, form, and composition. Each arch tells its own story, demonstrating the intricate balance of lines and curves. Together, we will explore the essential techniques to capture their graceful elegance on paper.
So, gather your materials and prepare to embark on a creative adventure! With each stroke, you will discover not only the beauty of arches but also a new layer of enjoyment in your art-making process. Join me as we delve into this rewarding experience, allowing the elegance of arches to enrich your artistic repertoire.
Materials Required
To draw an arch, you will need the following materials:
- Pencil: for sketching and outlining the arch
- Eraser: for correcting mistakes and making adjustments
- Ruler: to ensure straight and accurate lines for the sides of the arch
- Compass: to create the curved shape of the arch
- Drawing paper or sketchbook: to draw on
- Optional: shading tools such as graphite pencils, charcoal, or markers for adding depth and dimension to the drawing
These basic materials will help you create a detailed and accurate drawing of an arch.
How to Draw an Arch: a Step-by-step Guide
Step 1: Gather Your Materials
Start by gathering all the necessary materials for drawing an arch. You will need a pencil, eraser, ruler, drawing paper, and any desired coloring tools like markers, colored pencils, or crayons.
Step 2: Determine the Size of Your Arch
Decide on the size of your arch and mark the starting and ending points on your paper with a pencil. Use a ruler to ensure the points are aligned properly.
Step 3: Draw the Base of the Arch
Begin by drawing a horizontal line connecting the two points you marked. This line will serve as the base of your arch. Make sure it is straight and extends the desired width of the arch.
Step 4: Create the Sides of the Arch
From each end of the base line, draw two vertical lines that will form the sides of the arch. These lines should be of equal length and should extend upwards at an angle to meet at a point above the center of the base line.
Step 5: Connect the Sides at the Top
Draw a curved line connecting the tops of the two vertical lines. This line will form the curved shape of the arch. Make sure the curve is smooth and symmetrical.
Step 6: Refine the Shape
Use your pencil to refine the shape of the arch, making any necessary adjustments to ensure it looks balanced and aesthetically pleasing. Erase any unnecessary guidelines or rough edges.
Step 7: Add Details (Optional)
If desired, you can add details to your arch such as decorative elements, texture, or shading to give it more depth and visual interest.
Step 8: Color Your Arch (Optional)
Finally, if you want to add color to your drawing, use your chosen coloring tools to fill in the arch and any additional details you have added. Be mindful of light and shadow to create a more realistic look.
Step 9: Evaluate and Adjust
Take a step back and evaluate your drawing. Make any final adjustments needed to perfect the arch and ensure it meets your artistic vision.
Step 10: Share Your Artwork
Once you are satisfied with your drawing, share it with others to showcase your creativity and skill in drawing an arch.
Conclusion
In conclusion, mastering the art of drawing an arch requires patience, practice, and attention to detail. By following the step-by-step instructions outlined in this article and allowing yourself the freedom to experiment and make mistakes, you can develop the skills necessary to create beautiful and accurate arches in your artwork. Remember, drawing is a skill that can be honed over time, so keep practicing and pushing yourself to improve. With dedication and perseverance, you will soon be able to confidently draw arches with precision and grace.
Fun Facts About Arches
- Arches National Park in Utah contains over 2,000 natural stone arches, making it the world’s largest concentration of natural sandstone arches.
- The most famous arch in the park is Delicate Arch, which is featured on Utah’s license plates and is a symbol of the state.
- Arches are formed through a combination of erosion from wind, water, and ice over millions of years, as well as the natural uplifting of the land.
- The colors of the sandstone in Arches National Park range from red to orange to white, creating a stunning visual display.
- Some arches are massive, with spans reaching over 300 feet, while others are delicate and small.
- Many arches have collapsed or will eventually collapse due to the natural process of erosion, making them temporary formations in the geological timescale.
- Arches can be found all over the world, from the red rock deserts of the American Southwest to the limestone cliffs of the Mediterranean.
- In addition to arches, other unique rock formations such as hoodoos, buttes, and mesas can also be found in areas with similar geological processes.
- Arches have been important in human history, with many ancient civilizations building structures using arches for support and aesthetics.
- The study of arches and other geological formations can provide insights into the Earth’s history and the processes that shape our planet over time.
Suggestions for Scenes and Settings for Arch Drawings
Certainly! Here are some specific suggestions for scenes and settings for drawings of arches:
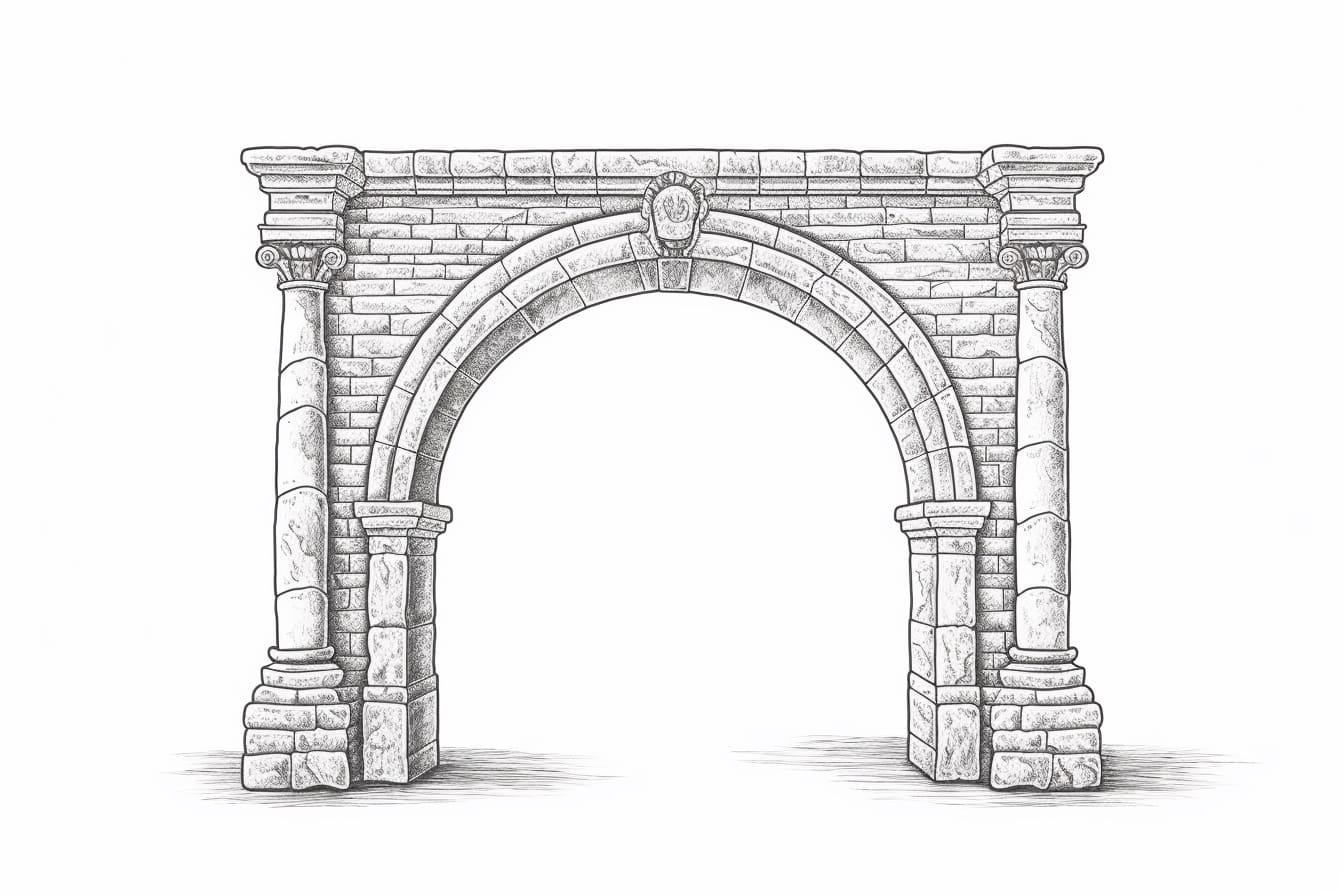
- Ancient Roman Arch: Capture the grandeur and history of a Roman arch set against a backdrop of ruins or a bustling marketplace.
- Gothic Arch in a Cathedral: Create a detailed drawing of a Gothic arch within a cathedral, focusing on the intricate stone carvings and stained glass windows.
- Natural Stone Arch: Draw a natural stone arch found in a picturesque landscape such as a desert canyon, coastal cliffs, or a lush forest.
- Modern Architectural Arch: Illustrate a sleek and contemporary architectural arch as part of a futuristic cityscape or a minimalist building design.
- Japanese Torii Gate: Depict a traditional Japanese torii gate, often found at the entrance to Shinto shrines, set against a serene garden or tranquil lake.
- Medieval Castle Entrance: Imagine a medieval castle entrance with a fortified archway, drawbridge, and knights in armor standing guard.
- Arch Bridge Over a River: Sketch an arch bridge spanning a river, with lush greenery on either side and a clear blue sky overhead.
- Moorish Arch in a Courtyard: Create a vibrant drawing of a Moorish arch in a peaceful courtyard adorned with intricate tile work and a bubbling fountain.
- Art Deco Archway: Explore the geometric shapes and bold colors of an Art Deco archway in a stylish urban setting, reminiscent of the 1920s and 1930s.
- Ruined Arch in a Post-Apocalyptic Landscape: Let your imagination run wild by drawing a crumbling arch in a dystopian world, overgrown with vegetation and surrounded by remnants of civilization.
Feel free to interpret these suggestions in your own unique style and experiment with different mediums and techniques to bring each scene to life on paper or canvas. Happy drawing!