How to Draw a Whistle
Learn how to draw a whistle in this step-by-step tutorial. Follow the expert instructions to create a realistic and detailed drawing of this musical instrument.
Materials You'll Need
- Pencil
- Paper
- Eraser
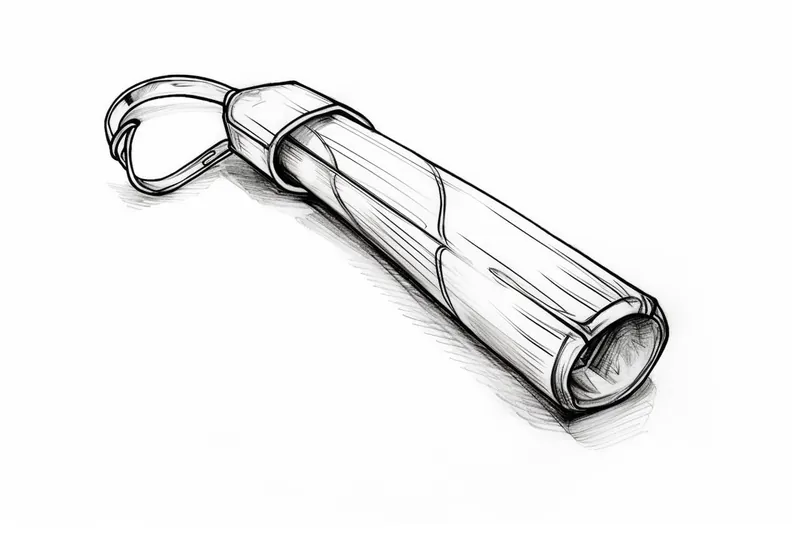
Drawing a whistle may seem like a simple task at first glance, but this small object carries a lot of significance and visual interest. Whistles are used in a variety of contexts—from referees on sports fields to lifeguards at the pool and even musicians playing unique instruments. Their sleek, compact design and distinctive features make them an excellent subject for practicing your observational and drawing skills. Learning how to draw a whistle not only allows you to depict an everyday object, but also helps you hone your ability to capture metallic surfaces, cylindrical shapes, and subtle details that bring realism to your artwork.
Whether you're a beginner exploring the basics of sketching or an experienced artist seeking to expand your repertoire of subjects, drawing a whistle offers valuable practice in rendering three-dimensional forms and reflective textures. This tutorial will guide you step-by-step through the process, focusing on the fundamental techniques such as outlining, shading, and adding highlights to achieve a lifelike result. You might want to draw a whistle as part of a sports-themed illustration, a still life composition, or simply as a standalone drawing to challenge your skills. No matter your reason, this project is approachable for artists of all levels, and you only need a few basic materials to get started.
So, gather your drawing tools and prepare to explore the unique shape and shine of this common yet fascinating object. By the end of this tutorial, you'll not only know how to draw a whistle, but you'll also gain confidence in your ability to tackle other metallic and geometric subjects. Let's jump in and enjoy the creative process together!
Materials Required
To draw a whistle, you will need the following materials:
- Pencil: A graphite pencil with a medium hardness (HB or 2B) is recommended for this project.
- Eraser: A soft eraser will be handy for correcting and refining your drawing.
- Paper: Use a plain sheet of paper or a sketchbook to draw your whistle.
Now that you have your materials ready, let's begin the step-by-step process of drawing a whistle!
Step 1: Outline the Basic Shape
Start by lightly sketching a rectangular shape that will serve as the body of the whistle. Ensure that the rectangle is slanted at a slight angle, similar to the shape of an elongated parallelogram.
Step 2: Add the Mouthpiece
Towards the top left corner of the rectangle, draw a smaller rectangular shape. This will be the mouthpiece of the whistle. Make sure it is connected to the main body of the whistle but does not extend beyond the boundaries of the body shape.
Step 3: Create the Blowing Hole
Inside the mouthpiece, draw a small oval shape towards the bottom. This represents the hole where the air is blown into the whistle. Position the hole slightly closer to the bottom edge of the mouthpiece.
Step 4: Define the Finger Holes
Below the mouthpiece, draw three evenly spaced circles along the length of the whistle. These will be the finger holes that are typically found on a whistle. Ensure that the circles are similar in size and are positioned vertically in a neat row.
Step 5: Sketch the Finger Rest
Just above the finger holes, draw a thin rectangular shape that spans the width of the whistle. This is the finger rest, which is a flat surface that provides support for the fingers while playing the whistle.
Step 6: Refine the Body Shape
Clean up your initial sketch by erasing any unnecessary guidelines, such as the rectangle outline that was used as a base for the whistle. Ensure that the body shape is smooth and well-defined.
Step 7: Add Details
To make your whistle drawing more realistic, add some details to the body. Draw a series of horizontal lines across the main body of the whistle to indicate the ridges or grooves found on some whistles. Make sure the lines are evenly spaced and parallel to each other.
Step 8: Shade and Add Dimension
To give your whistle drawing depth and dimension, add some shading. Identify the direction of the light source and shade one side of the whistle slightly darker than the other. Use your pencil to create a gradual transition from light to dark, giving the illusion of three-dimensionality.
Step 9: Refine and Finalize
Take a step back and assess your drawing so far. Make any necessary refinements or adjustments to ensure that the proportions and details are accurate. Use your eraser to clean up any smudges or stray marks.
Tip: When drawing a whistle, pay special attention to its cylindrical shape and how light interacts with its metallic surface. Start by sketching a light outline of the whistle's form, focusing on the proportions and the curvature of the body. Use a softer pencil, like a 2B, for the initial sketch to allow for easy adjustments. Once the outline is set, shift to a harder pencil, such as an HB, to define the details, like the mouthpiece and air holes. For shading, observe the light source and apply a gradient technique, using gentle circular motions to create smooth transitions, and don't forget to leave highlights where the light hits the metal. This careful observation and layering will give your whistle a realistic shine and dimension, making it pop from the page!
Conclusion
Congratulations! You have successfully drawn a whistle using this step-by-step guide. By following the instructions provided and practicing your drawing skills, you have created a realistic representation of this popular musical instrument. Remember, drawing is a skill that improves with practice, so don't be discouraged if your first attempt is not perfect. Keep honing your skills, and experimenting with different techniques, and you will continue to improve as an artist. Happy drawing!
Fun Facts About Whistle
- The modern metal whistle was invented in 1878 by Joseph Hudson in England, revolutionizing how referees signaled during sports games.
- Whistles have been used for thousands of years, with ancient versions made from bones, wood, and clay.
- The police whistle became a standard tool for law enforcement in the late 19th century.
- Dog whistles emit sounds at frequencies above human hearing, making them effective for training without disturbing people.
- The tin whistle, also known as the penny whistle, is a popular folk instrument in Irish music.
- Whistles are essential safety devices for lifeguards and outdoor adventurers.
- The world record for the loudest whistle is over 125 decibels.
- Some musical whistles, like the slide whistle, can produce a glissando effect.
- Referee whistles are often made with a small ball inside, called a pea, to create a distinctive trill.
Suggestions for Scenes and Settings for Whistle Drawings
- [A close-up of a shiny metal referee whistle resting on a green soccer field, with blurred players](https://yonderoo.com/how-to-draw-a-soccer-player/) in the background.
- A lifeguard's whistle hanging from a red lanyard, draped over a wooden lifeguard chair with the ocean and beachgoers behind.
- A classic tin whistle nestled among sheet music and other musical instruments, capturing a cozy practice scene.
- A whistle suspended mid-air, frozen in time as it's being blown during an intense basketball game.
- Whistle on a keychain with a set of keys, laying on a cluttered desk full of everyday objects.
- An antique whistle showcased in a shadow box or museum display, surrounded by informational placards and vintage memorabilia.
- A whistle partially buried in sand at a playground, with children playing in the background.
- A dramatic close-up of a whistle reflecting dramatic lighting, emphasizing its metallic surface and shadows.
- A whistle attached to a backpack, hinting at a hiking or camping adventure in a scenic outdoor setting.
- A whimsical, fantasy scene where a magical whistle floats above an open hand, glowing with mystical energy.