How to Draw a Swing Set
Learn how to draw a swing set step by step with this easy-to-follow tutorial. Add some playfulness to your artwork and create a charming piece.
Materials You'll Need
- Pencil
- Paper
- Eraser
Swings sets are a classic symbol of childhood joy and carefree fun, often found in parks, schoolyards, and backyards around the world. Their sturdy frames and gently swinging seats evoke happy memories and a sense of nostalgia for many people. Learning how to draw a swing set is a wonderful way to capture this playful spirit in your artwork, whether you're illustrating a lively playground scene, designing a greeting card, or simply practicing your drawing skills. A swing set can become the focal point of a piece or serve as a charming background element, making it a versatile subject for artists of all levels.
One of the reasons you might want to learn how to draw a swing set is to challenge yourself with drawing simple geometric forms, such as straight lines for the frame, curved lines for the seat and chains, and perspective to give your swing set depth and realism. This tutorial is suitable for beginners and intermediate artists alike, as it breaks down each stage into clear, manageable steps. You'll practice fundamental skills like sketching basic shapes, adding dimensions, and refining details to make your swing set look sturdy and inviting. Plus, this exercise will help you improve your observation skills and your ability to create objects that look balanced and proportionate on the page.
Don't worry if you're new to drawing or if this is your first time attempting playground equipment—this guide is designed to be encouraging and accessible for everyone. By the end of this tutorial on how to draw a swing set, you'll have a delightful piece of art that radiates energy and fun. So gather your drawing supplies, let your imagination take flight, and get ready to bring a bit of playfulness to your sketchbook!
Materials Required:
Before we begin, let's gather all the materials you will need for this drawing:
- A sheet of paper or a sketchbook
- A pencil (preferably a mechanical pencil or a HB pencil)
- An eraser
- A ruler (optional)
- Colored pencils or markers (optional)
Now that you have your materials ready, let's dive into the steps to draw a swing set.
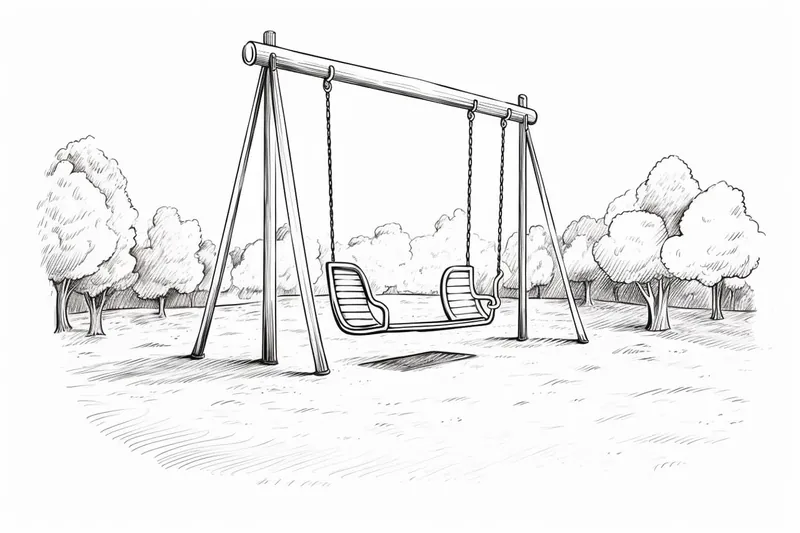
Step 1: Establish the Overall Shape
Start by lightly sketching a rectangle shape on your paper. This will be the main frame of the swing set. You can use a ruler to ensure straight lines if you prefer. Make sure to leave enough empty space around the rectangle to add the swing seats later.
Step 2: Add the Upright Posts
Next, draw two vertical lines inside the rectangle, one on each side. These lines will represent the upright posts that support the swing set. Make sure to extend these lines beyond the top and bottom edges of the rectangle.
Step 3: Draw the Horizontal Beam
Connect the tops of the vertical lines with a horizontal line. This will be the beam that holds the swings. You can make it straight or slightly curved, depending on your preference.
Step 4: Detail the Swing Seats
Below the horizontal beam, draw two small rectangular shapes, side by side. These will be the swing seats. You can make them as detailed as you want, adding curves or rounded corners for a more realistic look.
Step 5: Add Chains or Ropes
On each side of the swing seats, draw two lines extending from the top corners of the seats up to the horizontal beam. These lines represent the chains or ropes that hold the swings in place. Feel free to add some extra details, like links or knots, to make them more interesting.
Step 6: Enhance the Upright Posts
To give the swing set more stability, draw diagonal lines inside each upright post. These lines will create an illusion of depth and add visual interest to your drawing.
Step 7: Add the Ground
Extend the bottom of the vertical lines to create the ground beneath the swing set. You can draw a simple horizontal line or add some details like grass, sand, or a pattern to represent the ground surface.
Step 8: Refine the Outline
Now that you have the basic structure, it's time to refine the outline. Go back to your initial sketch and carefully darken the lines, erasing any unnecessary guidelines. Pay attention to the details and make sure the swing set looks balanced and proportionate.
Step 9: Add the Details
To make your swing set more realistic, add some details to enhance its appearance. You can draw bolts or screws on the upright posts and the beam. You can also add wooden textures to the swing seats, or even draw a couple of children happily swinging.
Step 10: Add Colors (Optional)
If you want to take your drawing to the next level, you can add colors to your swing set. Use colored pencils or markers to bring your creation to life. Experiment with different shades and textures to make it more visually appealing.
Tip: To effectively capture the essence of a swing set in your drawing, start by sketching the basic geometric shapes lightly with a pencil. Use straight lines for the frame and soft curves for the swing seats and chains; this will help establish the overall structure. Pay special attention to the perspective—draw the swing seat slightly lower than the frame to create depth, and remember to show the angle of the chains as they connect to the frame. Once you're satisfied with the layout, go over your lines with a darker pencil or ink to define the shapes, and add shadows under the swings for a sense of weight. Don't hesitate to use reference images of swing sets to observe proportions and details that can enhance your drawing!
Conclusion
Congratulations! You have successfully learned how to draw a swing set. With a few simple steps and some attention to detail, you can create a charming artwork that captures the essence of playfulness and joy. Remember to practice regularly and have fun with your drawings. Now, go grab your pencil, unleash your creativity, and create a beautiful swing set on paper!
Fun Facts About Swing Set
- The first patent for a modern swing set was filed in 1909, revolutionizing playground equipment design worldwide.
- Swings have been used for recreation since ancient Greece, as depicted in art and literature.
- Modern swing sets are often made from metal or durable plastic to ensure safety and longevity.
- Swings can help children develop balance, coordination, and spatial awareness.
- Some swing sets are designed to be accessible for children with disabilities, promoting inclusive play.
- The world's longest swing set measures over 100 feet in length.
- Swings are not just for kids—many parks now feature adult-sized swing sets for all ages to enjoy.
- Regular swinging can have calming effects and is sometimes used in occupational therapy.
Suggestions for Scenes and Settings for Swing Set Drawings
- A vibrant playground filled with children playing on the swing set, slides, and seesaws under a bright blue sky.
- An old wooden swing set in a quiet, overgrown backyard, surrounded by tall grass and wildflowers for a nostalgic feel.
- A swing set at sunset with long shadows and warm, golden light bathing the scene, creating a peaceful and dreamy atmosphere.
- A snowy park with a swing set dusted in snow, with bundled-up kids swinging and building a snowman nearby.
- A whimsical scene where the swing set is on the edge of a fantastical forest, with magical creatures or fairy lights entwined in the frame.
- [A beachside swing set with sand beneath it and gentle waves](https://yonderoo.com/how-to-draw-waves/) in the background, capturing a carefree summer day.
- A group of friends pushing each other on the swings after school, with backpacks tossed nearby and autumn leaves swirling around.
- A close-up view of a single empty swing gently swaying in the breeze, with detailed textures of weathered wood or rusty chains.
- An urban rooftop playground with a modern metal swing set, city skyline visible in the distance.
- A nighttime scene with the swing set illuminated by soft, glowing lamplight, fireflies twinkling around, and stars overhead.