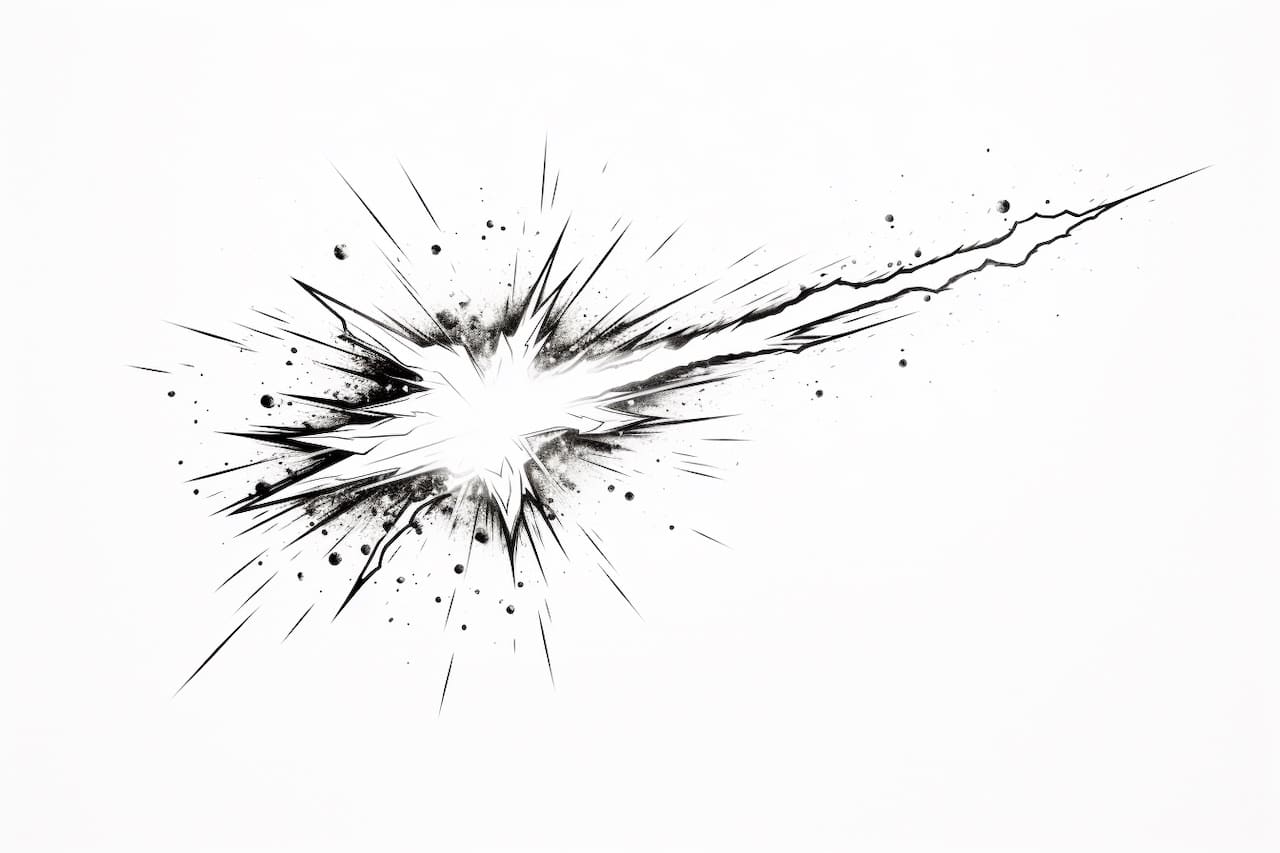
Drawing sparks can add an element of energy and excitement to your artwork. Whether you’re creating a fiery scene or simply want to add a touch of magic, learning how to draw sparks can enhance your artistic skills. In this step-by-step guide, I will show you how to draw a spark using simple techniques. So grab your sketchbook and let’s get started!
Materials Required:
- Pencil
- Eraser
- Fine-tip pen or marker
- Colored pencils or markers (optional)
Step 1: Sketch the Foundation
Start by lightly sketching the shape of the spark. Sparks can take various forms, such as a small dot or a zigzagging line. Determine the direction and flow of your spark and draw a basic outline accordingly. Keep the lines loose and rough, as we will refine them later.
Step 2: Define the Shape
Using your pencil, define the shape of the spark with more precision. Pay attention to the curves and edges of the spark, making it appear dynamic and captivating. Add more details, such as extra lines or small bursts, to enhance its intensity.
Step 3: Add Texture
To make the spark look more realistic, add some texture to its shape. Use short, quick strokes to create a sense of movement and energy. Vary the intensity of the strokes to give a dynamic effect to the spark. Experiment by using different pencil pressures to achieve the desired texture.
Step 4: Outline with Pen
Once you’re satisfied with the pencil sketch, carefully trace over the lines with a fine-tip pen or marker. This will help make the spark stand out and give it a clean, defined look. Be mindful of the contours and details as you go along.
Step 5: Erase Guidelines
Gently erase the pencil guidelines, ensuring that you don’t smudge or damage the inked lines. Use an eraser that won’t leave any residue behind and work slowly to avoid disturbing the pen lines. Take your time and be patient during this step.
Step 6: Shade and Color (Optional)
For added depth and dimension, you can choose to shade and color your spark. Lightly shade the areas that would be in shadow, using hatching or cross-hatching techniques. Use a blending tool or your finger to blend the shading smoothly. If desired, you can use colored pencils or markers to add vibrant hues to the spark.
Conclusion:
Drawing sparks can be a thrilling and rewarding experience. By following these step-by-step instructions, you can create a striking and realistic spark in your artwork. Remember to experiment with different shapes, textures, and colors to make your sparks truly come to life. So grab your art supplies and ignite your creativity with this newfound skill of drawing sparks!


