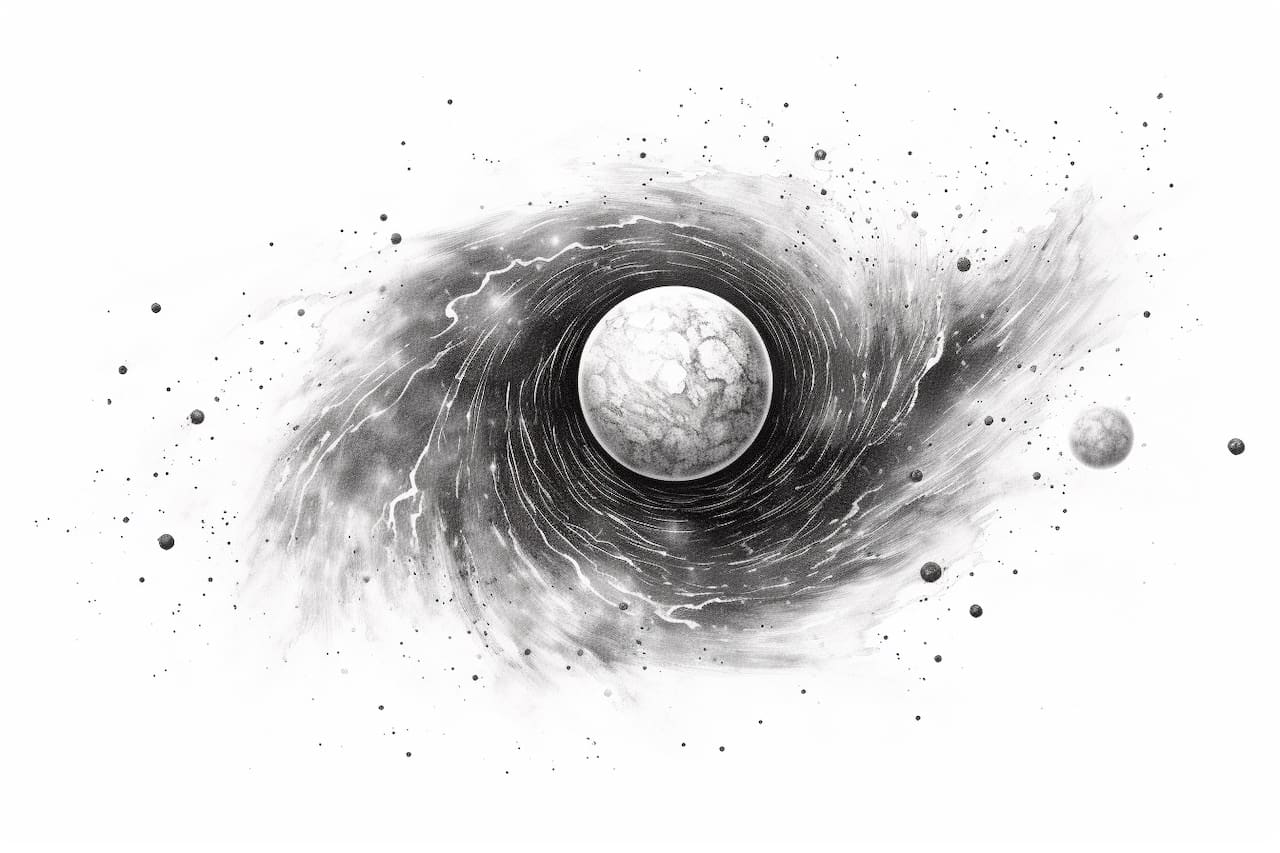
Welcome to this step-by-step guide on how to draw a nebula! Nebulae are beautiful and mysterious clouds of gas and dust that exist in space. They come in a variety of colors and shapes, making them a fascinating subject for artists. In this tutorial, we will break down the process into simple steps, so you can create your own stunning nebula artwork.
Materials Required
Before we get started, let’s gather the materials you’ll need for this drawing:
- Drawing paper or sketchbook
- Pencil (preferably with a soft lead, such as a 2B or 4B)
- Eraser
- Colored pencils or pastels (optional)
With your materials ready, let’s dive into the step-by-step process of drawing a nebula.
Step 1: Sketch the Basic Shape
Start by lightly sketching the basic shape of your nebula on your drawing paper. Nebulae can have various outlines, so feel free to experiment with different shapes. You can start with a rounded or irregular form, ensuring it covers a significant portion of the paper. Keep your lines loose and light, as they are just a guide for the later stages.
Step 2: Add the Details
Now, it’s time to add some details to your nebula. Nebulae are often characterized by swirls, clouds, and filaments. Use curving lines to create these elements within the main shape. Don’t worry too much about precision at this stage – the goal is to create a sense of organic movement and randomness. Vary the thickness and direction of your lines to add depth and texture.
Step 3: Shade the Nebula
Next, we will add shading to give the nebula depth and dimension. Start by identifying the light source in your drawing. This will determine the areas of light and shadow. Remember that the light source in space can come from various directions, so feel free to experiment. Use your pencil to lightly shade the areas that are away from the light, gradually building up the darkness. Blend the shading with your finger or a blending stump for a smoother effect.
Step 4: Enhance with Colors (optional)
At this point, your nebula is already taking shape. If you want to add some color to your artwork, now is the time to do it. Colored pencils or pastels can be used to add vibrant hues to your nebula. Start by layering light colors and gradually build up the intensity. Nebulae often exhibit rich shades of blues, purples, pinks, and oranges. Blend the colors together using gentle strokes or a blending tool until the transitions between colors are smooth.
Step 5: Create Star Clusters
No nebula is complete without the addition of stars. Use your pencil or a white gel pen to create clusters of tiny dots throughout the nebula. Vary the sizes and densities of the dots to create a realistic effect. You can also experiment with different patterns or groupings. The stars will add a touch of sparkle and make your nebula come alive.
Step 6: Final Touches
Take a step back and evaluate your drawing. Are there any areas that need further refinements or adjustments? Use your eraser to lighten or correct any parts of the nebula that may need it. You can also add additional details, such as smaller gas clouds or dust particles, to enhance the overall look. Once you’re satisfied with your creation, give it a final once-over and make any necessary final touches.
Congratulations! You have successfully drawn a stunning nebula. Remember, every nebula is unique, so feel free to experiment and let your creativity guide you. With practice, you’ll be able to create even more intricate and breathtaking nebulae.
Conclusion
In this tutorial, we have explored the step-by-step process of drawing a nebula. From sketching the basic shape to adding details, shading, and colors, we have covered all the essential techniques. By following these steps, you can create your own mesmerizing nebula artwork. So grab your materials and let your imagination soar as you bring the beauty of nebulae to life on paper. Happy drawing!

