How to Draw a Smiling Mouth
Learn how to draw a smiling mouth step by step with this easy-to-follow tutorial. Add a touch of joy and liveliness to your artwork with expressive smiles.

Materials You'll Need
- Pencil
- Paper
- Eraser
The mouth is one of the most expressive features on the human face, capable of conveying a wide range of emotions with just a subtle curve or a gentle lift. A smiling mouth, in particular, can instantly add warmth, friendliness, and a sense of joy to your drawings, whether you're working on a realistic portrait or a playful cartoon character. Capturing the nuances of a smile requires a keen eye for detail—the way the lips curve, the slight dimples at the corners, and the interplay of teeth and shadows all contribute to creating a lifelike and engaging expression.
Learning how to draw a smiling mouth is a valuable skill for artists at any stage. If you're interested in portraiture, understanding how to represent genuine emotions is essential for making your subjects feel alive and relatable. Even in stylized or cartoon art, mastering the basics of a smiling mouth can add personality and character to your creations. A well-drawn smile can tell a story, convey mood, or connect with viewers on a deeper emotional level, making it a crucial element in both fine art and illustration.
This tutorial is designed to guide you step-by-step through the process, making it accessible for beginners while still offering tips and techniques that more experienced artists will find useful. We'll explore fundamental concepts such as proportions, the basic structure of the lips, and how to depict teeth and highlights without making the smile look stiff or unnatural. You'll also learn how to use light lines for sketching, blend and shade for realism, and make adjustments as you go along. By following along, you'll gain confidence in drawing one of the most challenging but rewarding features of the human face.
Whether you're just starting out or looking to refine your portrait skills, this guide on how to draw a smiling mouth will provide you with the tools and knowledge you need to create expressive, joyful artwork. Remember, every artist develops their own style through practice and observation, so don't be afraid to experiment and have fun. Grab your favorite drawing tools and let's embark on this creative journey together—your next masterpiece is just a smile away!
Materials Required
To begin drawing a smiling mouth, you'll need the following materials:
- A pencil - preferably an HB or 2B for sketching.
- An eraser - either a kneaded eraser or a regular one will do.
- Paper - any type of drawing paper will work.
Now that you have your materials ready, let's dive into the step-by-step instructions for drawing a smiling mouth.
Step 1: Draw the Upper Lip
Start by drawing a light horizontal line across your paper to serve as a guideline for the mouth's position. Next, draw a slightly curved line, shaped like a wide "U" above the guideline. This curved line will form the upper lip of the smiling mouth.
Step 2: Add the Lower Lip
Underneath the upper lip, draw another slightly curved line, also shaped like a wide "U", but slightly larger. This line will form the lower lip of the smiling mouth. Make sure the lower lip extends slightly past the upper lip to create a natural-looking smile.
Step 3: Define the Corners
At each end of the curved lines you just drew, add small vertical lines pointing slightly upwards. These short lines will define the corners of the mouth and give your smile a more realistic shape.
Step 4: Outline the Lips
Tip: When drawing a smiling mouth, focus on the subtlety of expression by avoiding overly rigid outlines for the teeth; instead, suggest their presence with soft shading and gentle curves. This approach will help maintain the fluidity of the smile, making it appear more natural and inviting. Additionally, remember to observe real smiles—note how the corners lift and how light interacts with the lips to enhance realism in your artwork.
Starting from the corners of the mouth, carefully draw the outline of the lips, following the curved lines you previously drew. Pay attention to the curves and contours of the upper and lower lips, as these details will add depth and dimension to your drawing.
Step 5: Add the Teeth
Now it's time to add some teeth to your smiling mouth. Draw a series of horizontal lines, evenly spaced, within the mouth shape. These lines will represent the upper row of teeth. Remember to make the middle line slightly longer than the others to create a natural-looking smile.
Step 6: Refine the Teeth
To make the teeth look more realistic, round off the edges of each tooth by adding small curves. You can also draw some diagonal lines across some of the teeth to indicate shadows and give them a three-dimensional appearance.
Step 7: Shade the Inside of the Mouth
To create depth and make the mouth look more realistic, shade the inside of the mouth using your pencil. Start by lightly shading the area between the upper and lower lips, gradually adding more depth and darkness towards the corners of the mouth.
Step 8: Highlight the Lips
To make the lips appear shiny and plump, add a small highlight to each lip. This highlight should be a lighter shade than the rest of the lips and should be placed towards the center of each lip, closer to the middle of the mouth.
Step 9: Erase Guidelines
Carefully erase any remaining guidelines and unnecessary lines from your drawing, including the horizontal guideline you drew in the beginning. Use a gentle touch with your eraser to avoid smudging or damaging the surrounding areas.
Step 10: Final Touches
Take a step back and evaluate your drawing. Make any necessary adjustments or add any additional details to perfect your smiling mouth. You can add more shading to create deeper shadows, refine the shape of the lips, or add tiny wrinkles around the mouth for added realism.
Congratulations! You have successfully drawn a smiling mouth. With practice, you'll be able to incorporate this skill into your future drawings and captivate your audience with your expressive artwork.
Mistake Alert: A common pitfall when drawing a smiling mouth is outlining every tooth individually, which can make the smile look stiff, unnatural, or even cartoonishly exaggerated. This often happens because beginners want to show accuracy, but in reality, our eyes don't see each tooth as a separate object—especially in a relaxed, genuine smile. Instead, suggest the presence of teeth by lightly shading the overall shape and adding only a few soft lines where natural gaps or shadows occur, particularly at the corners of the mouth. Remember, less is more when it comes to depicting teeth—focus on the subtle value shifts rather than drawing each tooth, and your smiles will instantly appear more lifelike and inviting!
Conclusion
Drawing a smiling mouth can bring a sense of happiness and charm to your artwork. By following the step-by-step instructions outlined in this guide, you can master the art of drawing a smiling mouth and enhance your drawing skills. Remember to practice regularly and experiment with different styles and expressions to develop your unique artistic voice.
So, grab your pencil, paper, and eraser, and let your creativity shine through as you bring smiles to your drawings. Happy drawing!
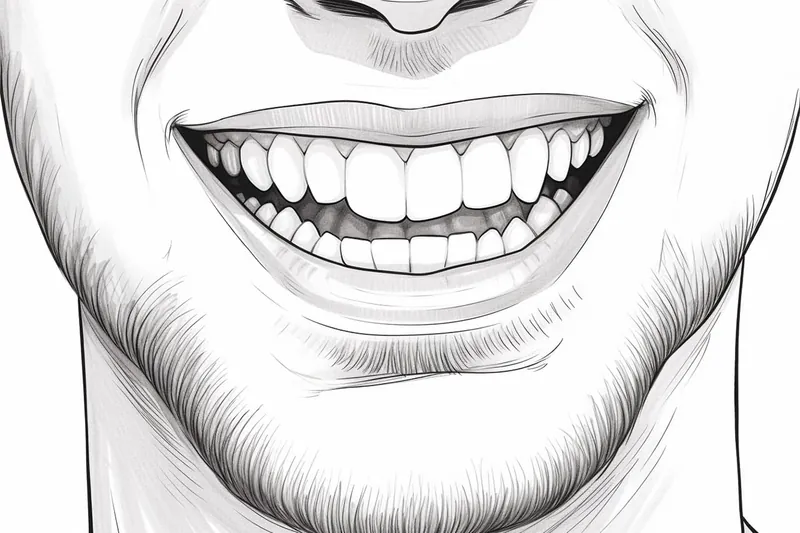
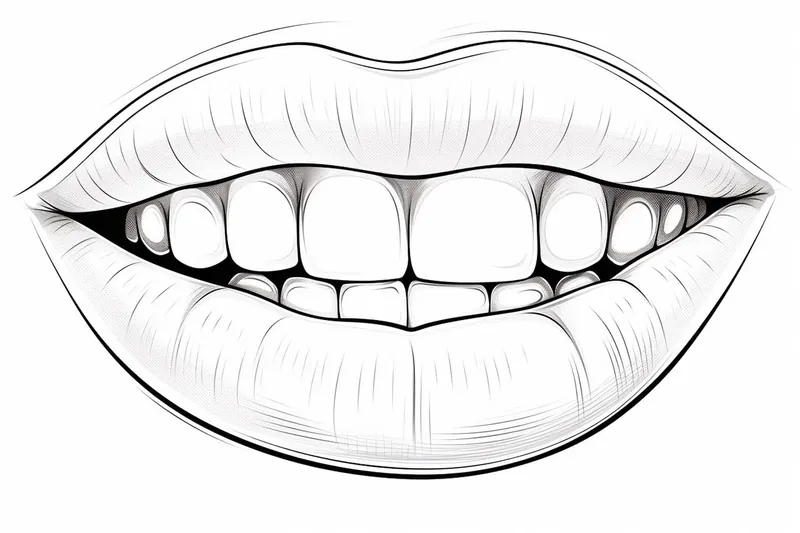
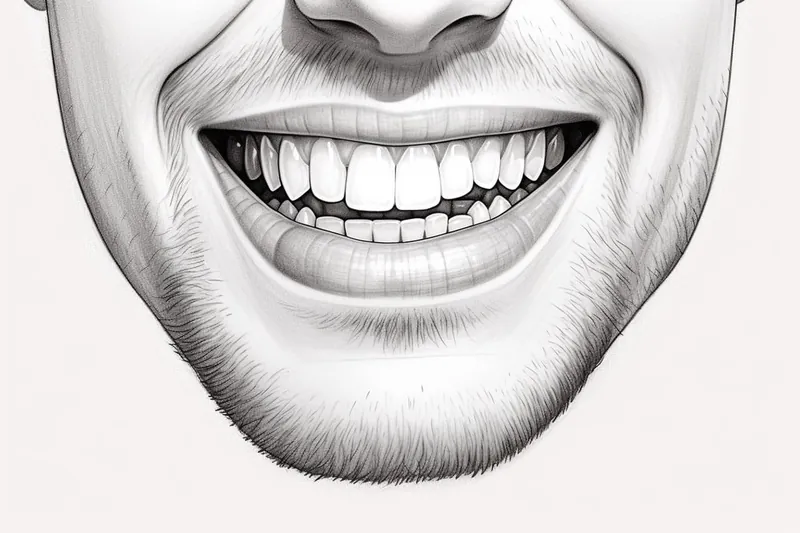
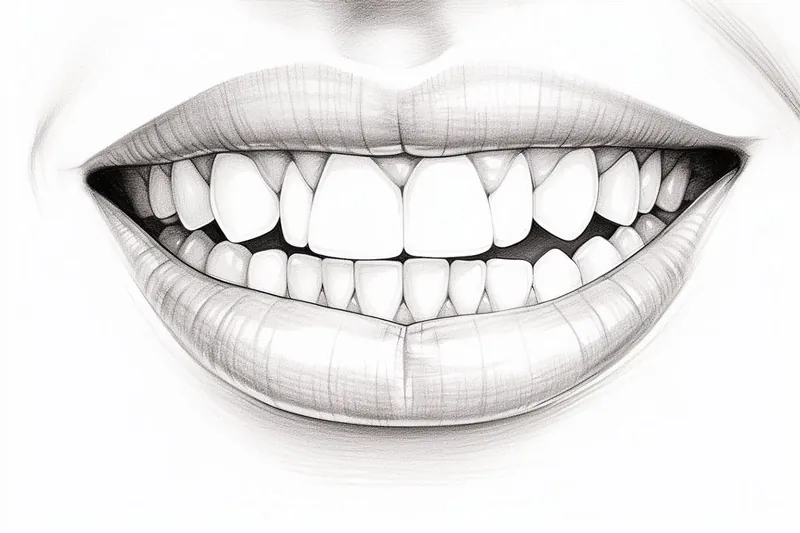
Gallery of Smiling Mouth Drawings
Fun Facts About Smiling Mouth
- Smiling activates muscles called the zygomaticus major and minor, which pull the corners of the mouth upward.
- Genuine smiles, known as Duchenne smiles, involve both the mouth and the eyes.
- Smiling can boost your mood by triggering the release of endorphins and serotonin.
- People can recognize a smile from over 300 feet away, making it one of the most easily identifiable facial expressions.
- Children smile as many as 400 times a day, while adults average only 20 smiles daily.
- Smiling is a universal sign of happiness, recognized across all cultures.
- Even forcing a smile can help reduce stress and lower your heart rate.
- Smiling can make you appear more attractive and approachable to others.
- Artists often study the anatomy of the mouth to accurately capture the subtleties of a smile in portraits.
- Some animals, like chimpanzees, use smiling as a form of social communication.
Suggestions for Scenes and Settings for Smiling Mouth Drawings
- [A close-up of a smiling mouth enjoying a favorite treat, like an ice cream cone or a slice of watermelon](https://yonderoo.com/how-to-draw-a-watermelon/).
- A smiling mouth illuminated by sunlight, with natural highlights and shadows playing across the lips.
- A group of cartoon mouths, each with a different style of smile (big grin, shy smile, smirk, open-mouthed laugh).
- A realistic smiling mouth paired with expressive eyes, showing the emotion that radiates from a genuine smile.
- A mouth smiling through a playful disguise, like a fake mustache or clown makeup.
- A joyful mouth surrounded by laugh lines and dimples, focusing on the texture and character of aging skin.
- A mouth blowing a kiss, with puckered lips transitioning into a bright smile.
- A smiling mouth in a mirror reflection, capturing subtle asymmetries and the play of light on glass.
- A fantasy creature or animal with a human-like smiling mouth, blending realism and imagination.
- A mouth mid-laughter, with teeth visible and the jaw slightly open, conveying movement and energy.