How to Draw a Sled
Learn how to draw a sled with this step-by-step tutorial. Follow along and create your own masterpiece with clear and concise instructions. Perfect for artists of all levels.
Materials You'll Need
- Pencil
- Paper
- Eraser
Sleds have long captured the imagination as symbols of winter fun, adventure, and the simple joys of gliding over fresh snow. Whether it's a classic wooden sled with metal runners or a modern sleek design, sleds evoke memories of laughter-filled days and the thrill of a downhill ride. Drawing a sled not only allows you to explore these nostalgic themes but also helps you practice essential artistic skills such as perspective, proportion, and detailing. Capturing the unique structure of a sled—the curved runners, the slatted seat, and the way shadows fall across its surface—can be both a rewarding and educational experience for artists of all levels.
If you've ever wondered how to draw a sled that looks realistic and dynamic, this tutorial is the perfect place to start. Not only is a sled a fun and recognizable subject, but it also offers an excellent opportunity to practice drawing straight lines, gentle curves, and overlapping shapes. Whether you want to create winter-themed artwork, design holiday cards, or simply add new skills to your drawing repertoire, learning to draw a sled can help you build confidence in tackling more complex objects. This guide is suitable for beginners as well as those looking to refine their technique, with step-by-step instructions and helpful tips along the way.
So gather your favorite drawing supplies and get ready to embark on this creative journey. Remember, every artist improves with practice, and each drawing is a chance to express your unique perspective. By the end of this tutorial, you'll have a charming sled drawing to be proud of—and new skills to carry into your next artistic challenge!
Materials Required:
To complete this drawing, you will need the following materials:
- A pencil
- Eraser
- Paper
- Ruler
- Colored pencils or markers (optional)
Now that you have all the necessary materials, let's jump into the steps of drawing a sled.
Step 1: Sketch the Base of the Sled
Start by drawing a long, straight horizontal line near the bottom of the paper. This will be the base of the sled. Use your ruler to help you create a precise and straight line.
Step 2: Add the Runners
From the ends of the base, draw two slightly curved lines that extend downward. These lines will represent the runners of the sled. Make sure they are symmetrical and parallel to each other.
Step 3: Connect the Runners
At the bottom ends of the runners, draw another parallel line to connect them. This will form the front part of the sled.
Step 4: Draw the Sled's Body
Now, it's time to draw the body of the sled. From the front part, draw a curved line that follows the shape of the base and then curves upward. This will create a smooth and flowing shape for the sled.
Step 5: Add the Backrest
At the end of the curved line, draw a vertical line that extends upward. This will serve as the backrest of the sled. Make sure it is centered and proportional to the rest of the drawing.
Step 6: Enhance the Runners
To give the runners more depth and dimension, draw a series of short diagonal lines along their length. This will create the impression of wood slats.
Step 7: Sketch the Handle
On the right side of the backrest, draw a curved shape that resembles a lowercase letter "r." This will be the handle of the sled. Make sure it is proportionate to the rest of the drawing.
Step 8: Add Detail to the Sled
Now, it's time to add some detail to the sled. You can draw patterns or decorative elements on the backrest and the sides of the sled. Get creative with your design and make it unique!
Step 9: Refine Your Drawing
Tip: As you work through the steps of drawing your sled, take the time to observe real sleds or reference images to enhance your understanding of their structure and details; this practice will help you capture the unique features and proportions more accurately, ultimately elevating the realism of your artwork.
Take a step back and look at your drawing as a whole. Make any necessary adjustments or corrections to ensure that everything is proportional and symmetrical.
Step 10: Finalize Your Drawing
Once you are satisfied with the overall look of your sled, trace over your pencil lines with a pen or marker. This will make your drawing more defined and give it a finished appearance.
Conclusion
Congratulations on completing your drawing of a sled! We hope you enjoyed following along with this step-by-step guide. Remember, practice makes perfect, so keep honing your drawing skills. With time and dedication, you'll be able to create more intricate and realistic drawings. Happy sketching!
Fun Facts About Sled
- The oldest known sleds date back over 5,000 years and were used by ancient peoples in northern regions for transportation.
- Dog sledding, a popular winter sport and mode of travel, originated with the Inuit and other Arctic peoples.
- The famous Iditarod Trail Sled Dog Race covers nearly 1,000 miles across Alaska.
- Modern sleds are made from a variety of materials, including wood, plastic, and metal.
- The word "toboggan" comes from the Algonquian word "tobakun," meaning a sled made of bark.
- Sand sledding is a popular activity on dunes.
- The fastest recorded speed on a traditional wooden sled is over 60 mph.
- Sleds have been used in military operations for centuries, including by Napoleon's army during the retreat from Moscow.
- [[Olympic sports like luge, skeleton](https://olympics.com/en/sports/skeleton/), and bobsleigh](https://olympics.com/en/sports/bobsleigh/) all evolved from traditional sledding.
Suggestions for Scenes and Settings for Sled Drawings
- A classic sled racing down a snowy hill, with bundled-up children laughing and holding on tightly.
- A peaceful winter forest scene with a sled resting under snow-covered pine trees, untouched tracks leading up to it.
- A vintage wooden sled leaning against a rustic cabin porch, icicles hanging from the roof above.
- A sled pulled by a friendly dog or a team of huskies, dashing through a frosty winter landscape.
- An imaginative sled transformed into a magical vehicle, soaring above the clouds or gliding across a starry night sky.
- A family building a snowman next to a parked sled, with hats, scarves, and mittens scattered around.
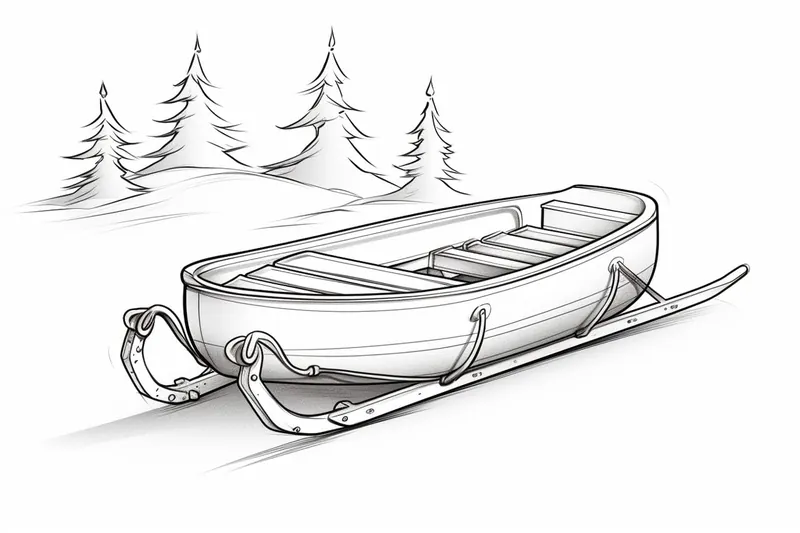
- A close-up view of a sled's intricate details—curved runners, wood grain, and metal bolts, with snowflakes settling on its surface.
- A group of friends sharing hot cocoa beside a sled after a long day of sledding, surrounded by snowy footprints.
- A sled loaded with holiday presents, being pulled through a small snowy village decorated with twinkling lights.
- An abandoned sled partially buried in freshly fallen snow, hinting at stories of past winter adventures.