How to Draw a Seahorse
Learn how to draw with this step-by-step tutorial.
Materials You'll Need
- Drawing paper
- Pencil (HB or 2B)
- Eraser
- Colored pencils
- Blending stump
- Watercolor paints
Welcome to this engaging step-by-step tutorial on how to draw a seahorse! Drawing can be a wonderful way to express your creativity, and seahorses are among the most captivating subjects you can choose. With their unique shapes and intricate details, these enchanting marine creatures offer a delightful challenge for artists of all skill levels.
In this guide, we will walk you through each stage of the drawing process, ensuring that you can easily capture the charm of the seahorse on paper. Whether you are a beginner just starting out or an experienced artist looking to refine your technique, our clear instructions and tips will help you create a stunning seahorse illustration.
So grab your drawing materials and prepare to dive into the fascinating underwater world of seahorses! Let's embark on this creative journey and take the first step in bringing these magical creatures to life through your art.
Materials Required
Step 1: Draw the Basic Shape
Begin by drawing the basic shape of the seahorse. Draw a long, slightly curved line for the body. At one end of the line, sketch a small circular shape for the head of the seahorse.
Step 2: Add the Snout and Mouth
Extend the circular shape you drew in the previous step to form the snout of the seahorse. Draw a small curved line for the mouth near the tip of the snout. The mouth of a seahorse resembles a small tube.
Step 3: Draw the Dorsal Fin
On the upper side of the seahorse's body, draw a gently curved line extending from the head to the tail. This line represents the dorsal fin. The dorsal fin adds to the graceful appearance of the seahorse.
Step 4: Create the Tail
The tail of a seahorse is one of its most distinctive features. Draw a long, curly tail that tapers to a point. The tail can curl in various directions, so feel free to experiment with the shape to add character to your drawing.
Step 5: Draw the Pectoral Fins
On both sides of the seahorse's body, draw two small, fan-like shapes. These are the pectoral fins that help the seahorse navigate and steer in the water.
Step 6: Add the Eye
Sketch a circular shape near the snout to represent the eye of the seahorse. Add a tiny dot within the circle to depict the pupil.
Step 7: Detail the Body
To give your seahorse drawing texture, add lines and curves along the body. Seahorses have bony plates covering their bodies, which you can represent by adding vertical lines.
Step 8: Add Shading and Texture
Now, add shading to your seahorse drawing to make it come alive. Shade the side opposite the light source to create a three-dimensional effect. Use short, curved lines to suggest the texture of the seahorse's skin.
Step 9: Final Touches
Review your drawing and make any necessary adjustments. Emphasize the outlines and curves, ensuring that your seahorse looks balanced and aesthetically pleasing.
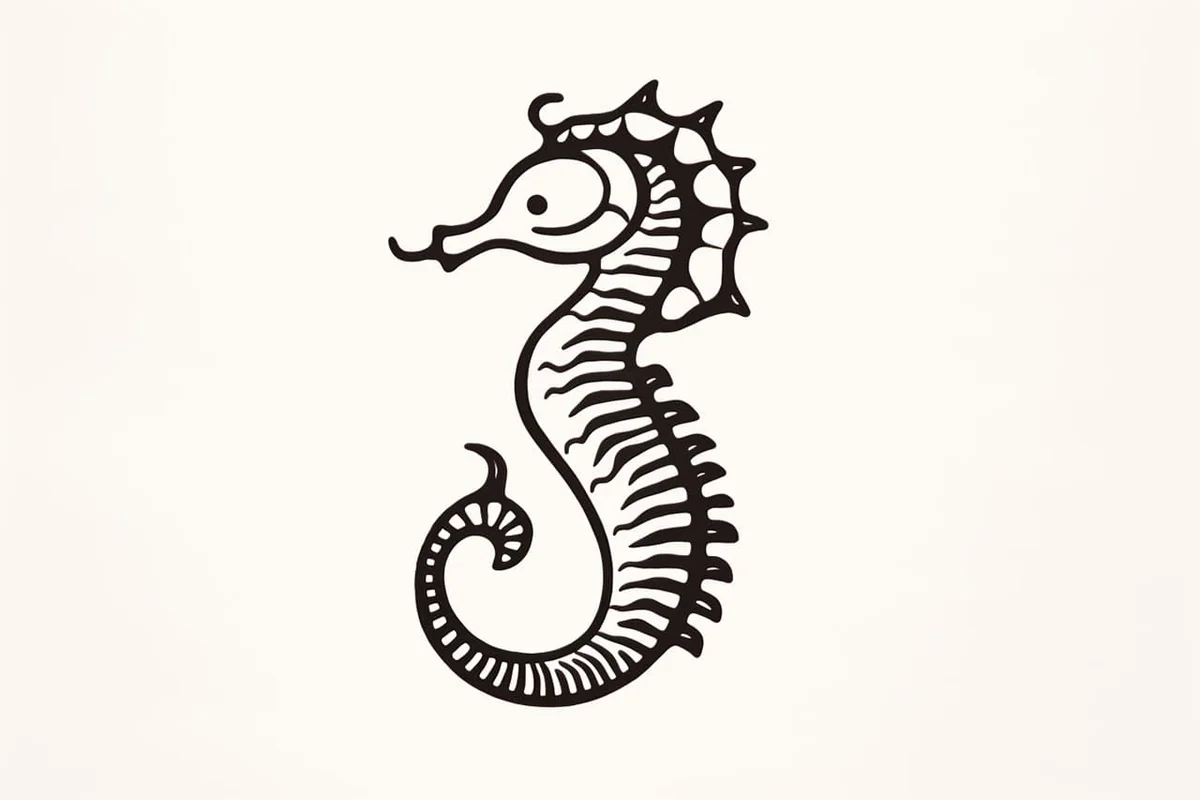
Tip: When drawing a seahorse, pay close attention to its unique body shape and texture by using light, flowing pencil strokes to create the outline. Start with a basic shape, which resembles a curved 'S', and gradually add in the details like the horse-like head and curled tail. Using a blending stump or your finger, gently smudge your pencil lines to soften the look of the seahorse's body, mimicking the delicate scales. For added depth, consider using colored pencils or watercolors to layer hues of blue, green, and hints of orange or yellow, reflecting the natural environment of these creatures. Finally, don't forget to take breaks and step back to view your drawing from a distance; this will help you assess proportions and make adjustments as needed!
Conclusion
Congratulations! You have successfully drawn a seahorse. By following this step-by-step guide, you've captured the charm and elegance of these fascinating marine creatures. Remember, practice makes perfect, so keep honing your skills and experimenting with different poses and details. With each drawing, you'll become more adept at creating beautiful seahorse illustrations that reflect the wonders of the ocean.
Gallery of Sea Horse Drawings


