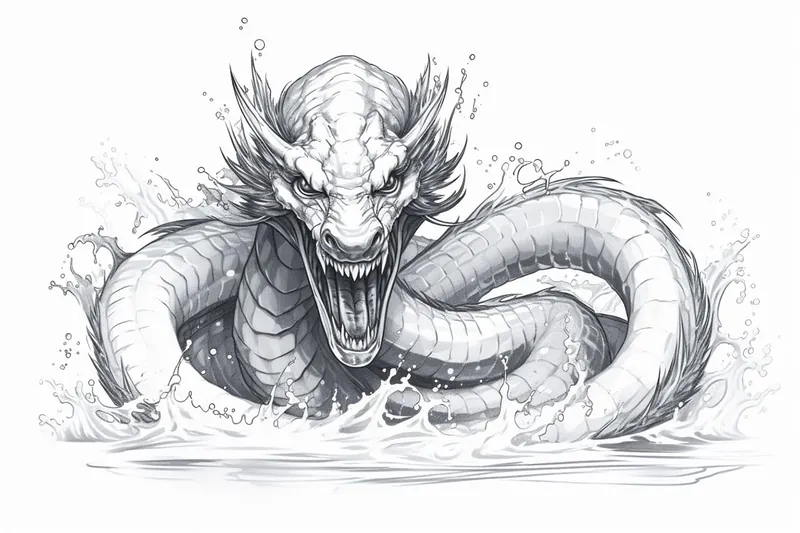
How to Draw a Sea Serpent
Learn how to draw a captivating sea serpent with this step-by-step tutorial. Unleash your creativity and bring mythical creatures to life on paper.
Materials You'll Need
- Pencil
- Paper
- Eraser
Welcome to this imaginative journey where we'll learn how to draw a sea serpent—a legendary creature that has captured the fascination of artists, storytellers, and explorers for centuries. Sea serpents are often depicted as long, sinuous beings gliding through mysterious waters, their scales shimmering and their presence both majestic and fearsome. These mythical beasts appear in folklore from around the world, symbolizing the unknown depths of the oceans and the power of nature. Drawing a sea serpent allows you to tap into this rich tradition, creating your own version of a fantastical creature that could be gentle or menacing, wise or wild.
Learning how to draw a sea serpent is a wonderful way to develop your artistic skills, especially if you enjoy fantasy art, storytelling, or marine themes. This subject offers plenty of room for creativity, from designing the serpent's elegant curves and expressive features to adding imaginative details like fins, horns, or intricate patterns. No matter your skill level—whether you're just starting out or looking to refine your technique—this tutorial will guide you through each step with helpful tips and clear instructions. We'll explore basic shapes, sketching techniques, shading, and how to bring your sea serpent to life with dynamic movement and personality.
Don't worry if you've never drawn a mythical creature before—this tutorial is designed to be accessible and enjoyable for everyone. All you need is a willingness to experiment and have fun as you unleash your creativity. By the end, you'll have a unique sea serpent to add to your collection, and you might even be inspired to invent new creatures of your own. Let's gather our materials and dive into the magical world beneath the waves!
Materials:
- [Drawing paper or sketchbook](https://yonderoo.com/best-sketchbooks-for-artists/)
- Pencils (HB, 2B, and 4B)
- Eraser (preferably kneaded or vinyl eraser)
- Fine tip black pen or marker
- Colored pencils or markers (optional)
Now that we have our materials ready, let's begin the artistic journey of drawing a sea serpent.
Step 1: Research and Inspiration
Before starting any drawing, it's essential to gather inspiration and reference material. Research sea serpents in various art forms, such as paintings, sculptures, and illustrations. Observe their shapes, sizes, and the unique characteristics that set them apart. This research will ensure that you have a clear idea of the sea serpent you want to create.
Step 2: Basic Sketch
Start by lightly sketching the basic structure of your sea serpent. Begin with a simple line of action, which will define the creature's motion and pose. Add circles for the head and body, connecting them with long and curvy lines. Remember to keep your lines loose and fluid during this stage.
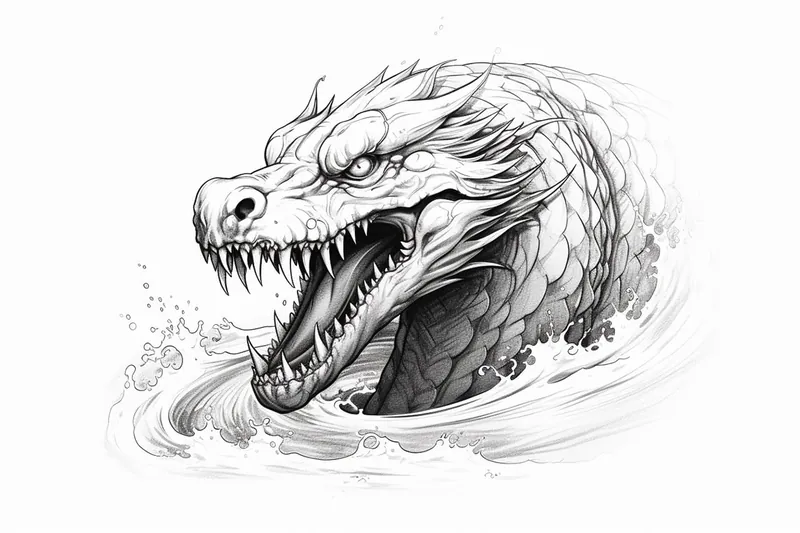
Step 3: Head and Facial Features
Refine the shape of the head by adding more details. Sea serpents often have elongated heads with distinct features like sharp teeth, horns, or frills. Sketch the eyes, nostrils, and any other notable characteristics that you want your sea serpent to possess. Take your time to get the proportions and details right.
Step 4: Body and Scales
Add depth and volume to the body of your sea serpent. Start by defining the thickness of the neck and body, gradually adding scales along the way. Experiment with different sizes and shapes of scales to give your sea serpent a unique texture. Remember to follow the curvature of the body while drawing the scales.
Step 5: Fins and Limbs
Sea serpents often have fins and limbs that contribute to their graceful appearance. Sketch the fins along the back, tail, and any additional fins you envision. Add limbs, such as flippers or legs, depending on the style and design of your sea serpent. Ensure that the proportions and positioning of these features align with the overall composition.
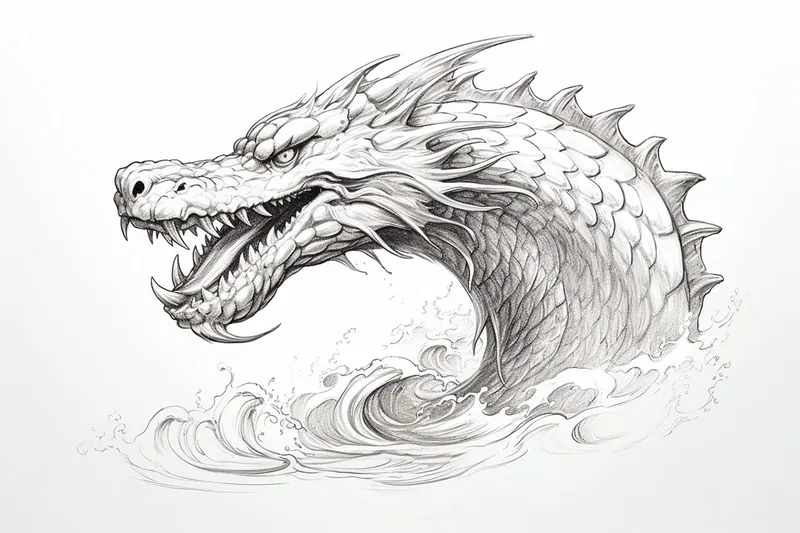
Step 6: Tail and Movement
Focus on the serpent's tail, as it plays a crucial role in its movement through the water. Experiment with different shapes and patterns for the tail, making it appear dynamic and fluid. Incorporate curves and waves to emphasize the serpentine nature of your creature. Pay attention to the balance and flow of the overall composition.
Step 7: Refine Your Sketch
Take a step back and evaluate your drawing so far. Make any necessary adjustments to the proportions, details, or overall composition. This is also the stage where you can erase any unnecessary guidelines and construction lines. Refining your sketch will provide a solid foundation for the final rendering of your sea serpent.
Step 8: Finalize with Ink
Tip: As you work through your sea serpent drawing, don't hesitate to experiment with different poses and expressions to give your creature more personality. Consider the mood you want to convey—whether it's majestic, playful, or fearsome—and adjust the shape of the body and the details of the facial features accordingly. This creative exploration can help your sea serpent feel more dynamic and alive, enhancing the overall impact of your artwork.
Now that your sketch is complete, it's time to go over your lines with ink. Use a fine tip pen or marker to outline the main features of your sea serpent. Apply varying line weights to add depth and dimension. Be patient and steady as you trace your earlier pencil lines, and don't be afraid to add extra details during this stage.
Step 9: Add Color (Optional)
If you want to add color to your sea serpent, now is the time to do so. Use colored pencils, markers, or any other preferred coloring medium to bring your creature to life. Experiment with different hues, shading techniques, and textures to create a visually captivating sea serpent. Remember to stay within the lines and blend colors smoothly.
Wild Inspiration: Imagine a sea serpent that not only inhabits the depths of the ocean but also embodies the spirit of a storm, merging the watery world with the fierce energy of the sky. Visualize your serpent having scales that transition from deep ocean blues to swirling stormy grays, with lightning patterns etched along its body that glow against the dark waters. As it coils around a massive underwater volcanic island, its eyes shimmer like electric sparks, and its long, flowing fins resemble gusts of wind, trailing off like clouds. Surround it with swirling whirlpools and schools of bioluminescent fish, creating an enchanting scene that captures the raw power of nature and the beauty of mythical creatures. Let your imagination run wild, and consider adding elements like rain or crashing waves to emphasize the dramatic moment when this magnificent beast emerges from the depths!
Conclusion
Congratulations on completing your sea serpent drawing! By following these steps and letting your creativity soar, you have brought a mythical creature to life on paper. Remember to practice regularly and explore different artistic styles to continue improving your drawing skills.
Now that you know how to draw a sea serpent, you can create your own fantastical creatures or delve into other challenging drawing projects. Enjoy the process, embrace your unique artistic voice, and have fun bringing your imagination to the forefront.
Gallery of Sea Serpent Drawings

Fun Facts About Sea Serpent
- Sea serpents are legendary creatures that have appeared in maritime folklore for centuries, with some of the earliest accounts dating back to ancient Greece and Rome.
- Many reported sea serpent sightings were likely misidentified real animals, such as oarfish or giant squids.
- The famous 19th-century HMS Daedalus encounter described a massive sea serpent off the coast of Africa.
- Sea serpents are often depicted as long, snake-like creatures with dragon-like features in art and literature, as seen in the Metropolitan Museum of Art collection.
- In Norse mythology, the sea serpent Jörmungandr is so large it encircles the world.
- Some cryptozoologists continue to investigate modern sea serpent sightings.
- Sea serpents have inspired countless works of fiction, including classic novels like Jules Verne's "Twenty Thousand Leagues Under the Sea."
- Oarfish, sometimes called "real sea serpents," can grow over 30 feet long and are rarely seen alive.
Suggestions for Scenes and Settings for Sea Serpent Drawings
- A sea serpent weaving through a dense kelp forest, its scales camouflaged among the swaying seaweed.
- The serpent breaching the ocean surface beneath a stormy sky, lightning illuminating its silhouette.
- A gentle sea serpent circling an ancient shipwreck, curious about the sunken treasures and lost relics below.
- The creature coiling protectively around a glowing underwater cave, guarding a clutch of mystical eggs.
- A dramatic encounter between the sea serpent and a group of sailors in a tiny rowboat, waves churning around them.
- The serpent basking in shallow, crystal-clear tropical waters, surrounded by colorful coral reefs and curious fish.
- A wise, elder sea serpent sharing secrets with a mermaid, their tails entwined in a peaceful underwater glade.
- The serpent winding through icy Arctic waters, its breath steaming as it breaks through floating icebergs.
- An epic battle between the sea serpent and another mythical sea creature, like a giant squid or kraken.
- A serene sunrise scene where the serpent's head emerges quietly from the mist, watching over a sleepy coastal village.