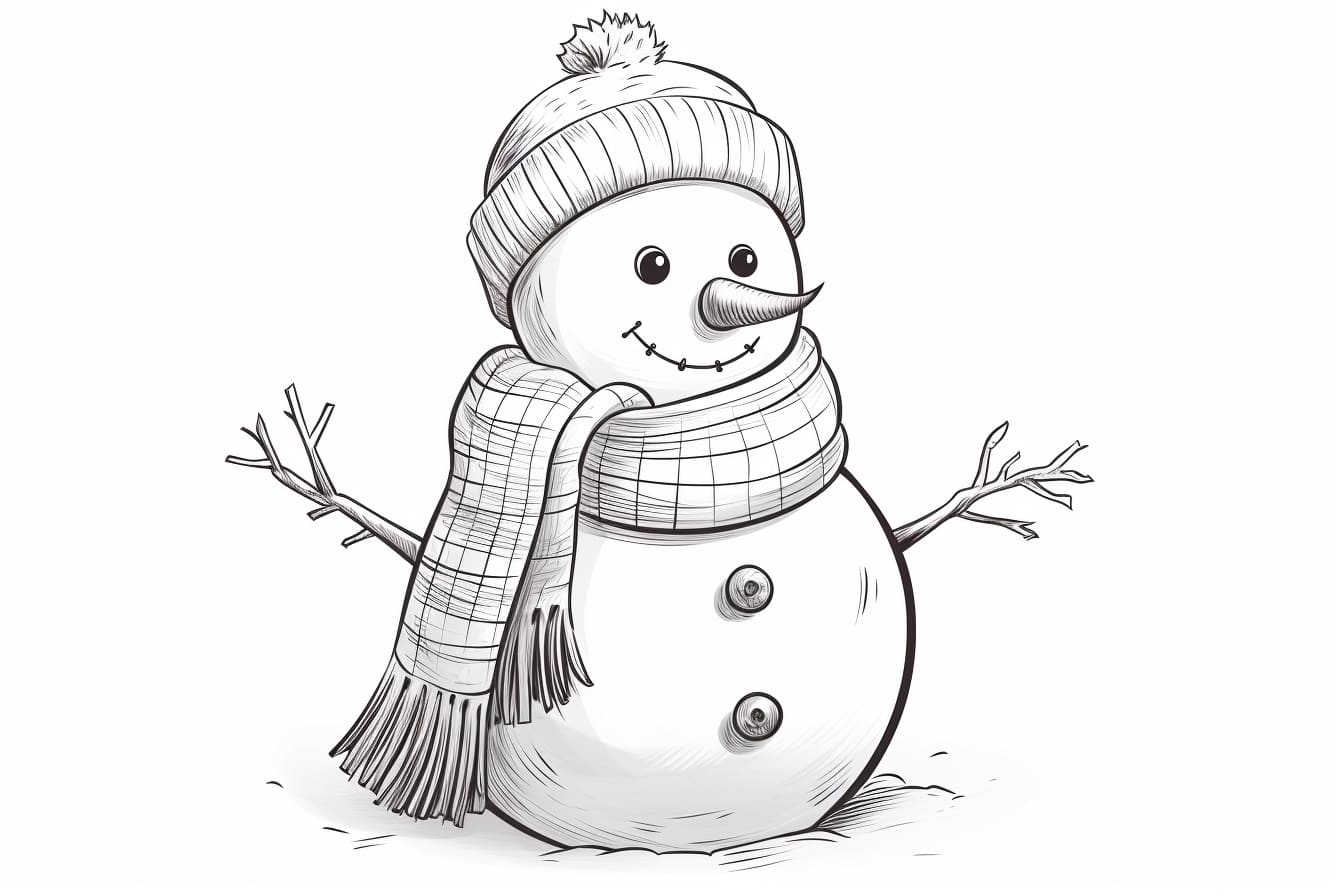
Drawing a snowman is a classic winter activity, but have you ever wondered how to add a scarf to your snowman drawing to give it that extra touch of warmth? In this step-by-step guide, we will walk you through the process of drawing a scarf on a snowman, allowing you to bring your snowman to life with a cozy accessory. So, grab your pencil and paper, and let’s get started!
Materials Required:
- Pencil
- Paper
- Eraser
- Colored pencils or markers (optional)
Step 1: Draw the Snowman
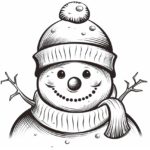
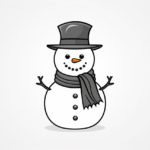
To begin, sketch the outline of your snowman on a blank piece of paper using a pencil. Start by drawing a large circle for the snowman’s body, followed by a slightly smaller circle on top for the head. Then, connect the two circles with two gently curved lines to form the snowman’s body and neck. Finally, add a smaller circle at the bottom for the snowman’s base.
Step 2: Position the Scarf
Decide where you want the scarf to be positioned on your snowman. Typically, a scarf is wrapped around the neck, so draw a horizontal line across the snowman’s neck to indicate where the scarf will be placed.
Step 3: Draw the First End of the Scarf
From one end of the horizontal line, draw two straight lines diagonally downwards to create the first end of the scarf. The length of these lines will determine the width of the scarf, so you can adjust them according to your preference. Remember, scarves are often longer than the width of the snowman’s body.
Step 4: Connect the Scarf
From the end of the first set of lines, draw a curved line upwards towards the snowman’s body, creating a rounded loop. This loop represents the part of the scarf that wraps around the snowman’s neck. Then, extend another set of straight lines diagonally downwards from the loop to create the second end of the scarf, mirroring the first end.
Step 5: Add Fringe to the Ends
To make the ends of the scarf look more realistic, add some fringes. Draw short, vertical lines along the bottom edges of the scarf ends, leaving a small gap between each line. These lines will give the impression of tassels or fringe hanging down from the scarf.
Step 6: Add Details to the Scarf
Now that you have the basic shape of the scarf, you can add some additional details to make it more interesting. You can draw patterns, such as stripes or zigzags, along the length of the scarf. Be creative and experiment with different patterns and colors to personalize your snowman’s scarf.
Step 7: Erase Unnecessary Lines
After adding the necessary details to the scarf, carefully erase any unnecessary lines that may be visible within the snowman’s body or neck. This will give your drawing a clean and polished appearance.
Step 8: Color Your Drawing (Optional)
If you wish, you can now color your snowman and its scarf using colored pencils or markers. Use cool tones like blues or purples for the snowman’s body and warm tones like reds or oranges for the scarf. Don’t forget to add shading and highlights to give your drawing a more three-dimensional look.
Conclusion
Drawing a scarf on a snowman is a simple yet effective way to enhance your winter-themed artwork. By following these step-by-step instructions, you can easily add a touch of coziness to your snowman drawing. Remember to have fun and let your creativity shine through as you create your own unique snowman with a scarf. Happy drawing!