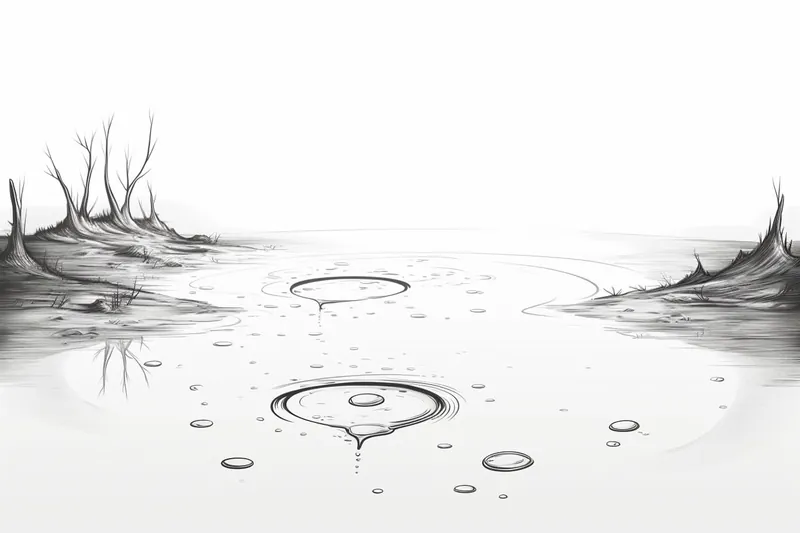
How to Draw a Puddle of Water
Learn how to draw a puddle of water with this step-by-step tutorial. Enhance your drawing skills and capture the reflective properties of water in your artwork.
Materials You'll Need
- Pencil
- Paper
- Eraser
Drawing a puddle of water offers a unique opportunity to explore the nuances of light, reflection, and texture in your artwork. While a puddle might appear to be a simple subject at first glance, capturing its fluid nature and subtle reflective qualities requires attention to detail and an understanding of how water interacts with its surroundings. This makes it an excellent exercise for artists looking to enhance their shading, blending, and observational skills. Learning how to draw a puddle of water not only challenges you to depict transparency and depth but also encourages you to experiment with highlights and shadows that bring your drawing to life.Whether you are a beginner eager to improve your foundational drawing techniques or an experienced artist looking to add realism to your compositions, this tutorial will guide you through every step of the process. You'll learn how to observe the shape and flow of the puddle, how to replicate reflections of nearby objects, and how to create the illusion of wetness on a flat surface using various shading and blending methods. The techniques involved are versatile and can be applied to other water elements in your artwork, such as lakes, rivers, or rain-soaked streets. With patience and practice, mastering how to draw a puddle of water will enhance your ability to depict natural scenes more convincingly.So, if you're ready to take on this rewarding challenge, gather your drawing materials and prepare to dive into a detailed exploration of water's reflective beauty. Remember, every great artist started with simple subjects, and with this guide, you'll build the confidence and skills to render puddles that look truly lifelike. Let's begin this creative journey together and bring the magic of water to your drawings!
Materials Required
Before we begin, gather the following materials:
- Drawing paper: Select a good quality paper that can handle wet media such as watercolors or ink.
- Pencils: Choose a range of graphite pencils, including HB, 2B, 4B, and 6B, for sketching and shading.
- Eraser: Have a kneaded eraser handy for correcting and lifting off graphite.
- Blending tools: Use blending stumps or tortillions to smudge and blend pencil marks.
- Watercolors or ink: Opt for watercolors or ink to add color to your drawing.
- Paintbrushes: Have a variety of brushes in different sizes to apply watercolors or ink.
- Water container: Keep a container filled with water for rinsing your brushes.
Now that we have our materials ready, let's draw a puddle of water.
Step 1: Sketch the Outline
Start by lightly sketching the outline of the puddle on your drawing paper. Use an HB pencil to create a rough shape representing the puddle's boundaries. Remember, puddles can have irregular shapes, so don't worry about achieving perfect symmetry. Instead, focus on capturing the organic form of the water on the ground. Keep your lines loose and fluid.
Step 2: Define the Reflection
In this step, we will draw the reflection of the surrounding environment on the surface of the puddle. Observe the scene and determine what objects or elements are reflected in the water. Maybe it's a tree, a building, or the sky. Use a lighter pencil, like 2B, to sketch these reflections, making sure they are proportionate and accurate. Keep your strokes loose, and don't press too hard. Remember that the reflection will appear slightly distorted due to the water's surface.
Step 3: Add Depth and Texture
We must add shading and texture to our puddle drawing to create a sense of depth. Start by using a 4B pencil to darken the areas of the deeper puddle or those that have more water accumulated. These areas will appear darker and more intense. Use a light touch and build up the shading gradually to achieve a smooth transition.
Next, use a blending stump or tortillon to smudge and blend the graphite, creating a smooth and realistic texture. Be mindful of the direction of your strokes, as they should follow the natural flow of the water. Use the eraser to selectively lighten areas that may be catching more light or reflections.
Step 4: Introduce Color
If you wish to add color to your drawing, now is the time. You can use watercolors or ink to enhance the realism of the puddle. Begin by applying a light wash of blue or gray to represent the sky's reflection. Then, gradually add darker tones to the deeper areas of the puddle. Remember to work with translucent layers, allowing the underlying pencil shading to show through.
Blend the colors using a damp brush, carefully softening the edges and refining the transitions. Please pay attention to the areas where the surface is disturbed, as they may show ripples or waves. Use delicate brushstrokes or a dry brush technique to create these effects.
Step 5: Final Touches
In the final step, we will add the finishing touches to our puddle drawing. Evaluate the drawing as a whole and make any necessary adjustments. Use a darker pencil, such as 6B, to darken areas that require more contrast or depth.
Additionally, pay attention to the reflections on the surface of the puddle. Enhance them with subtle highlights and reflections of the surrounding environment. Use a white gel pen or a white colored pencil to achieve these effects.
Conclusion
Congratulations! You have successfully learned how to draw a realistic puddle of water. By following these step-by-step instructions and paying attention to the details of the water's reflective properties, you can create stunning and lifelike puddle illustrations. Remember to experiment with different techniques and materials to develop your unique style. So, grab your pencils, brushes, and paper, and let your creativity flow as you master drawing puddles!
Fun Facts About Puddles of Water
- A puddle of water can reflect its surroundings like a mirror, demonstrating the physics of light reflection and refraction.
- Puddles often form in depressions on surfaces where water collects after rain, illustrating basic hydrology principles.
- The shape of a puddle is irregular because water follows the contours of the ground, influenced by surface tension and gravity.
- Artists use puddles as subjects to practice capturing transparency, reflections, and texture, enhancing their observational skills. Painting water reflections guide.
- Drawing puddles helps artists understand how light interacts with wet surfaces, improving their shading and blending techniques. Drawing water tutorial.
- Puddles can show ripples and waves caused by wind or objects, adding dynamic elements to artwork. How to draw ripples.
- Water in puddles can evaporate quickly depending on temperature and humidity, demonstrating natural water cycle processes.
- Reflections in puddles are often distorted due to the uneven surface of the water, creating interesting visual
Suggestions for Scenes and Settings for Puddle of Water Drawings
- A puddle reflecting the vibrant colors of autumn leaves scattered around it in a forest clearing.
- A city street puddle capturing distorted reflections of neon signs and tall buildings at night.
- A rural dirt path with a puddle showing reflections of a cloudy sky and nearby wildflowers.
- A puddle on a rocky beach reflecting the sky and distant seagulls flying above.
- A puddle formed on a cracked pavement with reflections of tree branches and a passing bicycle wheel.
- A puddle in a garden reflecting a blooming flowerbed and a wrought-iron fence.
- A puddle near a playground reflecting colorful swings and children playing.
- A puddle on a hiking trail reflecting mountain peaks and scattered pine needles.
- A puddle after a rainstorm reflecting raindrops creating ripples and nearby umbrellas.
- A puddle in an urban park reflecting a bench, lamp post, and silhouettes of people walking by.